How to make beaded bracelets?
How to make beaded bracelets? Beaded bracelets are not only fashionable accessories but also delightful crafts that allow you to express your creativity and style. Whether you’re a beginner or an experienced crafter, making your own beaded bracelets can be a rewarding and enjoyable activity. In this comprehensive guide, we’ll walk you through the step-by-step process of creating beautiful beaded bracelets, from selecting the right materials to mastering essential techniques. Get ready to unleash your inner artist and craft stunning bracelets that are sure to impress.
Gathering Materials and Tools
Before you begin crafting your beaded bracelets, it’s essential to gather all the necessary materials and tools. Here’s what you’ll need:
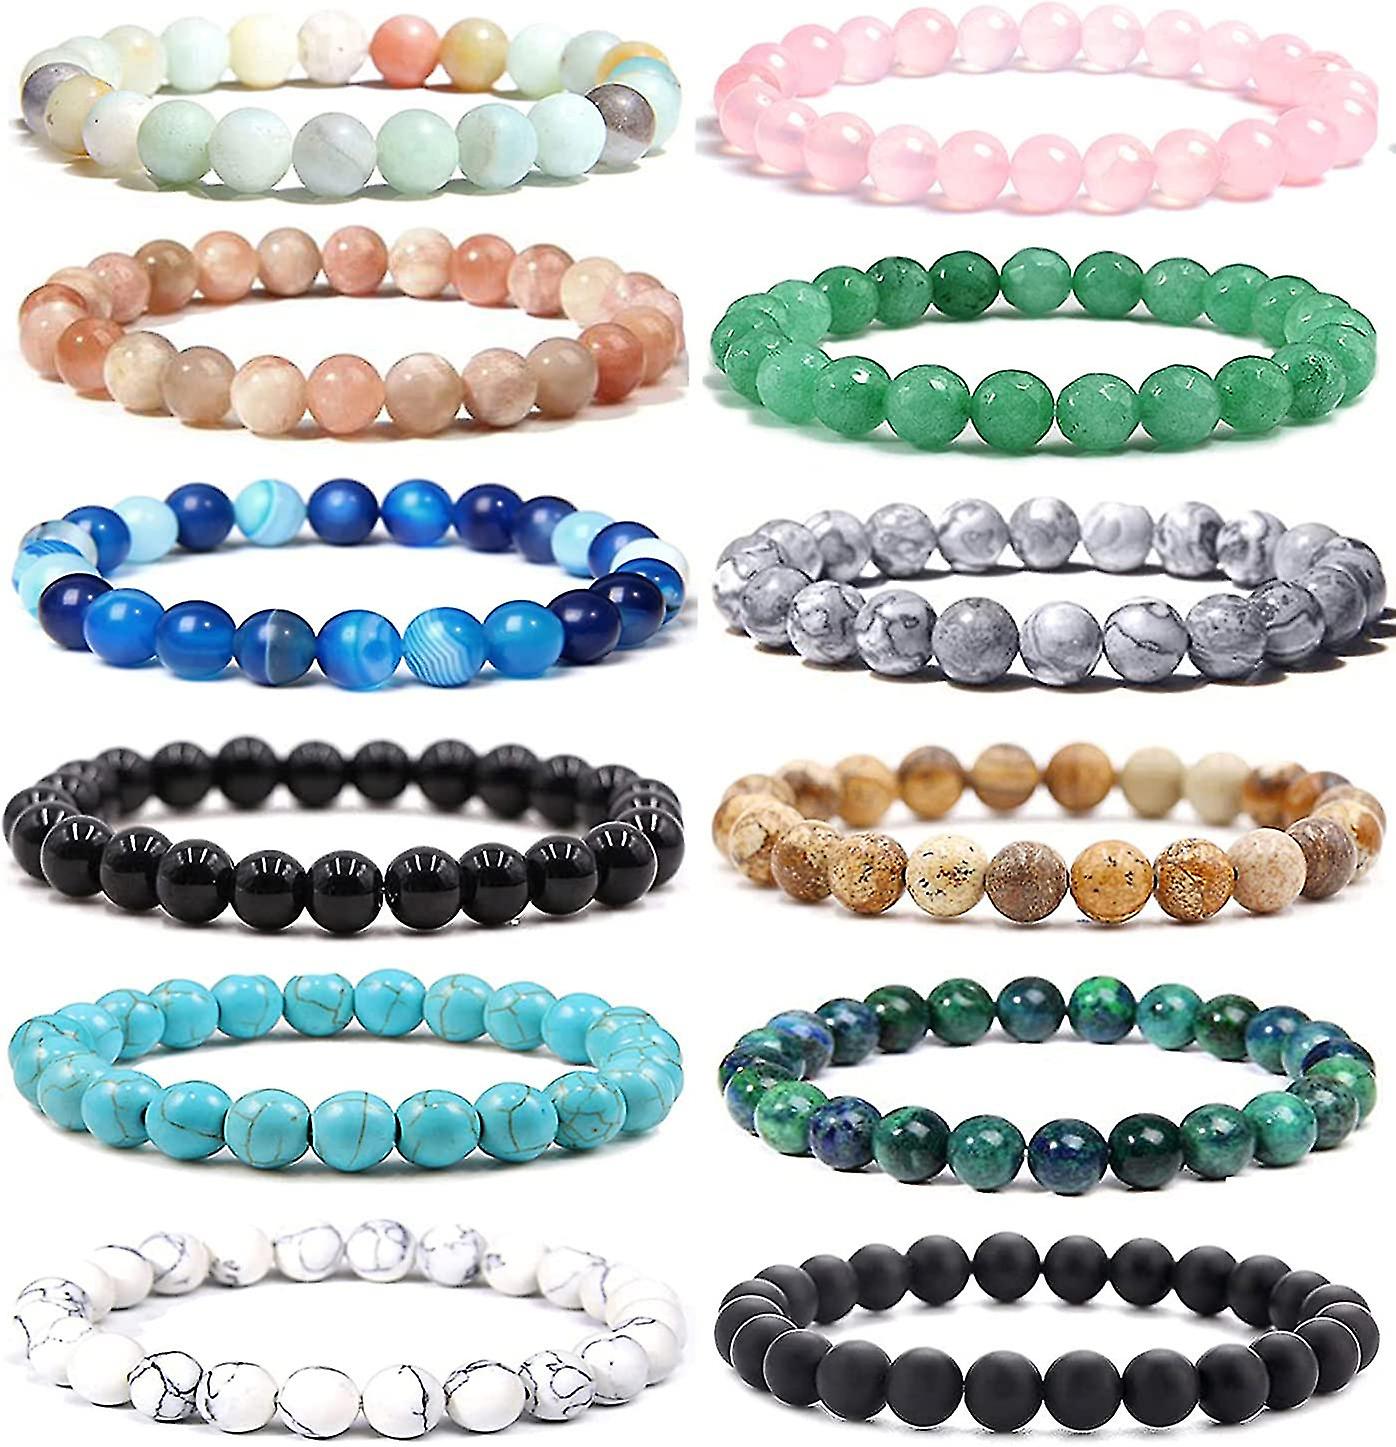
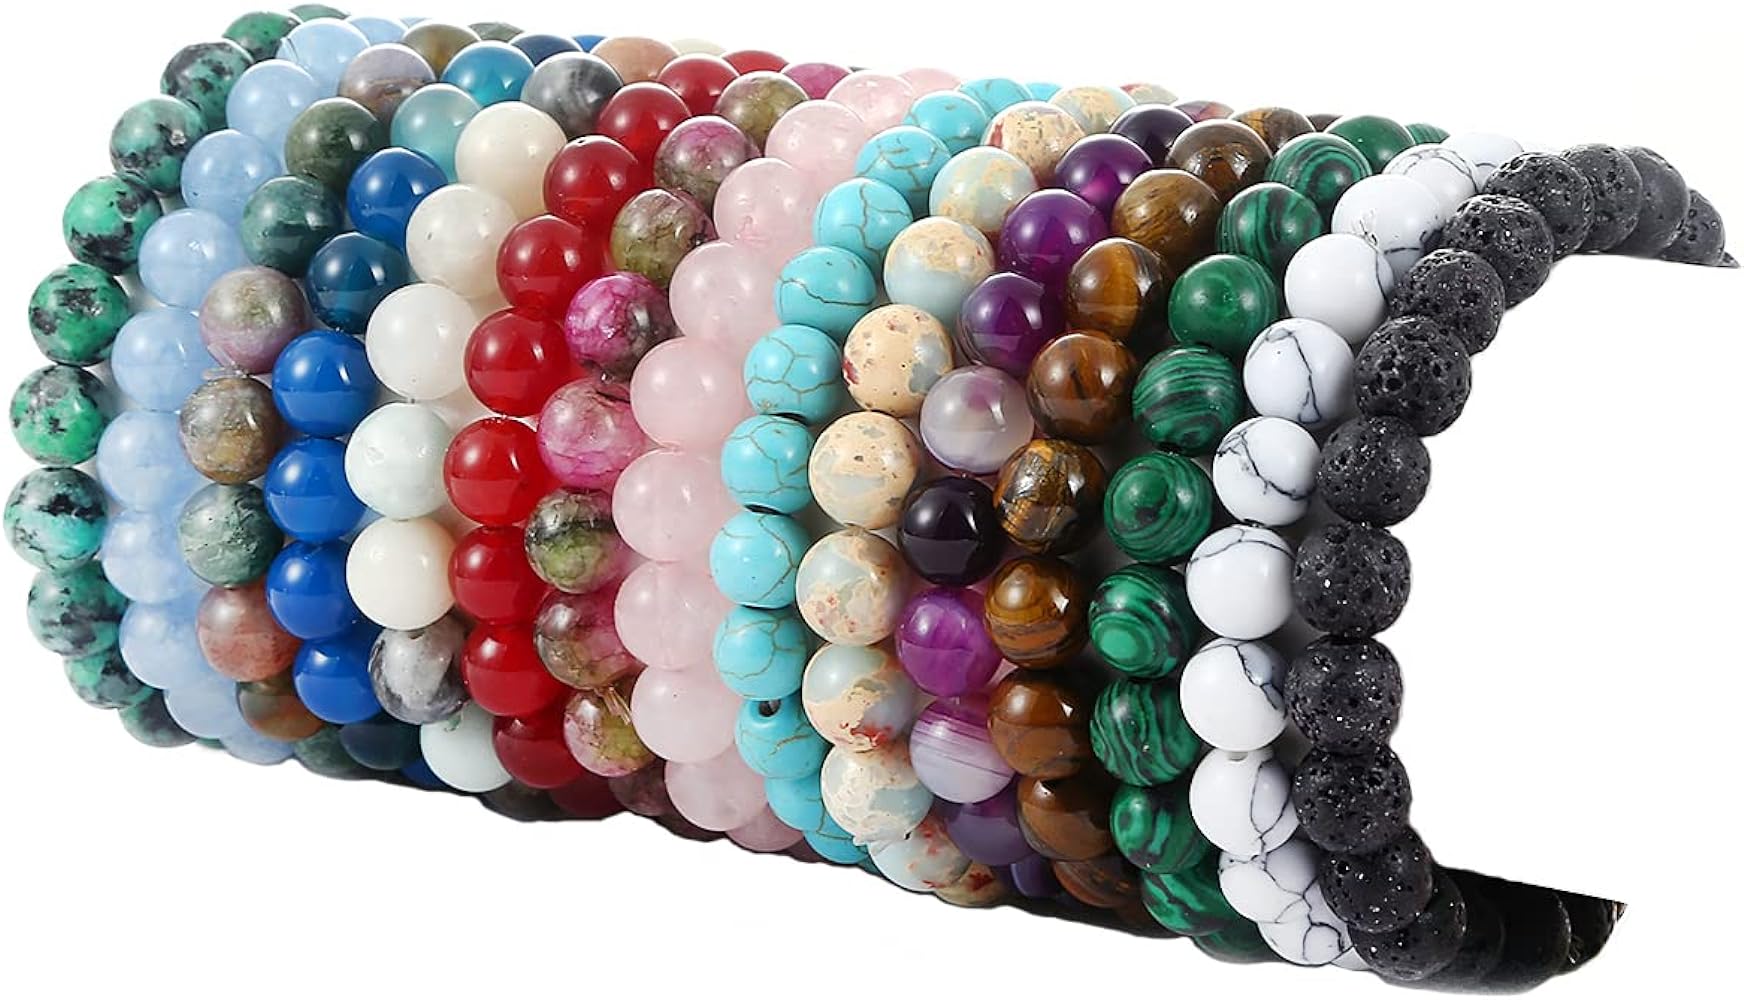
- Beads: Choose beads in various colors, shapes, sizes, and materials to create unique designs. Consider using glass, crystal, gemstone, metal, or wood beads for different textures and effects.
- Stringing Material: Select a durable and flexible stringing material such as beading wire, elastic cord, nylon thread, or stretch cord. Make sure the stringing material is suitable for the size and weight of your beads.
- Clasps and Findings: Choose clasps, jump rings, crimp beads, and other findings in coordinating metals and finishes to complement your bead selection.
- Needles and Thread: If you’re using thread or beading wire, you’ll need beading needles and beading thread in a matching or complementary color.
- Scissors: Sharp scissors are essential for cutting stringing material and thread.
- Pliers: Round-nose pliers, flat-nose pliers, and wire cutters are useful for shaping wire, opening and closing jump rings, and crimping beads.
- Bead Board or Tray: Optional but helpful for organizing and designing your bracelet layout.
Designing Your Bracelet
Before you start stringing beads, it’s helpful to plan your bracelet design. Consider factors such as bead arrangement, color scheme, pattern, and bracelet length. You can sketch out your design on paper or use a bead board to experiment with different layouts until you find the perfect combination.
Stringing Beads
Once you have your design finalized, it’s time to start stringing beads onto your chosen stringing material. Follow these steps:
- Cutting the String: Measure and cut a piece of stringing material slightly longer than your desired bracelet length to accommodate for knotting and attaching clasps.
- Securing the End: If using beading wire, attach a clasp to one end using crimp beads and flat-nose pliers. If using thread or cord, tie a knot at one end to prevent beads from sliding off.
- Stringing Beads: Begin stringing beads onto the stringing material according to your design. Use a needle if necessary to thread beads with small holes.
- Creating Patterns: Experiment with different bead arrangements, patterns, and spacing to achieve the desired look.
- Adding Spacers: Incorporate spacer beads, seed beads, or other accent beads between larger beads to add visual interest and texture.
- Checking Length: Periodically check the length of your bracelet against your wrist to ensure it fits comfortably. Make adjustments as needed by adding or removing beads.
- Finishing Off: Once you’ve reached your desired length, secure the other end of the bracelet by attaching a clasp or tying a knot, depending on the type of stringing material you’re using.
Adding Finishing Touches
After stringing your beads, it’s time to add the finishing touches to your bracelet styles:
- Crimping Beads: If using beading wire, use crimp beads and crimping pliers to secure the clasp and create a professional-looking finish.
- Concealing Knots: If using thread or cord, conceal knots by threading them through nearby beads and trimming excess thread.
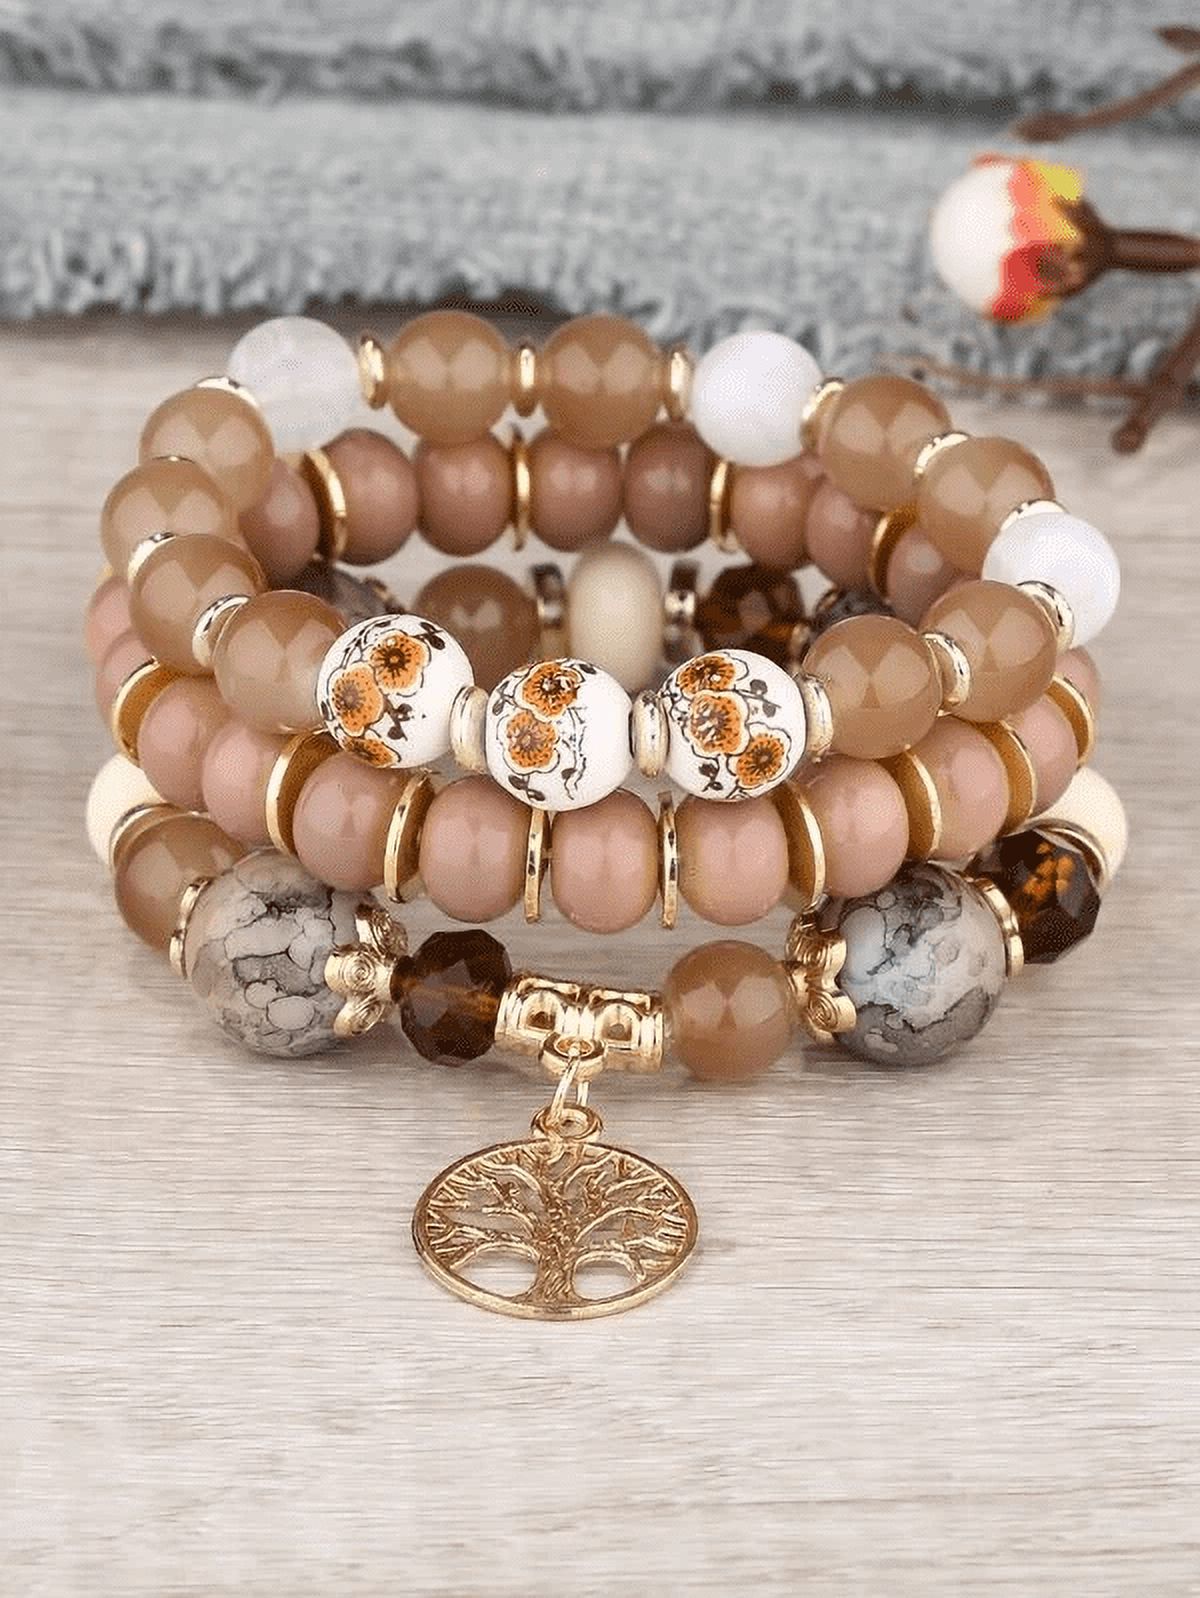
- Adding Charms or Dangles: Enhance your bracelet design by attaching charms, dangles, or pendants to jump rings and attaching them to the bracelet.
- Applying Glue: Optionally, apply a small amount of jewelry glue to knots or crimps for added security.
How to match beaded bracelets?
Beaded bracelets are versatile accessories that can add a touch of elegance, whimsy, or bohemian flair to any outfit. Whether you’re aiming for a sophisticated look or a casual vibe, knowing how to effectively pair beaded bracelets can elevate your style game.
Understanding Color Theory
Color plays a crucial role in creating harmonious and visually appealing bracelet combinations. Understanding basic color theory can help you mix and match beads effectively. Here are some fundamental concepts to consider:
- Complementary Colors: Pairing colors that are opposite each other on the color wheel creates contrast and visual interest. For example, pairing blue and orange beads can create a striking combination.
- Analogous Colors: Choosing beads that are adjacent to each other on the color wheel creates a harmonious and cohesive look. For instance, combining shades of green and blue can result in a serene and balanced silver bracelets.
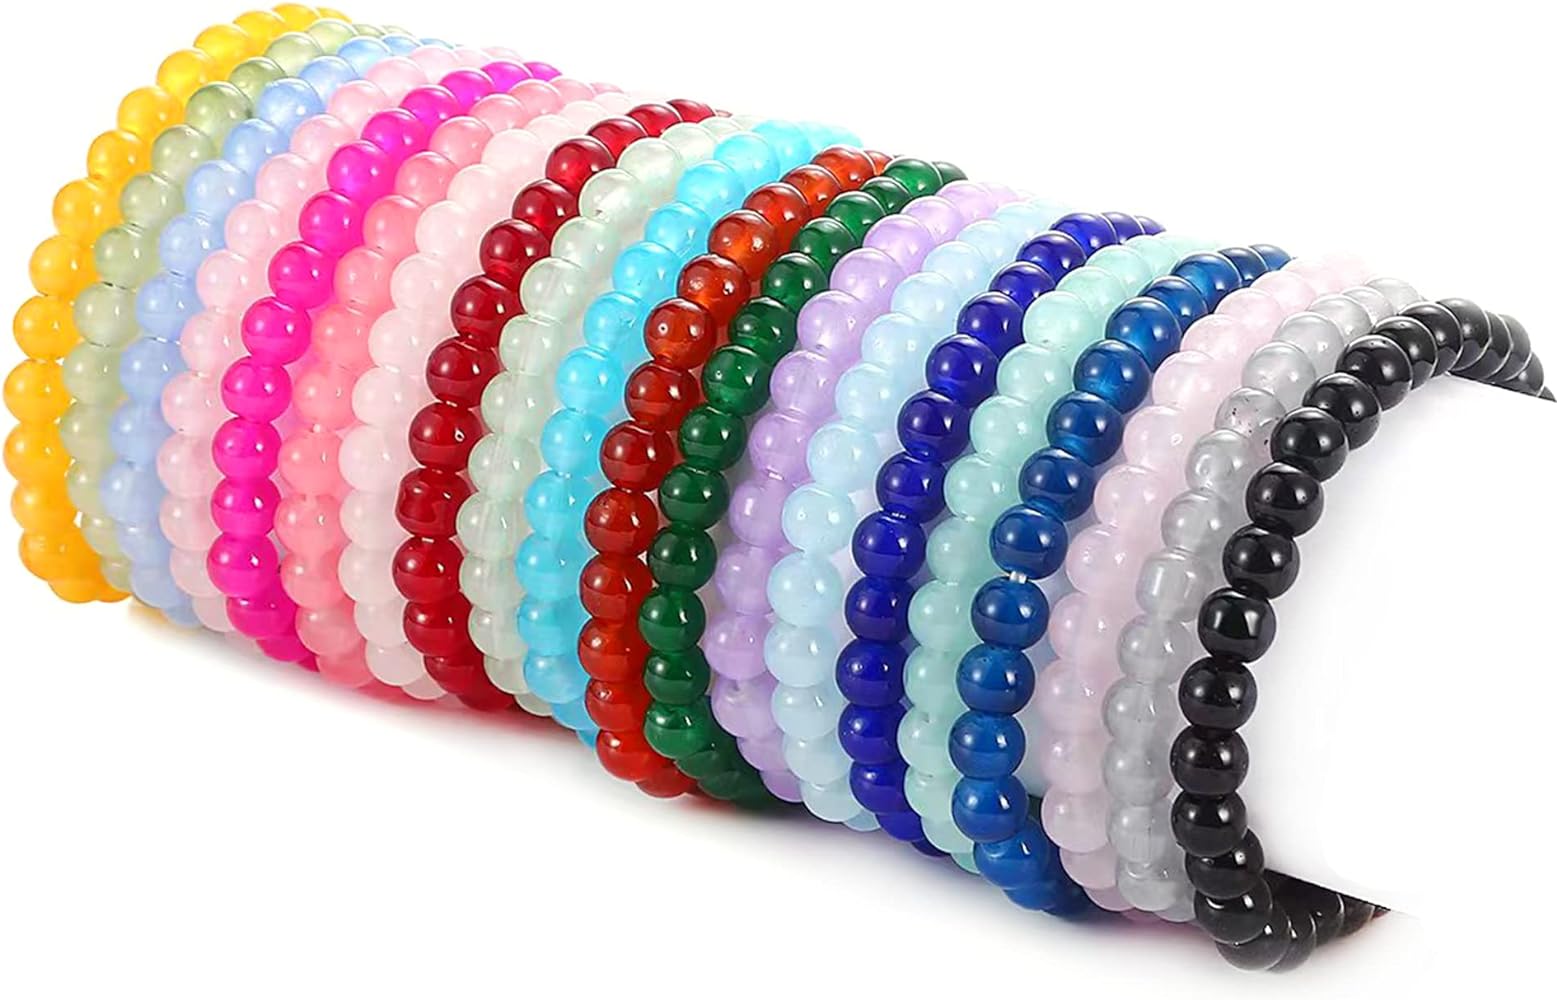
- Monochromatic Colors: Using variations of the same color can create a sophisticated and polished look. Experiment with different shades and tones within the same color family for subtle variation.
Mixing Bead Sizes, Shapes, and Textures
Incorporating a variety of bead sizes, shapes, and textures adds dimension and visual interest to your bracelet combinations. Here are some ideas to consider:
- Mixing Sizes: Experiment with combining small, medium, and large beads to create contrast and balance. For example, pairing tiny seed beads with larger focal beads can create a dynamic and eye-catching bracelet.
- Playing with Shapes: Incorporate beads in different shapes such as round, oval, square, or faceted to add variety and intrigue to your designs. Mixing geometric shapes with organic shapes can create a visually stimulating contrast.
- Adding Texture: Incorporate beads with varying textures such as smooth, faceted, matte, or metallic finishes to create depth and tactile appeal. Combining beads with different surface treatments can add richness and complexity to your bracelet combinations.
Considering Style and Occasion
The style and occasion will also influence how you pair your beaded bracelets. Here are some suggestions for different scenarios:
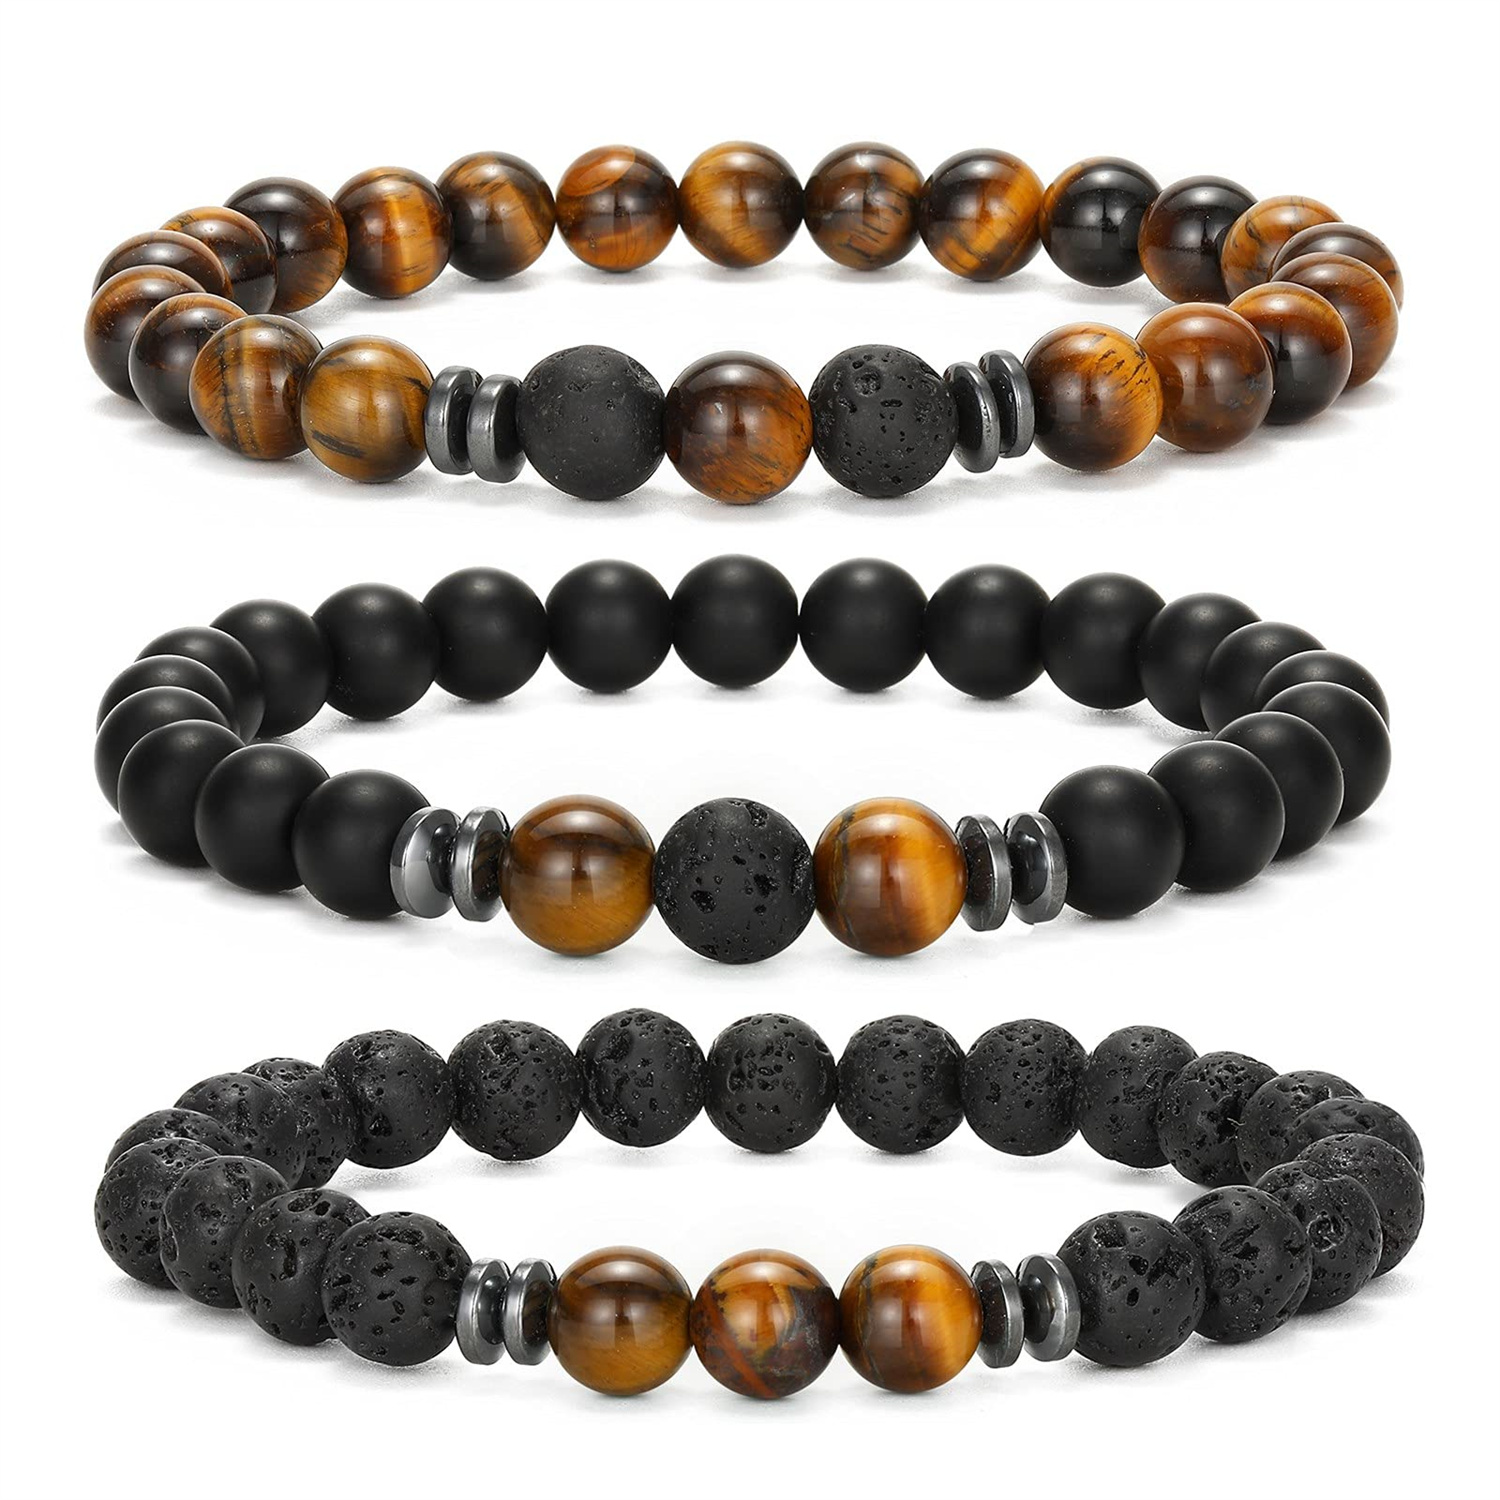
- Everyday Casual: For everyday wear, opt for comfortable and versatile bracelet combinations that complement your casual attire. Consider mixing earthy tones, natural materials, and simple designs for a laid-back vibe.
- Formal Events: For formal occasions such as weddings or cocktail parties, choose elegant and sophisticated bracelet combinations that add a touch of glamour to your ensemble. Incorporate sparkling crystals, pearls, or metallic accents for a luxurious look.
- Bohemian Chic: Embrace your free-spirited side with eclectic and whimsical bracelet combinations that exude bohemian flair. Mix vibrant colors, eclectic patterns, and exotic beads for a playful and eclectic look.
Conclusion
Creating beaded bracelets is a fun and rewarding craft that allows you to express your personal style and creativity. With the right materials, tools, and techniques, you can design stunning bracelets that are sure to turn heads and make a statement. Whether you’re making bracelets for yourself, as gifts for friends and family, or to sell, the possibilities are endless. So gather your beads, stringing material, and tools, and let your imagination run wild as you embark on your beading journey. Happy crafting!