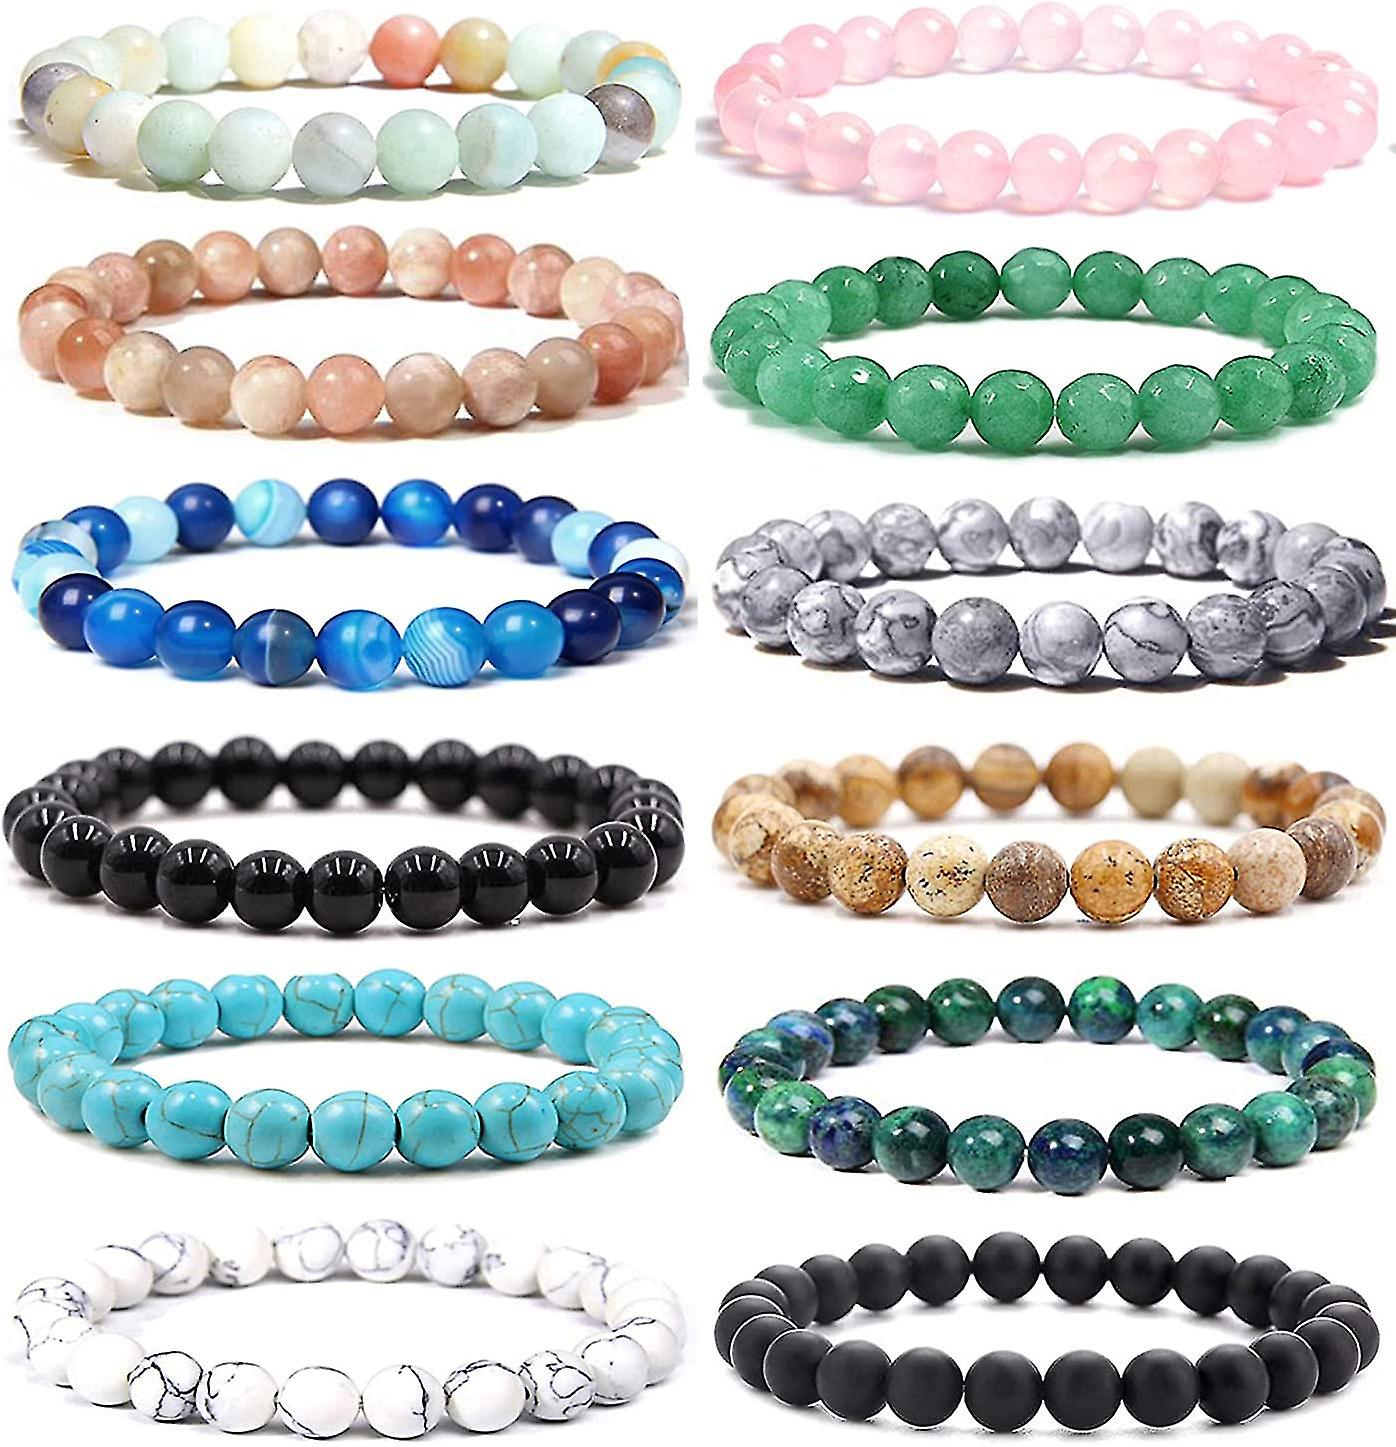
How to make clay bead bracelets?
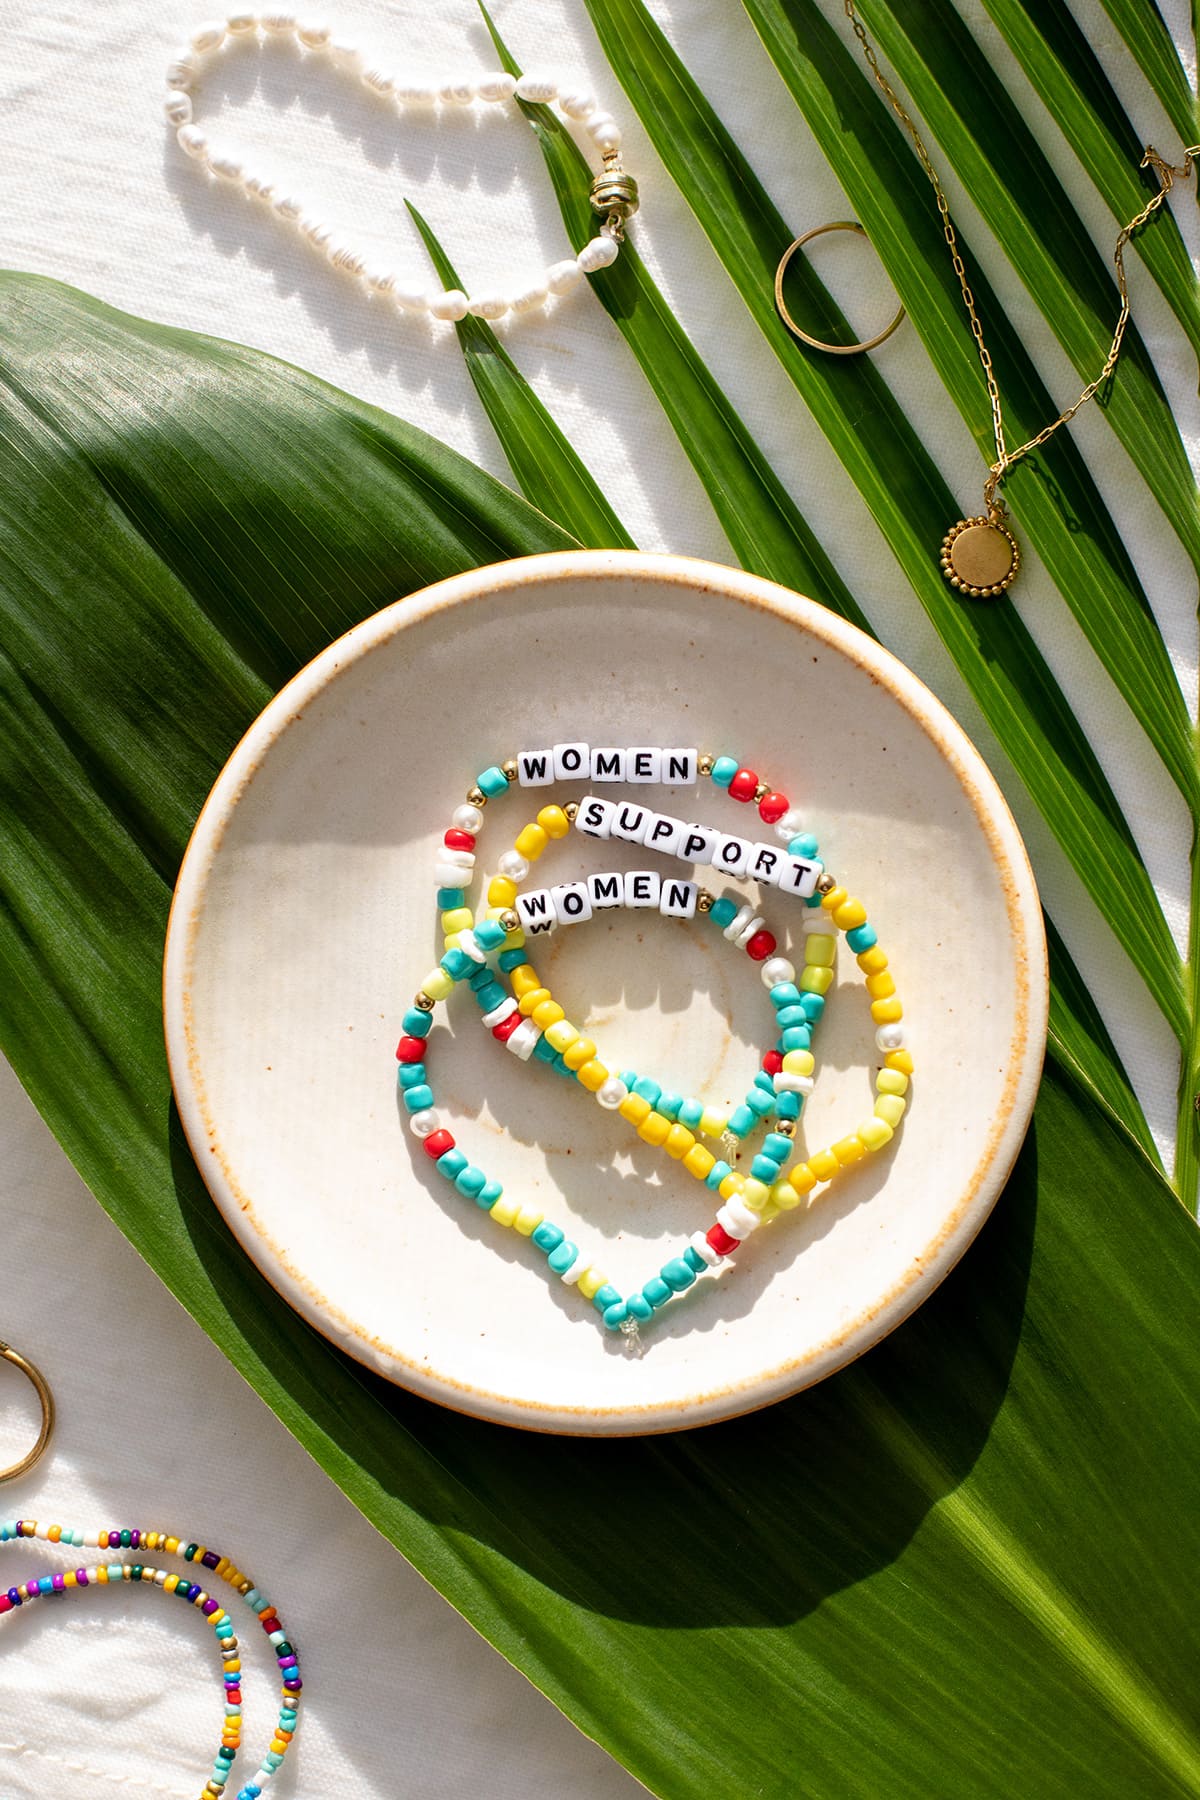
How to make clay bead bracelets? Making clay bead bracelets is a creative and enjoyable craft activity that allows you to personalize your accessories and express your individual style. Clay beads offer a wide range of colors, shapes, and textures, making them versatile for creating unique and eye-catching bracelets. In this guide, we will provide a step-by-step process to help you create clay bead bracelets, from shaping and designing the beads to assembling the final piece.

Materials Needed:
- Polymer clay in various colors
- Rolling pin or pasta machine
- Bead roller or toothpicks
- Craft knife or blade
- Baking tray and parchment paper
- Oven for baking clay
- Elastic cord or jewelry wire
- Jewelry findings, such as crimp beads or jump rings
Conditioning and Preparing the Clay
- Begin by conditioning the polymer clay according to the manufacturer’s instructions. Knead the clay until it becomes soft and pliable.
- Roll the clay into a log shape or use a pasta machine to create flat sheets of even thickness. This step allows you to work with clay of a consistent texture.
Shaping the Clay Beads
- Cut the conditioned clay into small pieces using a craft knife or blade.
- Roll each piece into a ball shape between your palms. For uniform sizes, consider using a bead roller. Alternatively, you can shape the beads with toothpicks, creating designs such as spheres, discs, or cylinders.
Creating Patterns and Designs
Use different colors of clay to create patterns and designs on the beads. You can roll additional small clay pieces into thin snakes or sheets to wrap around the beads. Techniques like marbling, caning, or stamping can also be used to add texture and interest to the beads.
Baking the Clay Beads
- Preheat the oven to the temperature recommended by the clay manufacturer.
- Place the shaped clay beads on a parchment-lined baking tray.
- Bake the beads in the oven according to the manufacturer’s instructions. Be careful not to overbake, as this can cause the clay to darken or become brittle.
- Once baked, remove the beads from the oven and let them cool completely before handling.
Assembling the Bracelet
- Cut a length of elastic cord or jewelry wire to your desired bracelet silver, allowing extra length for tying or fastening.
- Thread one end of the cord or wire through a crimp bead or jump ring, and secure it with jewelry pliers. This will act as the bracelet’s closure.
- Begin threading the baked clay beads onto the cord or wire in your desired pattern or arrangement. You can experiment with different bead sizes, colors, and textures to create a visually appealing design.
- Once all the beads are threaded, secure the other end of the cord or wire to the closure component using a crimp bead or jump ring. Trim any excess cord or wire.
- Gently stretch the bracelet to ensure it fits comfortably on your wrist.
Finishing Touches
- Inspect the bracelet for any loose beads or flaws, and make any necessary adjustments or repairs.
- If desired, you can add additional embellishments, such as small metal spacer beads or charms, using jump rings or other jewelry findings.
- Finally, wear and enjoy your handmade clay bead bracelet!
How to match bead bracelets
Bead bracelets are versatile accessories that can enhance your personal style and add a pop of color and texture to your outfits. Whether you prefer a minimalist or bohemian look, there are various ways to style bead bracelets to achieve a fashionable and put-together appearance.
Embrace the Power of Layering:
Layering bead bracelets allows you to create a stacked effect, adding depth and dimension to your wrist. Here’s how to do it effectively:
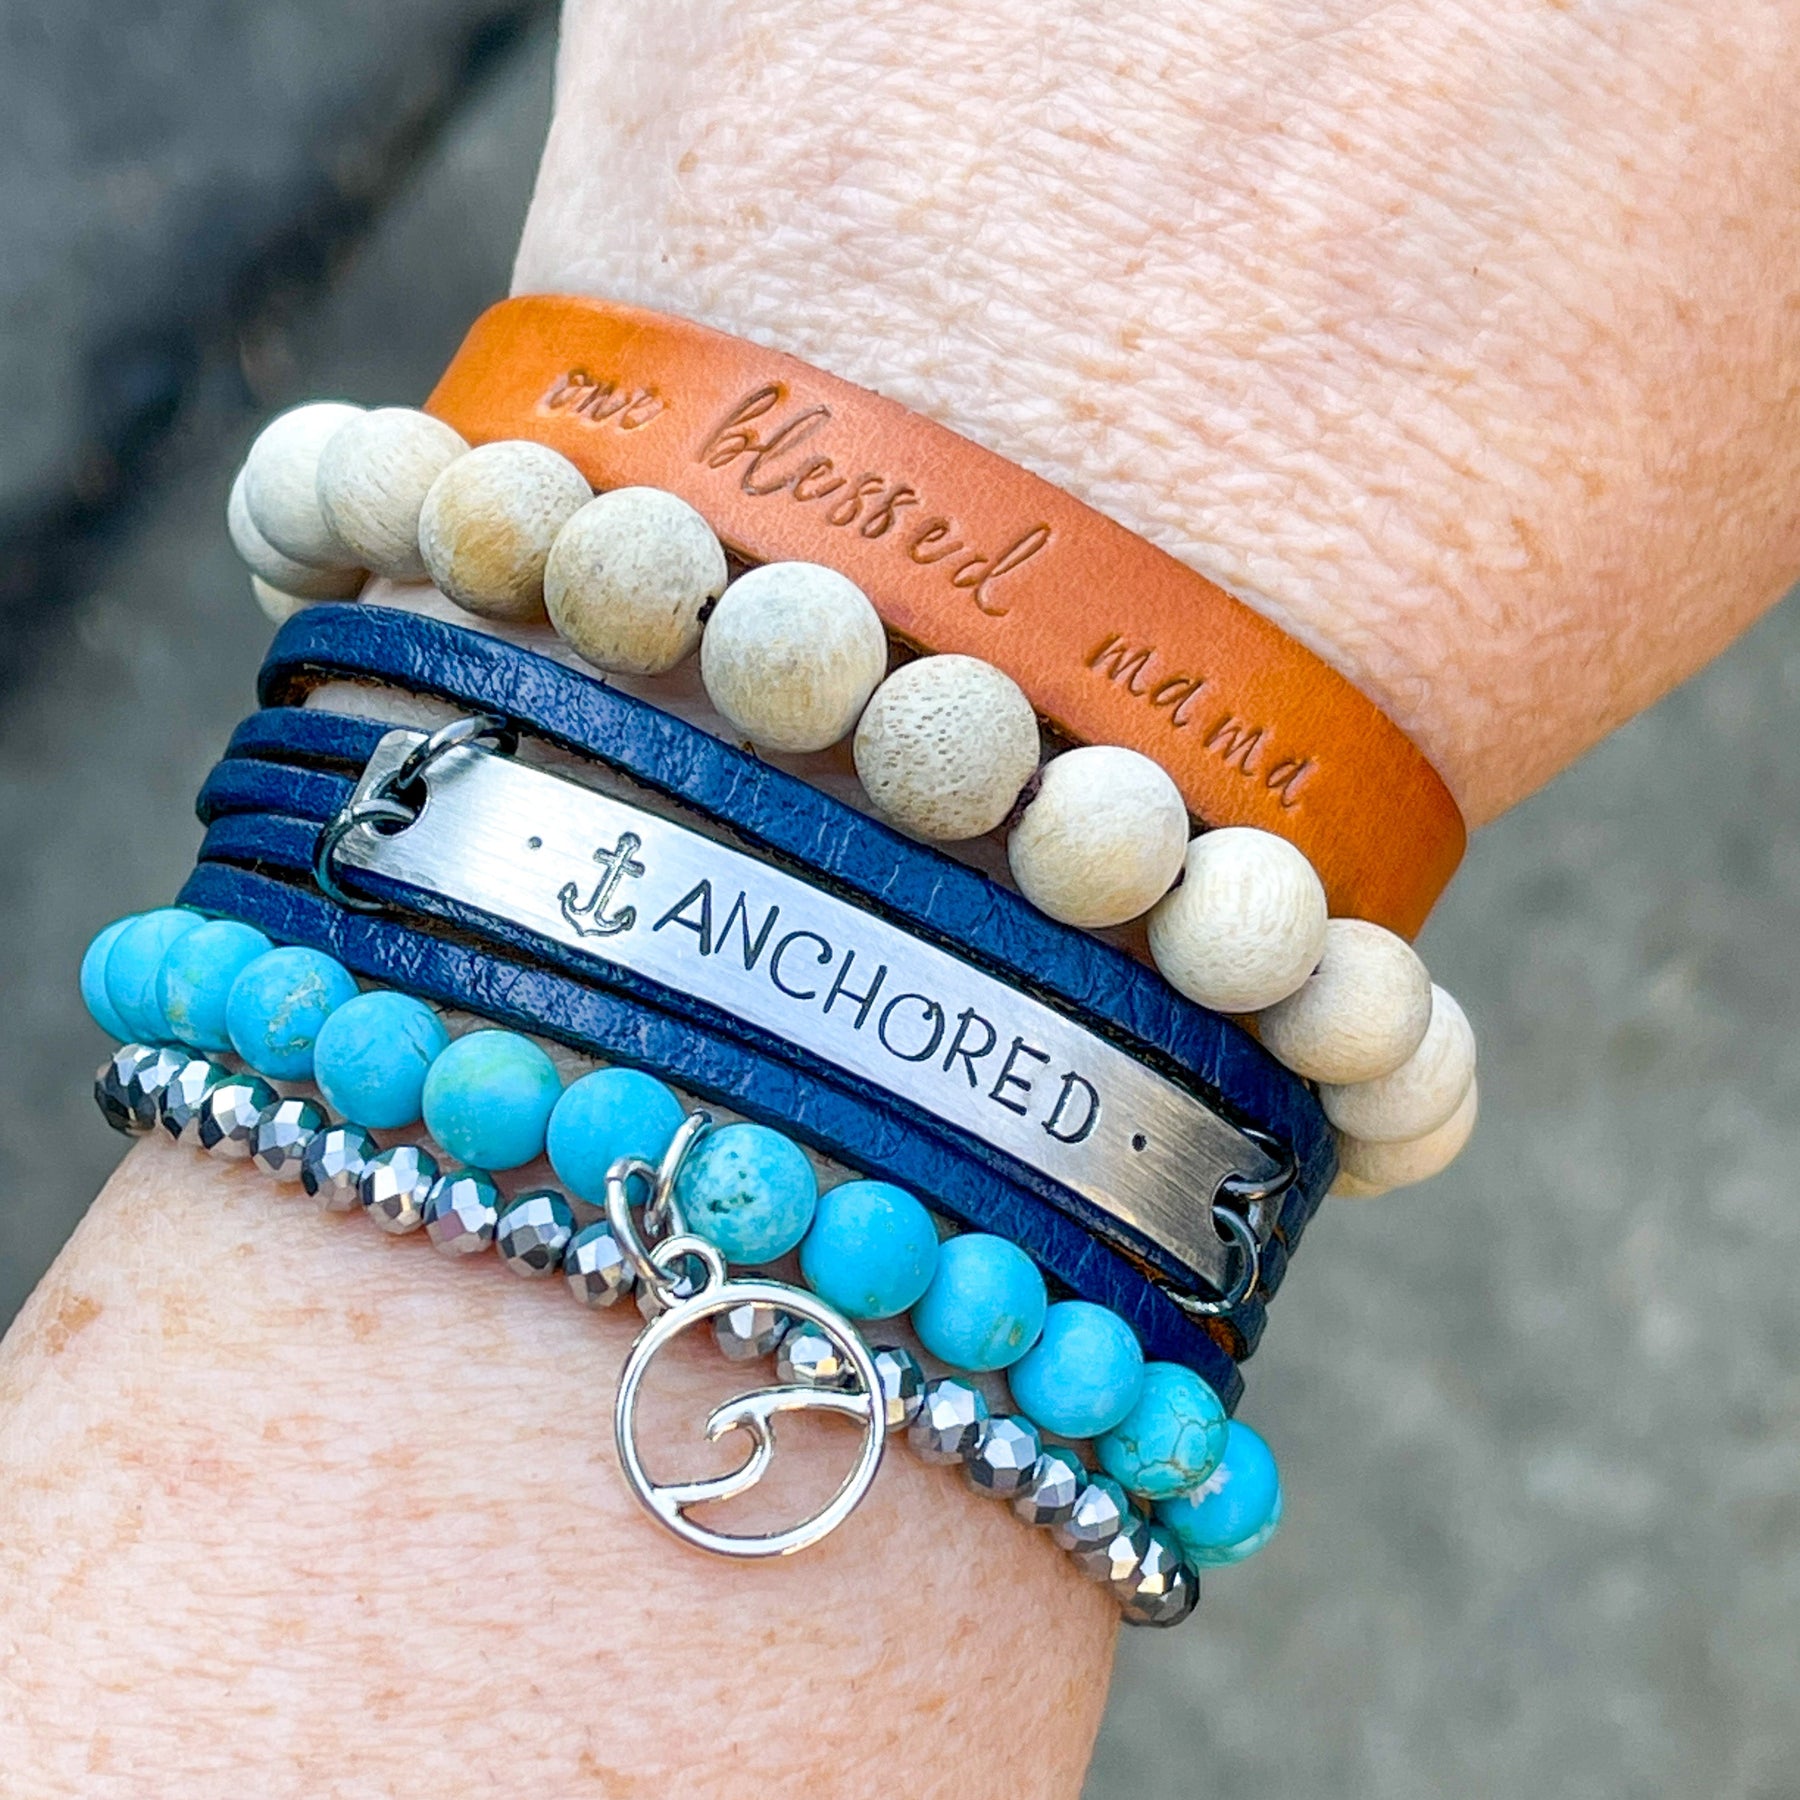
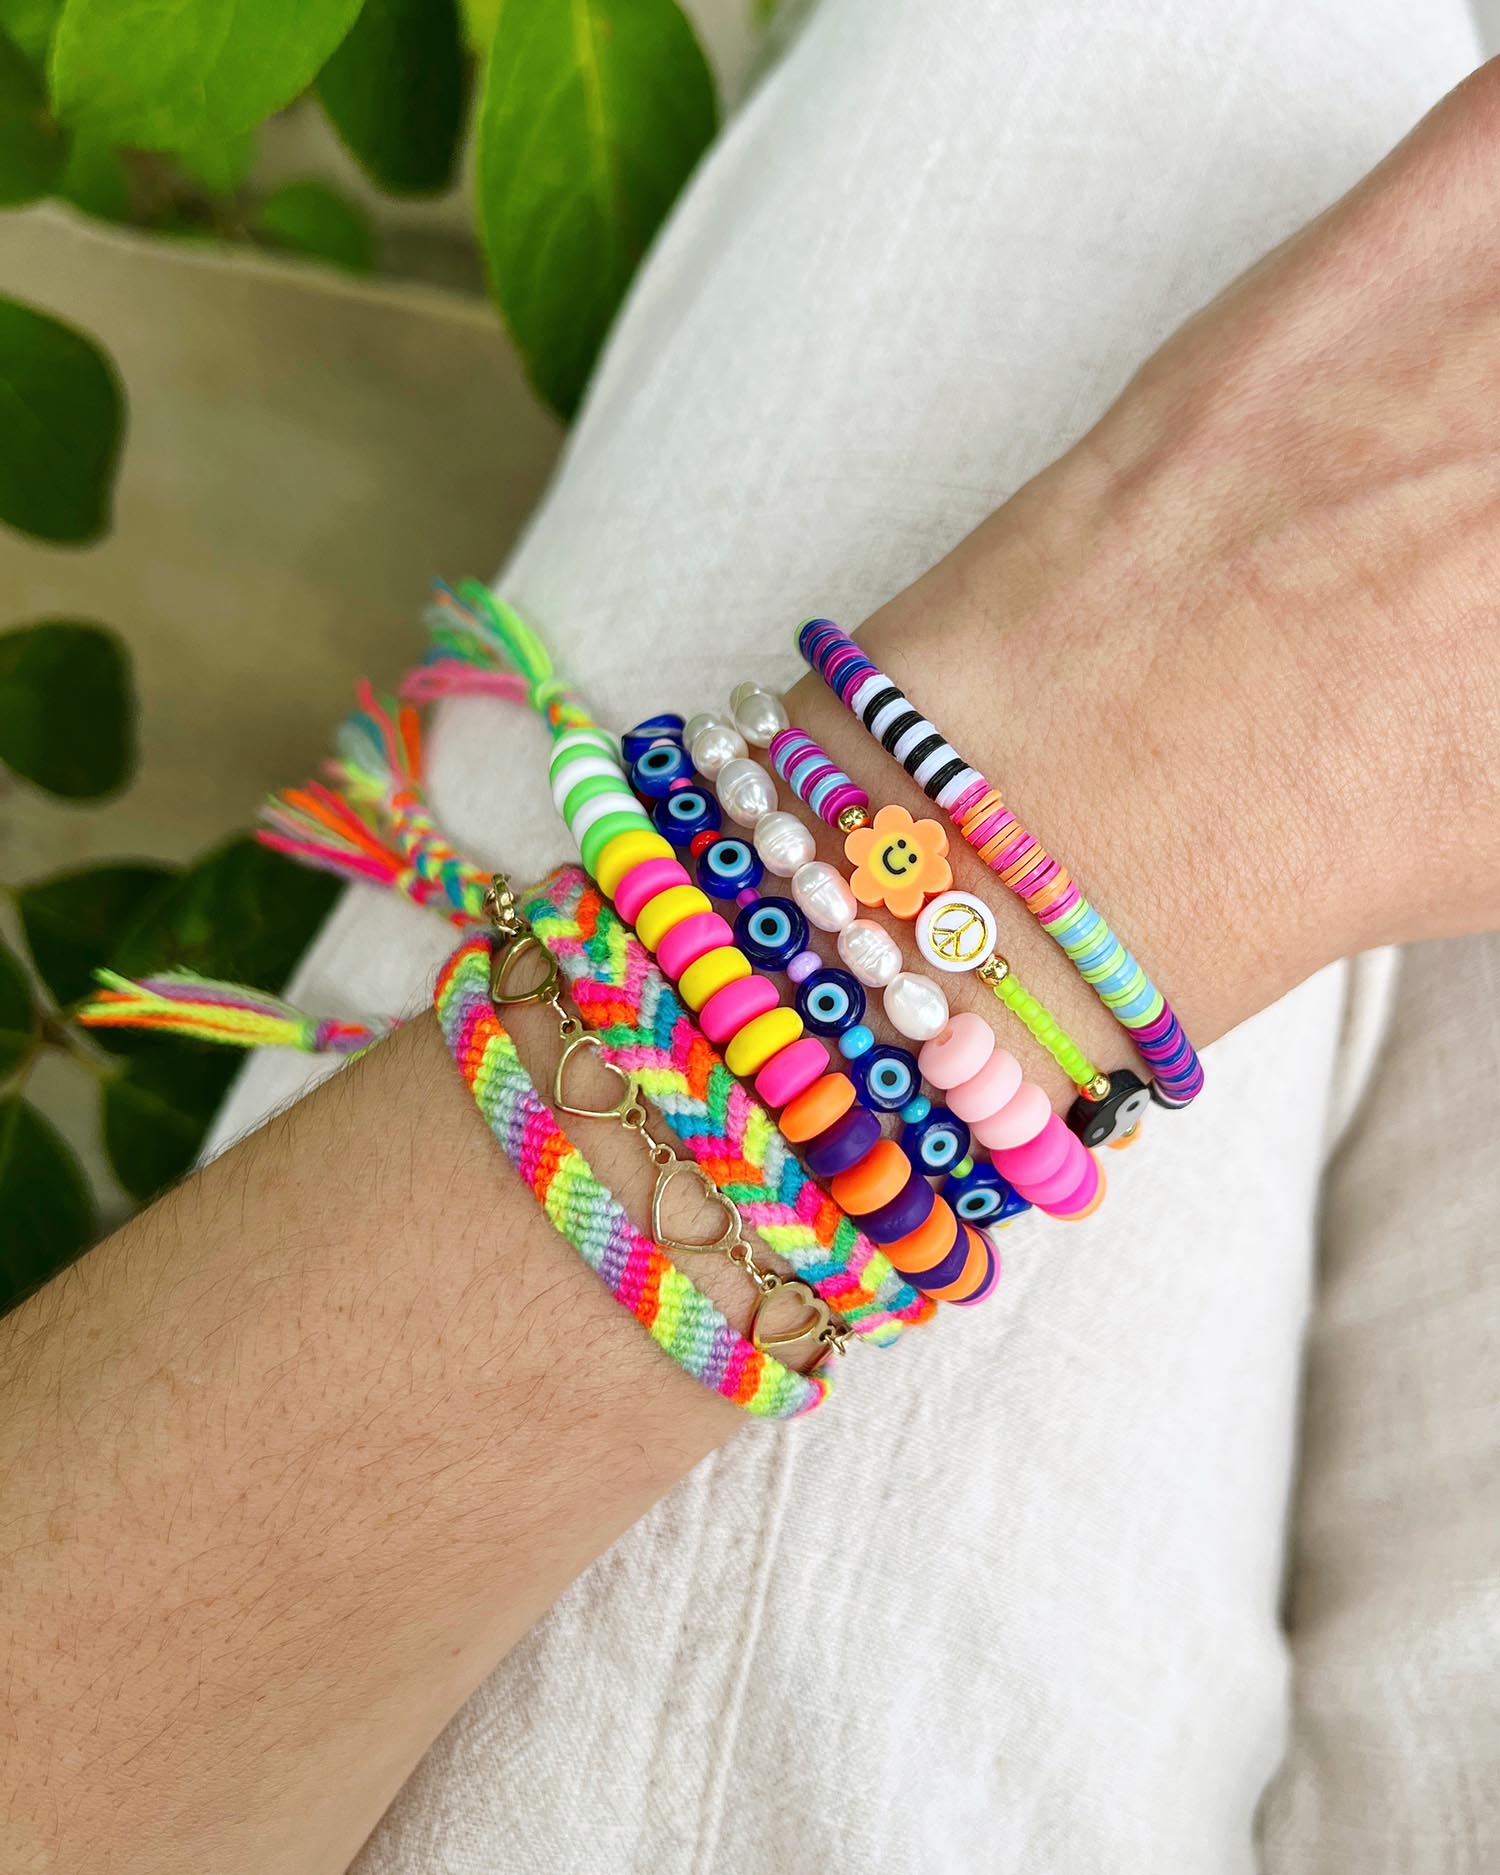
- Mix Bead Sizes and Textures: Combine bracelets with beads of different sizes, shapes, and textures. For example, pair a strand of small dainty beads with a chunky statement bead bracelet for an interesting contrast.
- Experiment with Colors: Play with both complementary and contrasting colors to achieve a vibrant and harmonious look. Blend colors that are part of the same color family or create a bold statement with contrasting hues.
- Mix Metals and Materials: Don’t limit yourself to only bead bracelets. Incorporate bracelets made of different materials such as metals, leather, or fabric to add variety and visual interest to your wrist stack.
Consider Your Style Aesthetic:
When styling your bead bracelets, consider your personal style and the overall aesthetic you want to achieve. Here are a few suggestions:
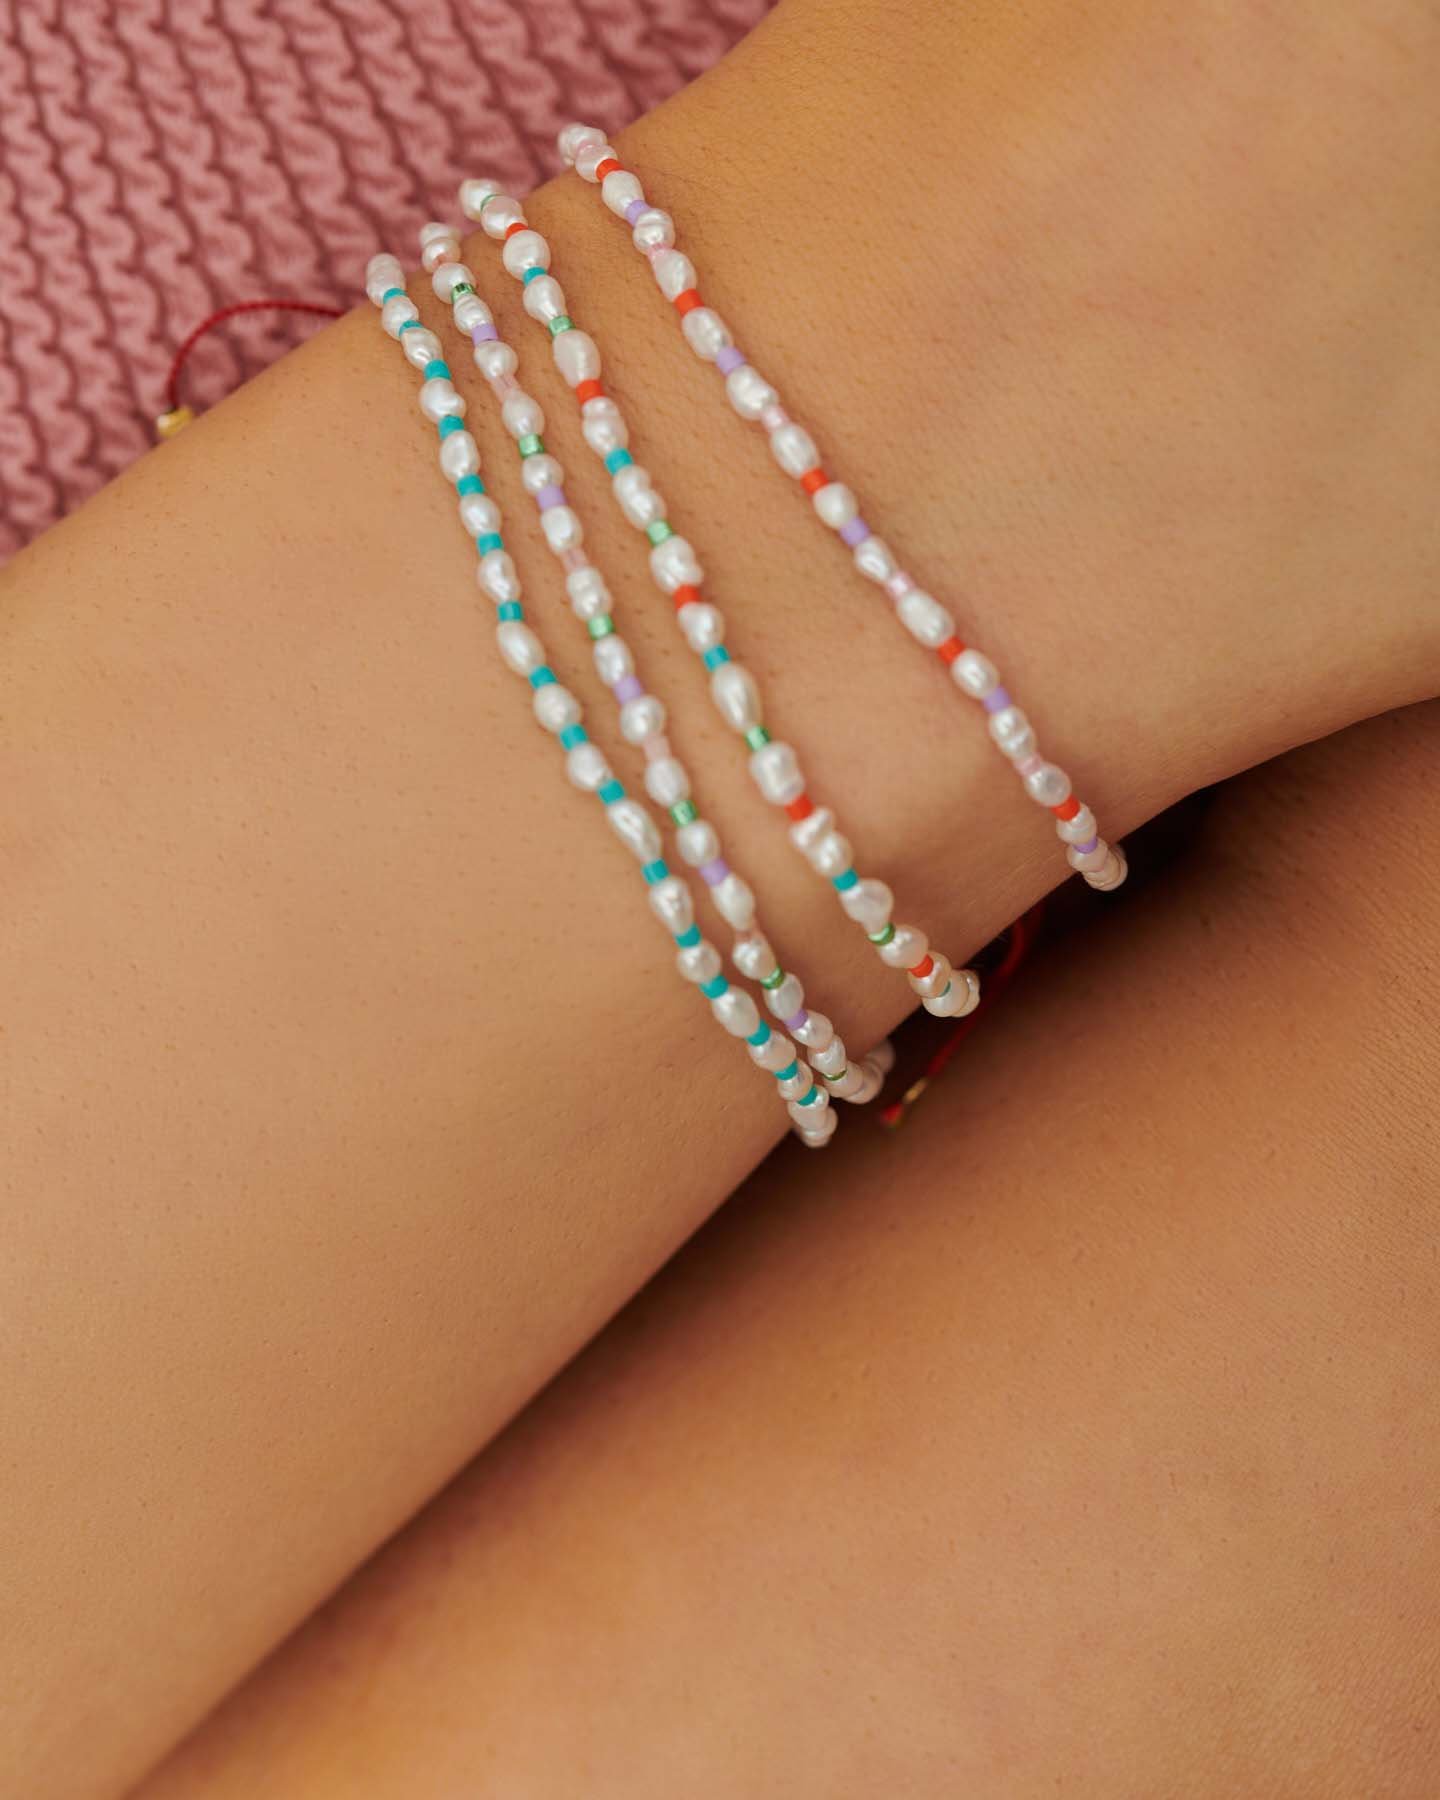
- Minimalist Chic: Opt for a simple, monochromatic color scheme with dainty bead bracelets, choosing subtle shades such as whites, grays, or neutrals. Focus on clean lines and delicate bead designs for a sophisticated and minimalist look.
- Boho Vibes: Embrace a bohemian-inspired style by layering bracelets with vibrant and earthy tones. Mix and match beads with natural materials like wood or semi-precious stones. Add in ethnic or tribal-inspired pieces to complete the boho look.
- Glamorous Glam: For an evening or special occasion, go for bead bracelets featuring crystals or rhinestones to add a touch of sparkle. Opt for beads in luxurious colors like deep blues or blacks, and combine them with metallic accents for a glamorous effect.
Balance Proportions:
Consider the size and shape of your wrist when selecting and styling your bead bracelets. Pay attention to proportion to create a balanced look:
Delicate Wrists:
If you have smaller wrists, avoid overwhelming them with large and chunky beads. Instead, opt for finer, narrower beads or choose bracelets that are adjustable to achieve a more proportionate and comfortable fit.
- Bold and Statement: If you have larger wrists or prefer a bold look, experiment with chunkier bead bracelets. Select beads of substantial size and vibrant colors that make a statement on their own or when combined with other popular bracelets.
Mix Beads with Other Bracelet Styles:
To create a well-rounded and eclectic look, mix your bead bracelets with other bracelet styles. Here are a few suggestions:
- Bangle Bracelets: Pair your bead bracelets with sleek metallic or enamel bangles for a modern and chic combination. Select bangles that complement the colors or textures of your bead bracelets.
- Charm Bracelets: Add a playful touch by combining bead bracelets with charm bracelets. Choose charms that reflect your personality or interests to create a customized and meaningful wrist stack.
- Leather Bracelets: Create a bohemian-inspired look by incorporating leather bracelets alongside your bead bracelets. Experiment with braided or embellished leather bands to achieve a fashionable boho-chic aesthetic.
Conclusion:
Creating clay bead bracelets is a rewarding and artistic endeavor that allows you to embrace your creativity and design unique accessories. By following these step-by-step instructions, you can shape, design, and assemble your own clay bead bracelets, adding a personal touch to your style. Whether making bracelets for yourself or as gifts for others, this craft activity provides a fun and satisfying way to showcase your creativity and wear one-of-a-kind jewelry pieces.
