How to make kandi bracelets?
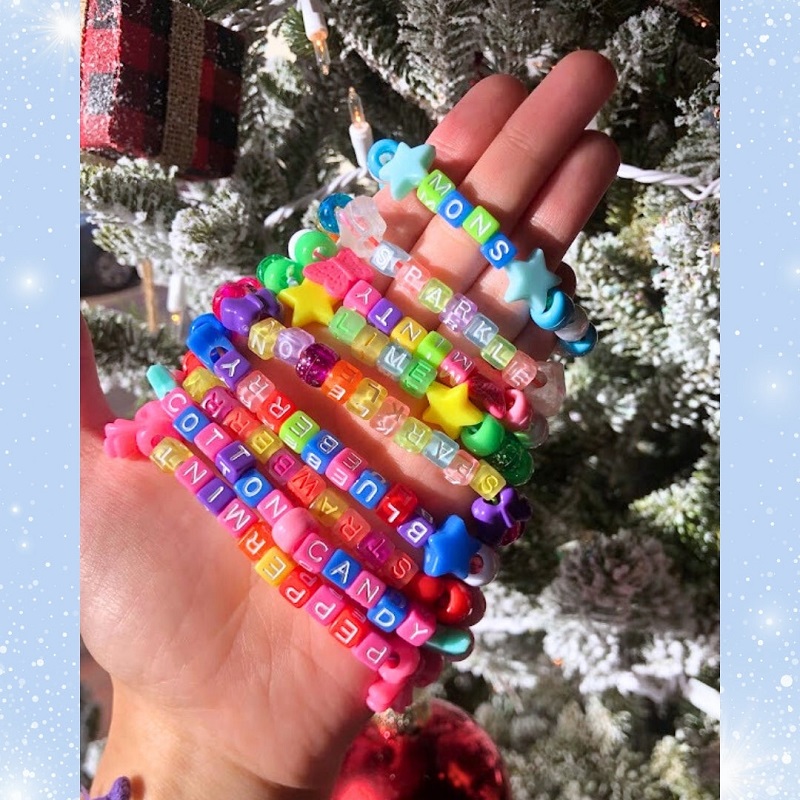
How to make kandi bracelets? Kandi bracelets are colorful, beaded accessories that have become synonymous with the rave and festival culture. Part fashion statement, part personalized gift, creating kandi bracelets is a fun and creative way to express your individual style and connect with others. In this step-by-step guide, we will walk you through the process of making kandi bracelets, including material selection, assembly techniques, pattern ideas, and finishing touches. Let’s dive into the world of kandi bracelet creation and unleash your inner artist.
Materials Needed:
- Elastic cord or stretchy string
- Assorted plastic or acrylic beads in various colors, sizes, and shapes
- Letter beads for personalization (optional)
- Scissors
- Optional: charms, pendants, or other decorative elements
- Optional: clear nail polish or fabric glue (to secure knots)
Selecting Beads:
Choose a variety of colorful beads to create vibrant and eye-catching stretchy bracelets. Opt for plastic or acrylic beads, as they are lightweight and easy to work with. Consider using a mix of different sizes, shapes, and colors to create interesting patterns and designs. Explore local bead shops, online stores, or even repurpose old jewelry for a unique selection of beads.
Measuring and Cutting Cord:
Measure a piece of elastic cord or stretchy string long enough to comfortably wrap around your wrist with a little extra length for knotting. Cut the cord using scissors, ensuring a clean and even edge for easy threading of beads.
Designing and Assembling:
Decide on a design or pattern for your kandi bracelet. Here are a few popular ideas to get you started:
- Random: String beads onto the cord in a random order, creating a unique and eclectic look. This allows for creativity and spontaneity in the design.
- Rainbow: Arrange beads in the order of the rainbow colors (red, orange, yellow, green, blue, indigo, violet), creating a vibrant and harmonious design.
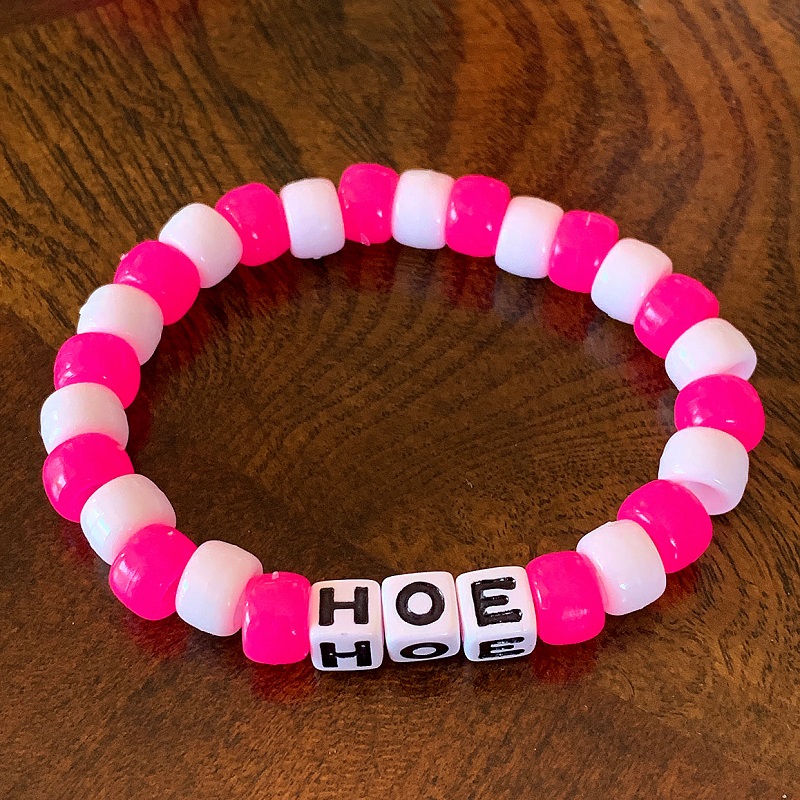
- Name or Message: Use letter beads to spell out your name, a favorite word, or a message on the bracelet. Combine letter beads with colorful beads to create a personalized kandi bracelet.
String the beads onto the cord one at a time, following your chosen design or pattern. Experiment with different bead combinations and arrangements until you achieve the desired look. Leave a small amount of cord empty at the ends to allow for knotting and adjustment of bracelet length.
Knotting and Securing:
Once all the beads are threaded onto the cord, it’s time to secure the bracelet. Tie a tight knot at both ends of the cord to prevent the beads from sliding off. Consider adding a small dab of clear nail polish or fabric glue to the knots for extra security. Allow the knots to dry completely before wearing the bracelet.
Adding Charms or Decorative Elements (Optional):
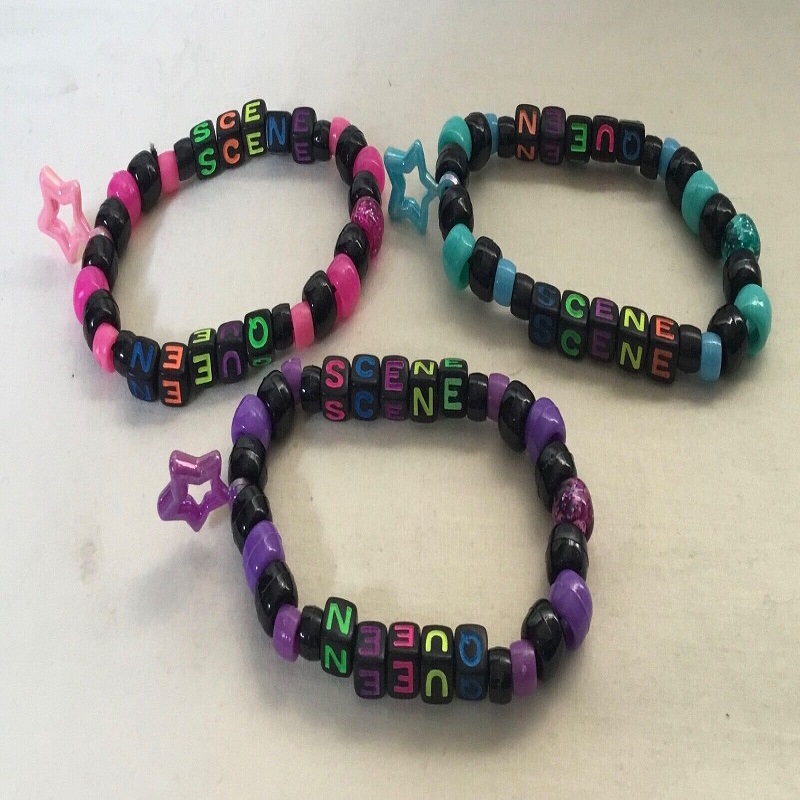
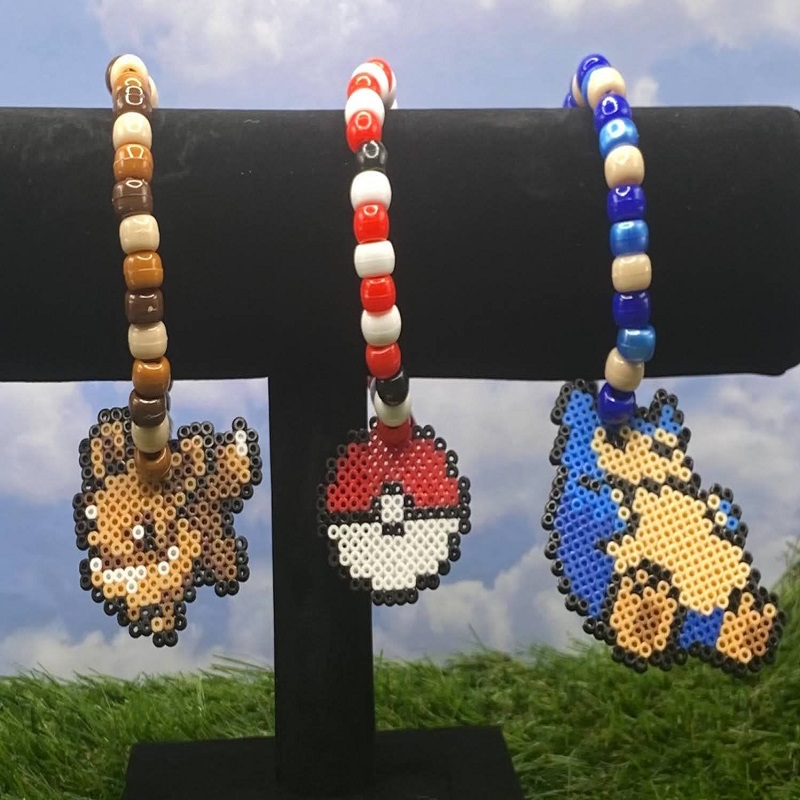
To personalize your kandi bracelet even further, consider adding optional charms or pendants. Attach them to the bracelet using jump rings or by stringing them onto the elastic cord. Charms can include small items that reflect your interests, such as musical notes, hearts, stars, or symbols relevant to the rave or festival scene.
Finishing Touches:
Once the bracelet is assembled and any additional decorations are added, trim any excess cord close to the knot using scissors. Take care to ensure the cord is neatly cut to avoid fraying. Gently stretch and adjust the bracelet to fit comfortably around your wrist.
Sharing and Trading:
One of the special aspects of kandi bracelets is the culture of sharing and trading them at raves and festivals. When attending events, be open to exchanging your beaded flower bracelets with others as a gesture of friendship and connection. It is customary to trade bracelets by sliding or swapping them onto the wrists of others. Participating in this tradition fosters a sense of unity and bonding within the rave community.
What are the good-looking styles of Kandi bracelets?
Kandi bracelets have become a symbol of creativity, self-expression, and unity within the rave and festival culture. With an array of vibrant plastic beads and the freedom to experiment with patterns and designs, kandi bracelets offer endless possibilities for creating unique and eye-catching accessories.
Random Rainbow:
One of the most popular and visually appealing designs is the random rainbow pattern. This design incorporates a mix of colorful beads in random order, creating a vibrant and eclectic bracelet. Whether you choose pastel shades or bold, contrasting colors, the random rainbow pattern is a great choice for a visually striking kandi bracelet that catches the eye and spreads joy.
Alphabet Personalization:
Personalizing kandi bracelets with alphabet beads allows you to create a truly unique accessory. Spell out your name, a favorite word, or a meaningful message by incorporating letter beads into your design. Combine letter beads with colorful spacer beads or incorporate them into a specific pattern to make your personalized message stand out.
Geometric Patterns:
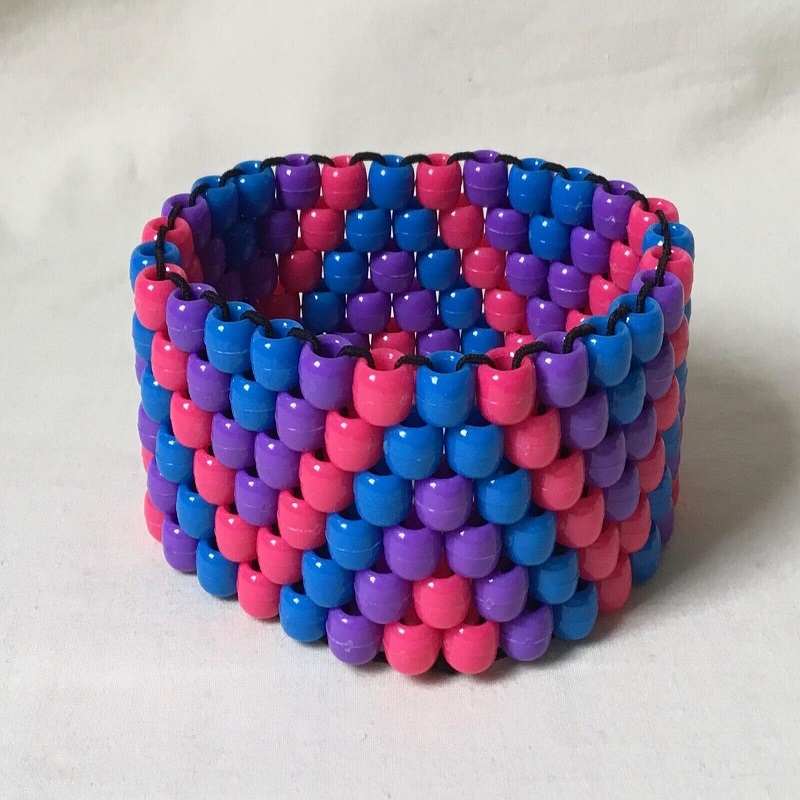
Experimenting with geometric patterns can add a sense of structure and symmetry to your kandi bracelet. Incorporate beads in various shapes, such as squares, triangles, or hexagons, to create visually interesting patterns. You can alternate different shapes, create repeating motifs, or even spell out geometric patterns using letter beads.
Ombre Gradient:
The ombre gradient style is visually stunning and easy to achieve with kandi bracelets. Start with a base color and gradually transition to different shades of the same color or complementary colors. This gradual color change adds depth and dimension to the bracelet, creating an eye-catching and on-trend design.
Charm Embellishments:
Take your kandi bracelet to the next level by incorporating charms or pendants into the design. Attach small symbols, such as musical notes, hearts, stars, or other meaningful objects, to the bracelet using jump rings. Charms can be used as accent pieces or arranged throughout the bracelet for added interest and personalization.
Glow-in-the-Dark Accents:
For an extra captivating effect, add glow-in-the-dark beads or accents to your kandi bracelet. These beads absorb and emit light, creating a mesmerizing glow at night or in dim lighting conditions. Incorporate glow-in-the-dark beads into specific patterns or use them as highlights to give your kandi bracelet a unique and enchanting quality.
Rasta-Inspired Colors:
The Rasta-inspired color scheme is a visually striking option for leather bracelets. Use vibrant red, yellow, and green beads to create bracelets that reflect the iconic Rasta color palette. Experiment with different bead sizes and shapes to add depth to the design. Incorporate additional beads in black or metallic tones to enhance the boldness of the Rasta colors.
Multi-Layered Bracelets:
- Multi-layered kandi bracelets can create intricate and eye-catching designs. Stack multiple beaded strands together, each with its own unique pattern or color scheme. Choose complimentary or contrasting colors to add depth and complexity to the bracelet. The multi-layered effect will stand out and make a bold statement.
- Kandi bracelets offer an exciting and creative way to express your style and connect with others in the rave and festival culture. From random rainbow patterns to alphabet personalization, ombre gradients to geometric designs, there is an abundance of visually stunning kandi bracelet styles to suit every taste.
Conclusion:
Creating kandi bracelets is a creative and enjoyable activity that allows you to express your unique style and connect with others in the rave and festival culture. With some colorful beads, elastic cord, and a little imagination, you can design eye-catching bracelets that reflect your individuality. Follow the step-by-step guide, experiment with patterns and designs, and don’t forget to share and trade your kandi bracelets as a symbol of unity and friendship at events. Let your creativity shine and enjoy the joy of handmade rave jewelry!
