How to make a beaded necklace?
How to make a beaded necklace? Making your own beaded necklace is a creative and fulfilling project that allows you to customize your jewelry to reflect your personal style. Whether you’re a beginner or an experienced crafter, creating a beaded necklace is a fun and rewarding activity. In this comprehensive guide, we will walk you through the step-by-step process of making a beaded necklace, from selecting materials and designing the layout to assembling and finishing your unique piece of jewelry.
Gather Materials and Tools
Before you begin making your beaded necklace, gather the following materials and tools:
Materials:
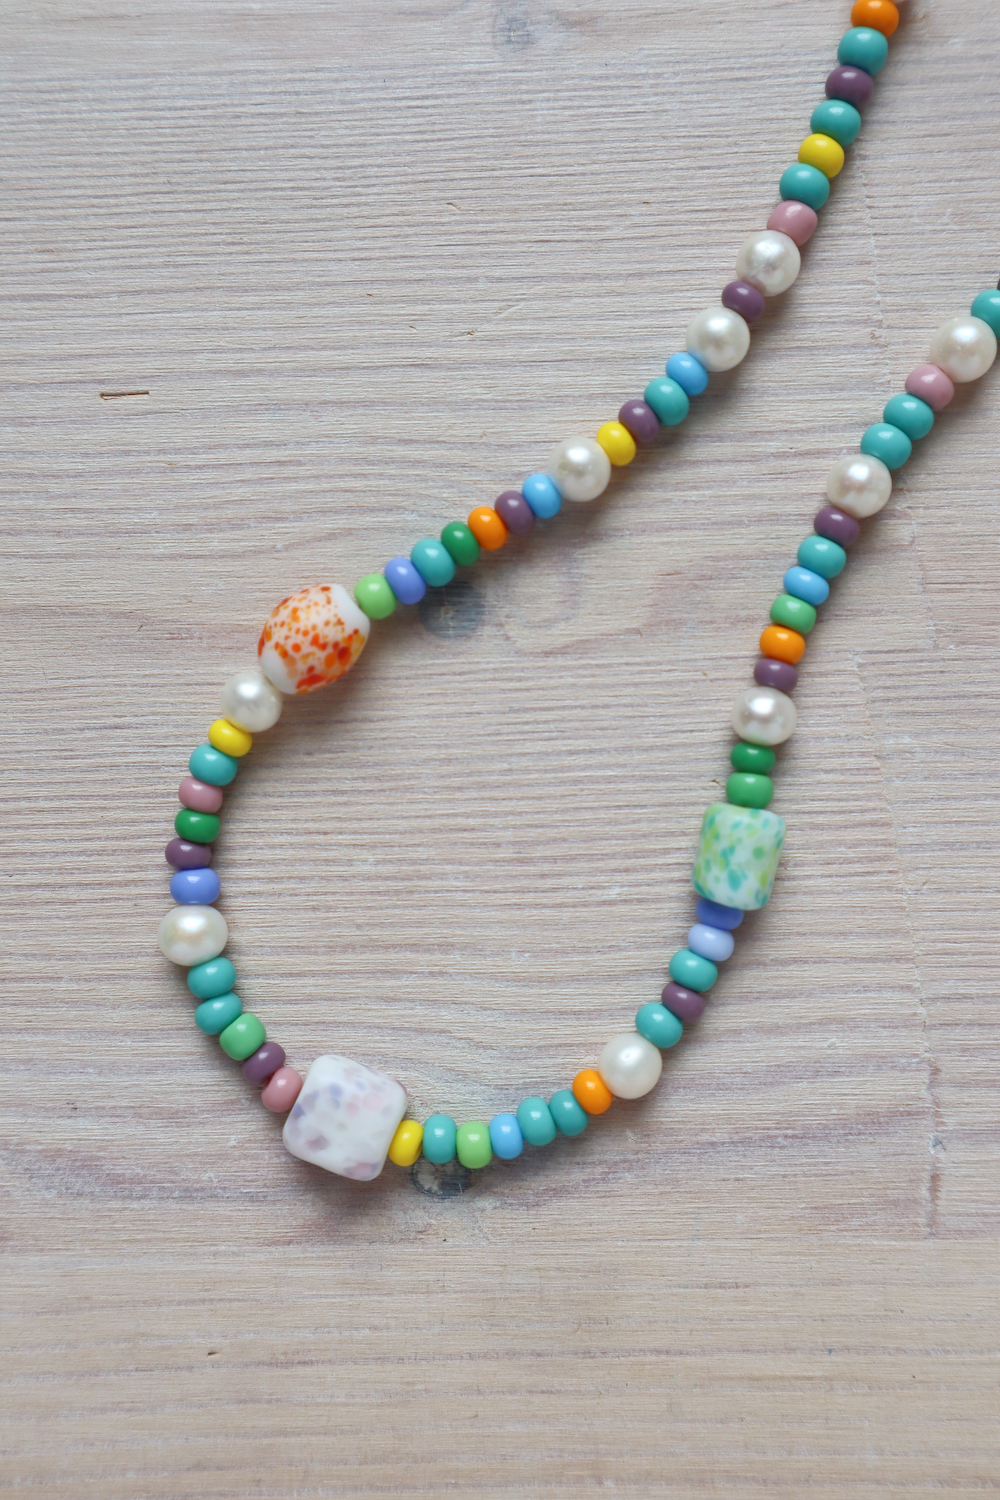
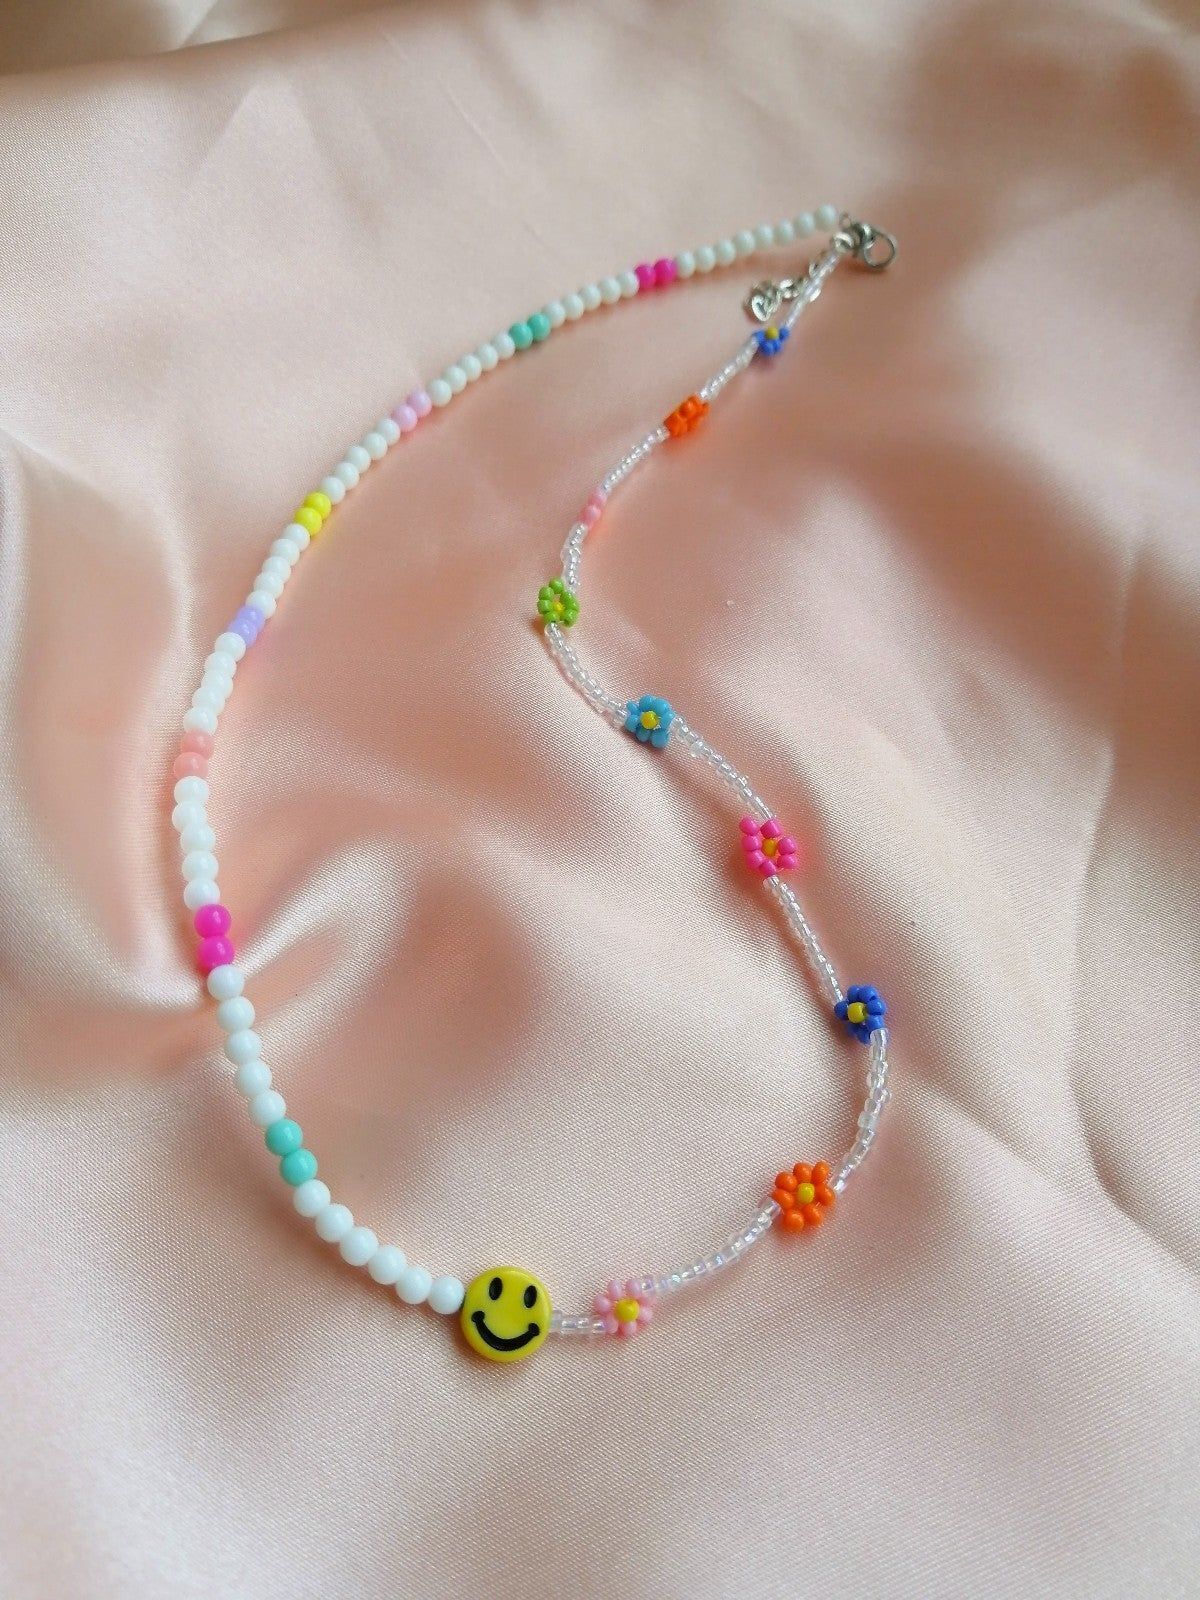
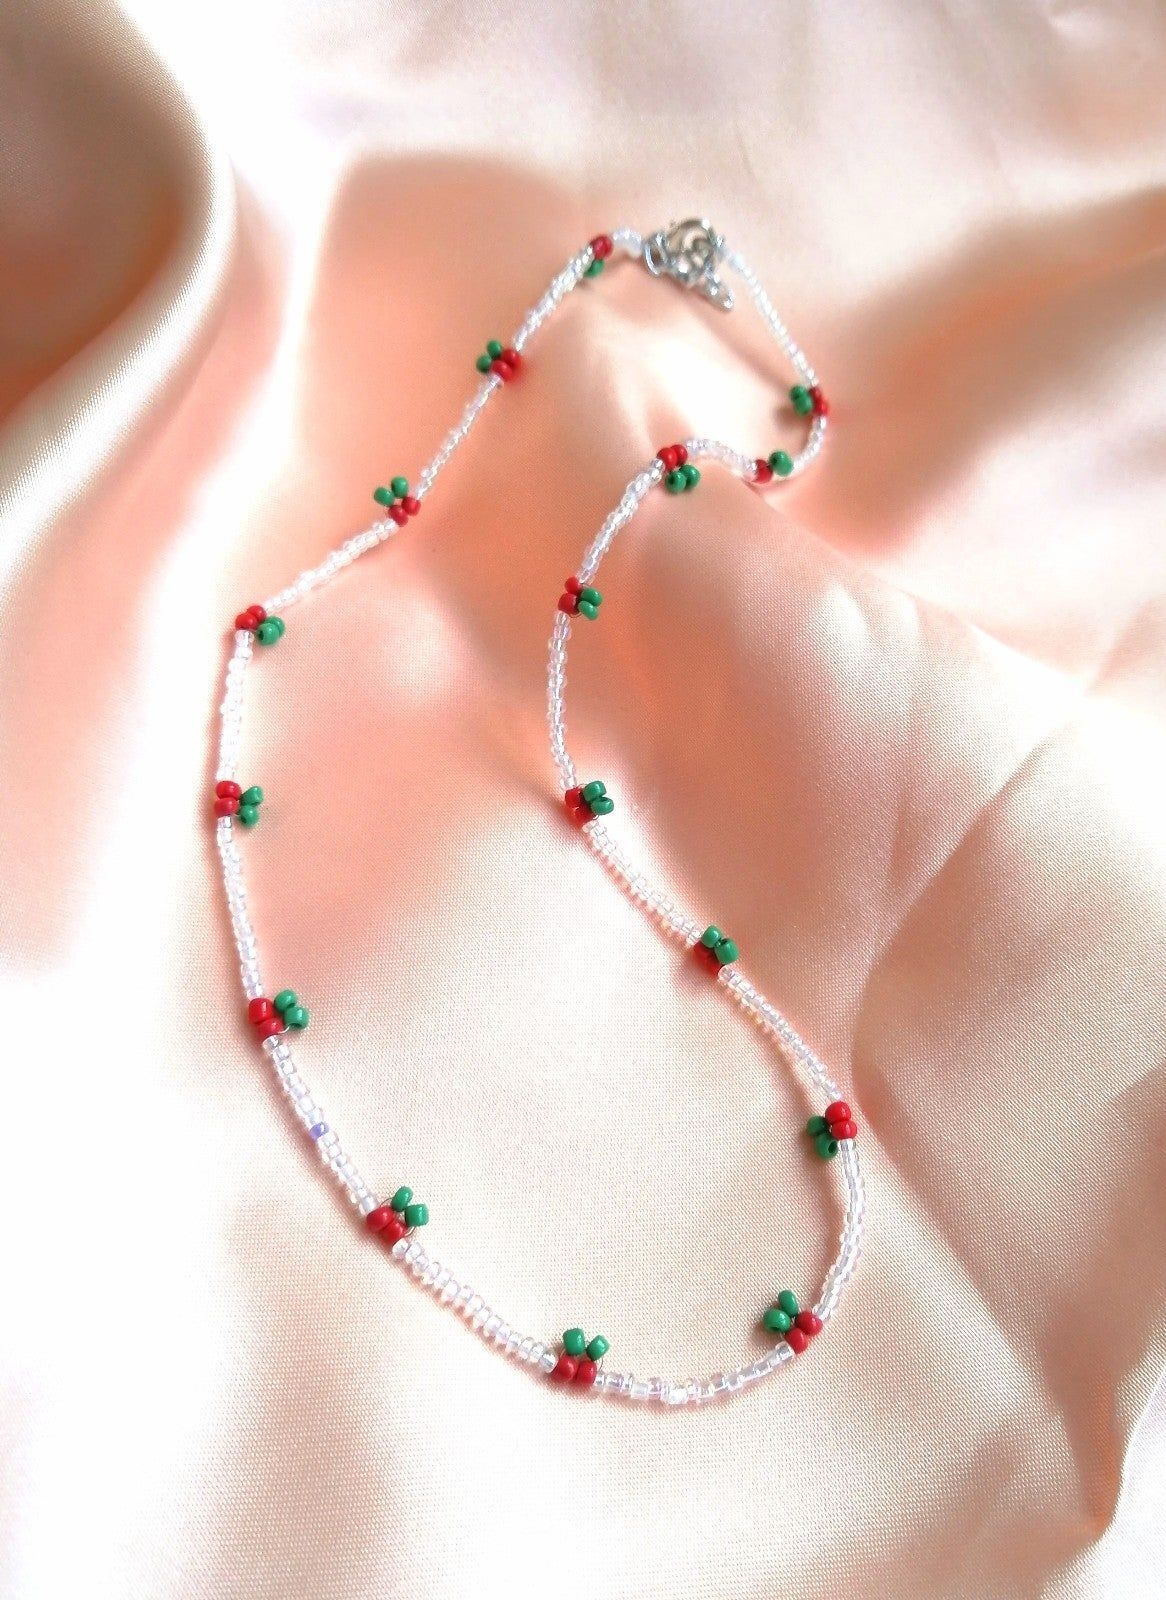
- Beads: Choose the type, shape, color, and size of beads based on your personal style and the overall design you envision for your necklace. Consider using a variety of beads for added visual interest.
- Thread or Wire: Select a beading thread or wire that is strong and suitable for your chosen beads. Nylon thread, silk thread, and beading wire are commonly used for making necklaces.
- Clasp: Choose the type of clasp that best suits your design. Lobster clasps, toggle clasps, and magnetic clasps are popular options. Ensure the size of the clasp matches the thread or wire you are using.
Tools:
- Scissors: Use sharp scissors to cut the thread, wire, or any excess material.
- Needle or Beading Awl: A thin beading needle or an awl can help thread beads, especially those with small holes. Choose a needle or awl suitable for the thickness of your thread or wire.
Design Your Necklace
Before you start assembling your necklace, plan the design and layout. Consider the desired length, bead arrangement, and any patterns, colors, or focal points you want to incorporate. Sketching out your design on paper or creating a visual reference can be helpful in visualizing the finished piece.
Stringing the Beads
Once you have your design in mind, follow these steps to string the beads onto your chosen thread or wire:
- Cut the Thread: Cut a length of thread or wire that is slightly longer than your beaded bracelets. This accounts for any additional length needed for attaching the clasp.
- Attach the Clasp: If using a clasp, secure one end of the thread or wire to one part of the clasp using a knot or crimp bead, depending on the type of clasp you have chosen. Leave a small tail to prevent the knot from slipping out.
- Thread the Beads: Start threading the beads onto the thread or wire, following your design. Use a needle or an awl to help guide the thread or wire through the holes of smaller or tightly spaced beads. Experiment with bead arrangements and patterns to achieve your desired look.
- Add Focal Points or Accents: If you have chosen focal beads, charms, or accent beads, insert them according to your design. These can be placed at the center or spaced out along the necklace for added visual interest.
Securing the Ends
Once you have finished stringing the beads, it’s time to secure the ends to complete your necklace:
- Attach the Second Part of the Clasp: When you reach the desired length, secure the other end of the thread or wire to the remaining part of the clasp. Ensure the necklace is not twisted and fits comfortably around your neck before securing the clasp.
- Knot or Crimp the Ends: Depending on the type of thread or wire you are using, knot or crimp the ends to prevent the beads from sliding off. Follow the instructions specific to your chosen thread or wire for proper knotting or crimping techniques.
- Finish the Ends: Trim any excess thread or wire, ensuring the ends are neatly finished and concealed within the necklace.
Finishing Touches
To add a professional touch and ensure the longevity of your beaded necklace, consider the following finishing touches:
- Apply Glue: If desired, use a clear jewelry glue to secure the knots or crimp beads and prevent them from unraveling over time.
- Add Jump Rings or Extender Chains (Optional): If you want to customize the length or adjustability of your necklace, attach jump rings or an extender chain to the clasp. This allows for flexibility and easier fastening.
- Wear and Enjoy: Once all finishing touches are complete, your homemade beaded bridesmaids bracelets is ready to wear and showcase your unique style.
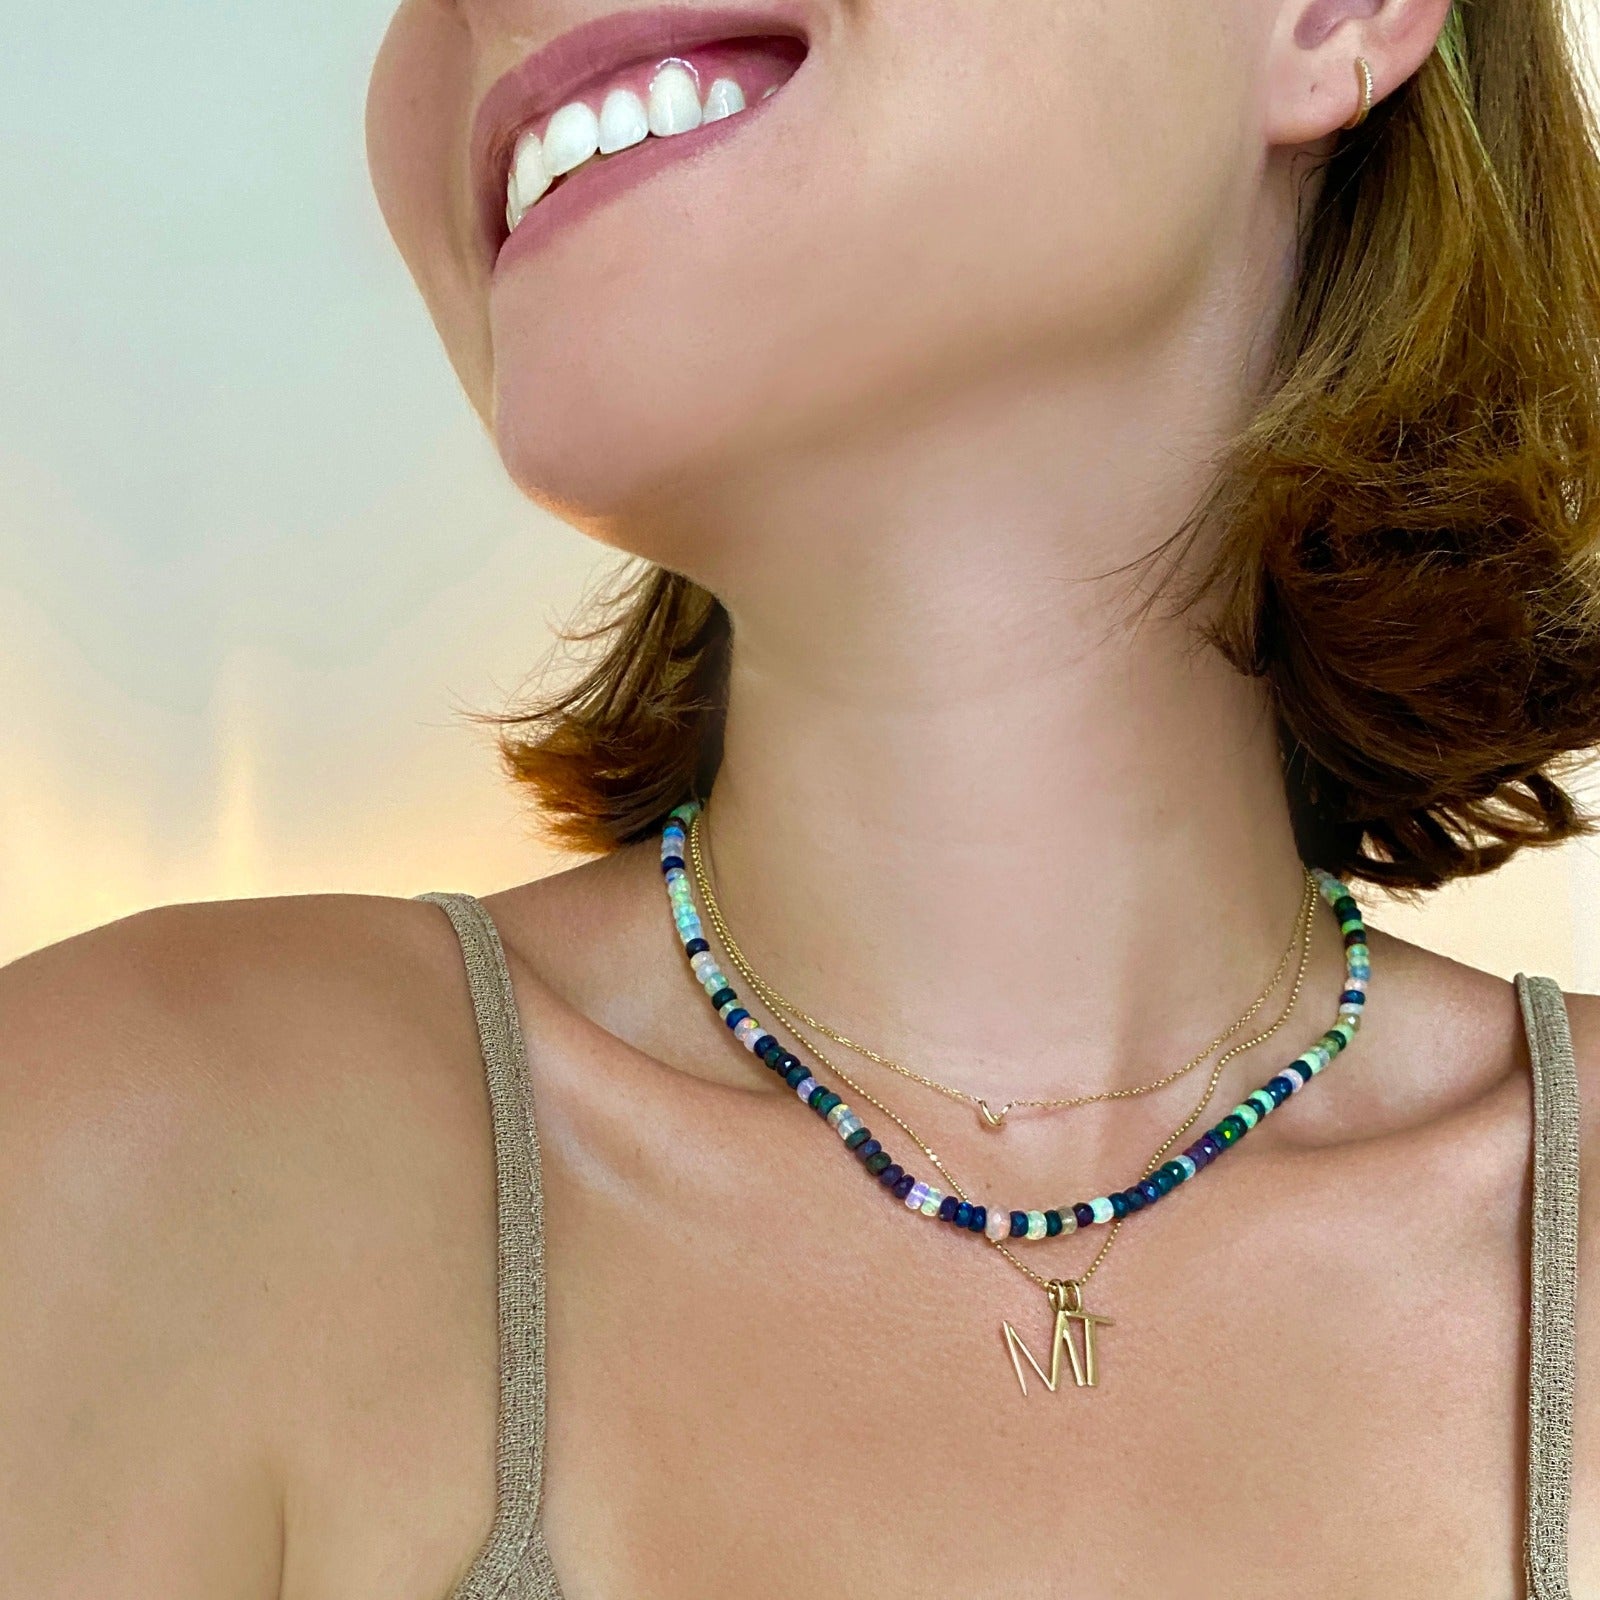
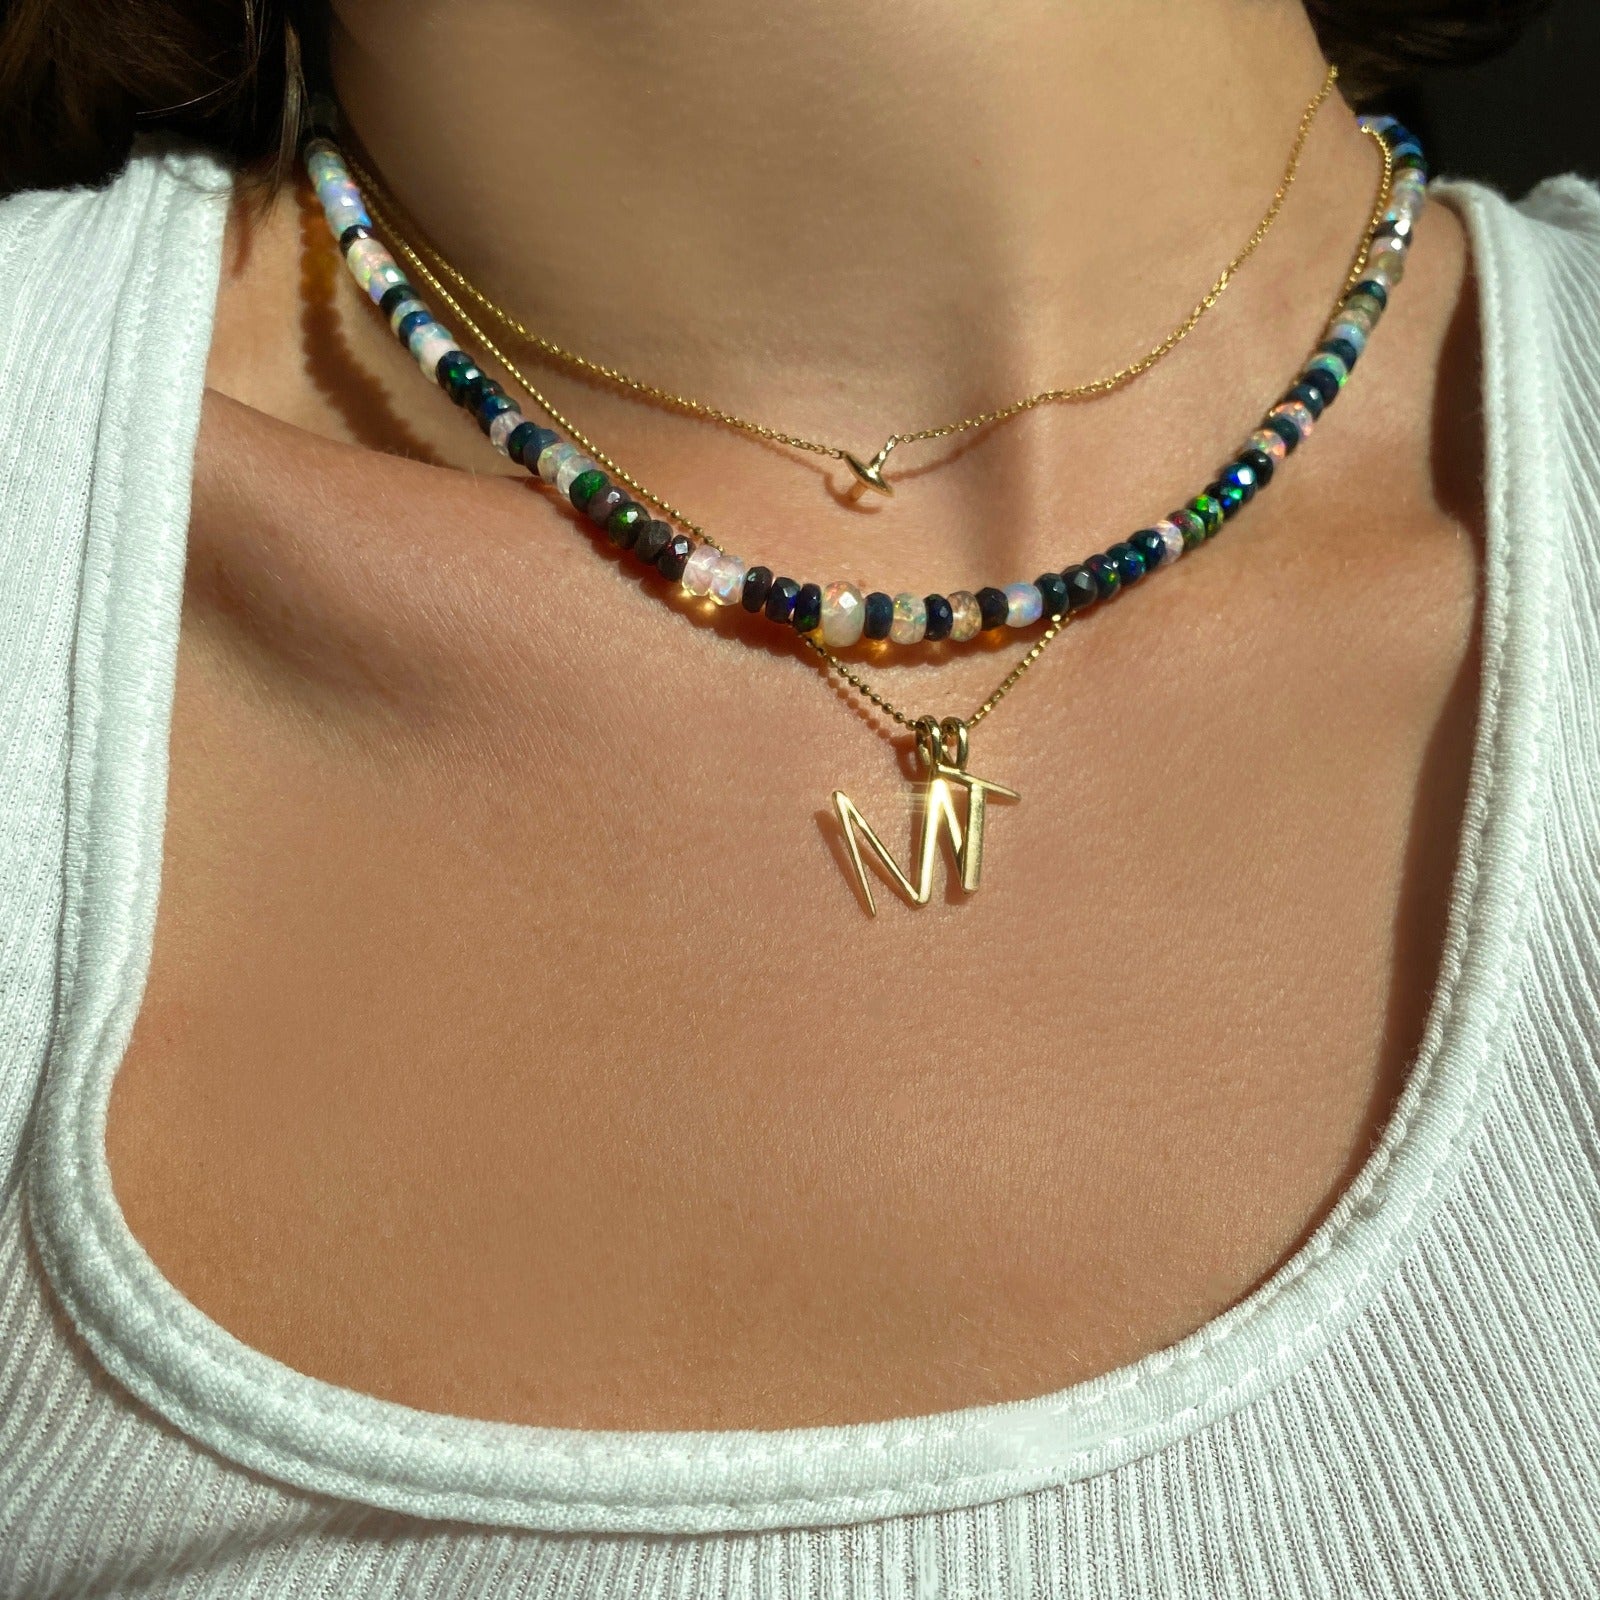
How to match beaded necklaces
Beaded necklaces are versatile accessories that can add a touch of elegance and personality to any outfit. Whether you’re looking to make a statement or add a subtle pop of color, knowing how to style your beaded necklace is essential.
-
Consider Neckline and Neckline Length
The neckline of your outfit plays a significant role in how your beaded necklace will complement it. Consider the following tips when choosing a necklace length and neckline:
- V-Neck or Deep Plunge: A beaded necklace with a pendant or a longer length complements deep plunging necklines, drawing attention to the décolletage area.
- Crew Neck or Scoop Neck: For high neckline tops, opt for shorter beaded necklaces that sit close to the neck or collarbone to add a touch of elegance without overwhelming the outfit.
- Strapless or Off-the-Shoulder: Pair strapless or off-the-shoulder tops or dresses with statement beaded necklaces that sit snugly around the collarbone area, creating a focal point and adding visual interest.

-
Mix and Match Beads
Create a dynamic and layered look by mixing and matching different bead sizes, shapes, and textures. Here are a few suggestions:
- Contrast: Pair beads of different colors or materials to create contrast and make a bold statement. For example, pair vibrant, colorful beads with neutral tones, or mix glass beads with natural stone or wooden beads.
- Size Variation: Combine beads of different sizes to create depth and visual interest. Layer smaller beads with larger beads for a textured look.
- Texture: Experiment with beads of different textures to add dimension to your necklace. Mix smooth, glossy beads with matte or textured beads for an eye-catching contrast.
-
Coordinate with Outfit Colors
To enhance your overall look, consider coordinating the colors of your beaded necklace with your outfit’s color palette. Here are a few suggestions:
- Harmonize: Choose beads that complement or harmonize with the colors in your outfit. Select beads in shades that match the dominant colors in your clothing or opt for complementary colors to create a visually pleasing ensemble.
- Contrast: On the other hand, you can also create a striking contrast by pairing beads in colors that are opposite or complementary to the colors in your outfit. This adds a pop of color and creates a vibrant and attention-grabbing look.
Conclusion
Making a beaded necklace is a creative and enjoyable endeavor that allows you to express your personal style and create a unique piece of jewelry. By gathering the necessary materials, designing your necklace, stringing the beads according to your desired layout, and securing the ends properly, you can craft a necklace that reflects your individuality. Whether you’re a beginner or an experienced jewelry maker, the process of making a beaded necklace is a rewarding experience that results in a beautiful accessory to wear and enjoy for years to come.