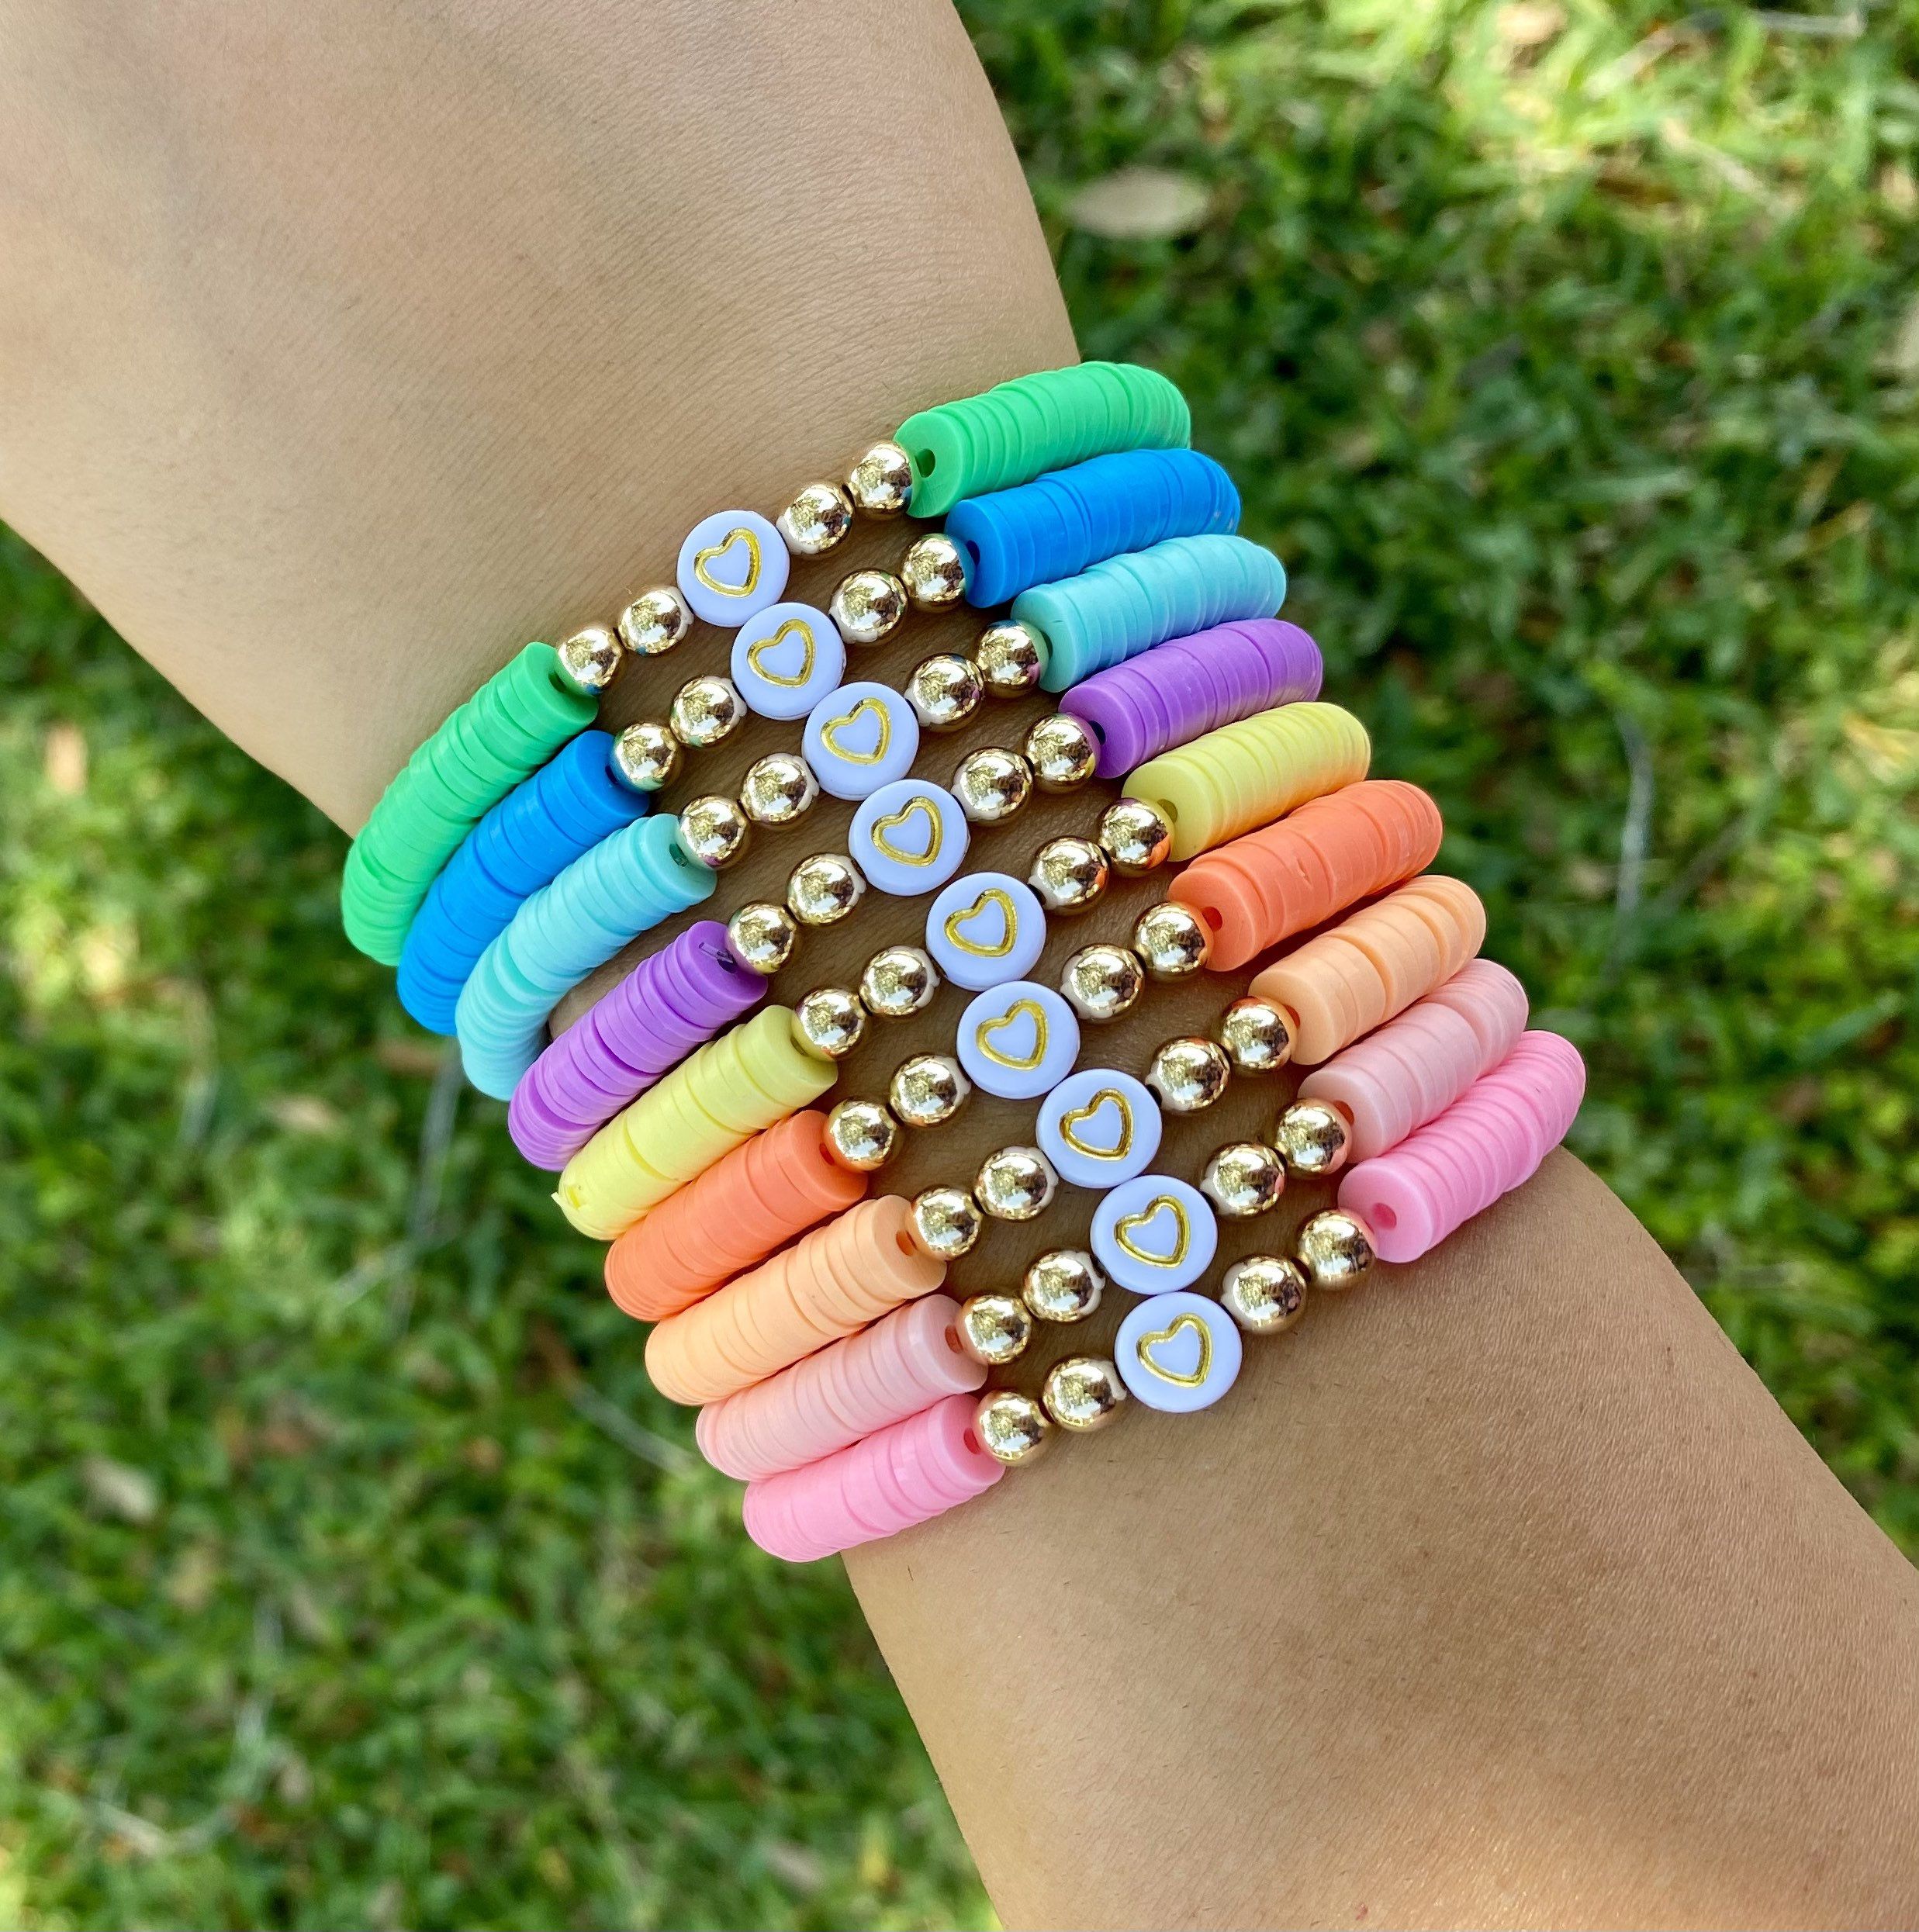
How to make clay bead bracelets
How to make clay bead bracelets? Creating clay bead bracelets is a fun and creative craft that allows you to design unique accessories to complement your personal style. In this comprehensive guide, I’ll walk you through the step-by-step process of making clay bead bracelets, from preparing the clay and forming the beads to curing and assembling the finished bracelet. Whether you’re a beginner or a seasoned crafter, this tutorial will help you unleash your creativity and craft beautiful clay bead bracelets.
Materials You’ll Need:
- Polymer clay in various colors
- Rolling pin
- Craft knife or clay cutting tool
- Toothpicks or skewers
- Baking sheet
- Parchment paper
- Jewelry findings (jump rings, clasps, and chain)
- Round-nose pliers
- Flat-nose pliers
- Wire cutter
- Jewelry cord or elastic cord
- Bead design board (optional)
- Acrylic paint and paintbrushes (optional)
- Gloss or matte varnish (optional)
Step 1: Prepare Your Workspace
Before you begin crafting your clay bead bracelets, it’s important to set up a clean and organized workspace. Lay down a smooth, flat surface covered with parchment paper to prevent the clay from sticking and to provide a clean area for rolling and shaping the beads.
Step 2: Condition the Clay
To prepare the polymer clay for bead-making, you need to condition it by kneading and warming it with your hands until it becomes soft and pliable. Conditioning the clay makes it easier to work with and ensures that the colors are thoroughly mixed.
Step 3: Create Bead Designs
Now, it’s time to unleash your creativity and start forming the clay into beads. Here are a few techniques you can use to create different bead designs:
- Simple Round Beads: Roll a small piece of clay between your palms to form a smooth, round bead. For uniform beads, you can use a bead design board to ensure consistent sizes.
- Textured Beads: Experiment with adding textures to your beads using tools such as toothpicks, knitting needles, or small stamps. Press the texture into the clay before shaping it into a bead for added visual interest.
- Marbled Beads: Combine different colors of clay and twist them together to create a marbled effect. Roll the twisted clay into a ball, then flatten it slightly to form a disc-shaped bead with a unique pattern.
- Shaped Beads: Mold the clay into various shapes, such as cubes, cones, or cylinders, to create a diverse collection of beads for your bracelet.
Step 4: Make Holes in the Beads
Using a toothpick or skewer, carefully pierce a hole through each bead to create a channel for stringing. Ensure the holes are large enough to accommodate the jewelry cord or elastic cord you’ll be using for the bracelet.
Step 5: Bake the Beads
Place the pierced beads on a baking sheet lined with parchment paper and follow the manufacturer’s instructions for baking the polymer clay. Typically, the beads will need to be baked in a preheated oven at a specific temperature for a designated amount of time. Keep a close eye on the beads while they are baking to prevent over-browning or burning.
Step 6: Allow the Beads to Cool
After baking, carefully remove the beads from the oven and allow them to cool completely before handling them. Once cooled, the beads should be firm and durable, ready for the next steps in the bracelet-making process.
Step 7: Paint and Varnish (Optional)
If you want to add an extra touch of color or shine to your beads, you can choose to paint them with acrylic paint and seal them with a gloss or matte varnish. This step is optional but can enhance the appearance and durability of the beads.

Step 8: Assemble the Bracelet
Now that your beads are ready, it’s time to assemble the bracelet. Here’s how to do it:
- Stringing the Beads: Cut a length of jewelry cord or elastic cord to your desired bracelet size. String the baked and cooled beads onto the cord, arranging them in the desired pattern and spacing.
- Adding Clasps and Findings: Once all the beads are strung, attach jump rings and a clasp to the ends of the cord using round-nose pliers, flat-nose pliers, and wire cutters. If using elastic cord, tie secure knots and add a drop of glue for extra reinforcement.
- Final Adjustments: Before finishing the bracelet, make any final adjustments to the bead placement and cord tension, ensuring that the bracelet is comfortable to wear and securely assembled.
Step 9: Final Touches
Once the bracelet is assembled, take a moment to admire your handiwork! You can also personalize the bracelet further by adding charms, tassels, or additional embellishments to make it truly unique.
Congratulations, you’ve successfully created a stunning clay bead bracelet! Whether you wear it yourself or give it as a thoughtful handmade gift, your one-of-a-kind creation is sure to be admired.
Tips for Success:
- Work with small amounts of clay at a time to prevent drying out or contamination of colors.
- Experiment with different bead sizes, shapes, and textures to create a diverse and visually appealing bracelet.
- Consider creating a themed bracelet by selecting colors and designs that complement each other.
- Take your time and enjoy the creative process—bead-making is a relaxing and rewarding craft.
In conclusion
Crafting clay bead bracelets is a delightful way to express your creativity and produce beautiful, personalized accessories. Whether you’re a novice or an experienced crafter, this versatile and enjoyable craft offers endless opportunities for self-expression and artistic exploration. Have fun experimenting with colors, shapes, and styles as you bring your unique vision to life through the art of clay bead bracelet-making. Happy crafting!
Bracelets are not only decorative accessories but also meaningful expressions of personal style, sentiment, and identity. Whether you prefer the timeless elegance of a diamond tennis bracelet, the whimsical charm of a friendship bracelet, or the bold allure of a statement cuff, there is a bracelet style to suit every woman’s unique taste and lifestyle. Embrace the versatility and beauty of bracelets as an opportunity to express your individuality and adorn your wrists with symbols of creativity, elegance, and self-expression. Let your choice of bracelets reflect your personality and enhance your overall fashion statement, adding a touch of grace and sophistication to every ensemble.