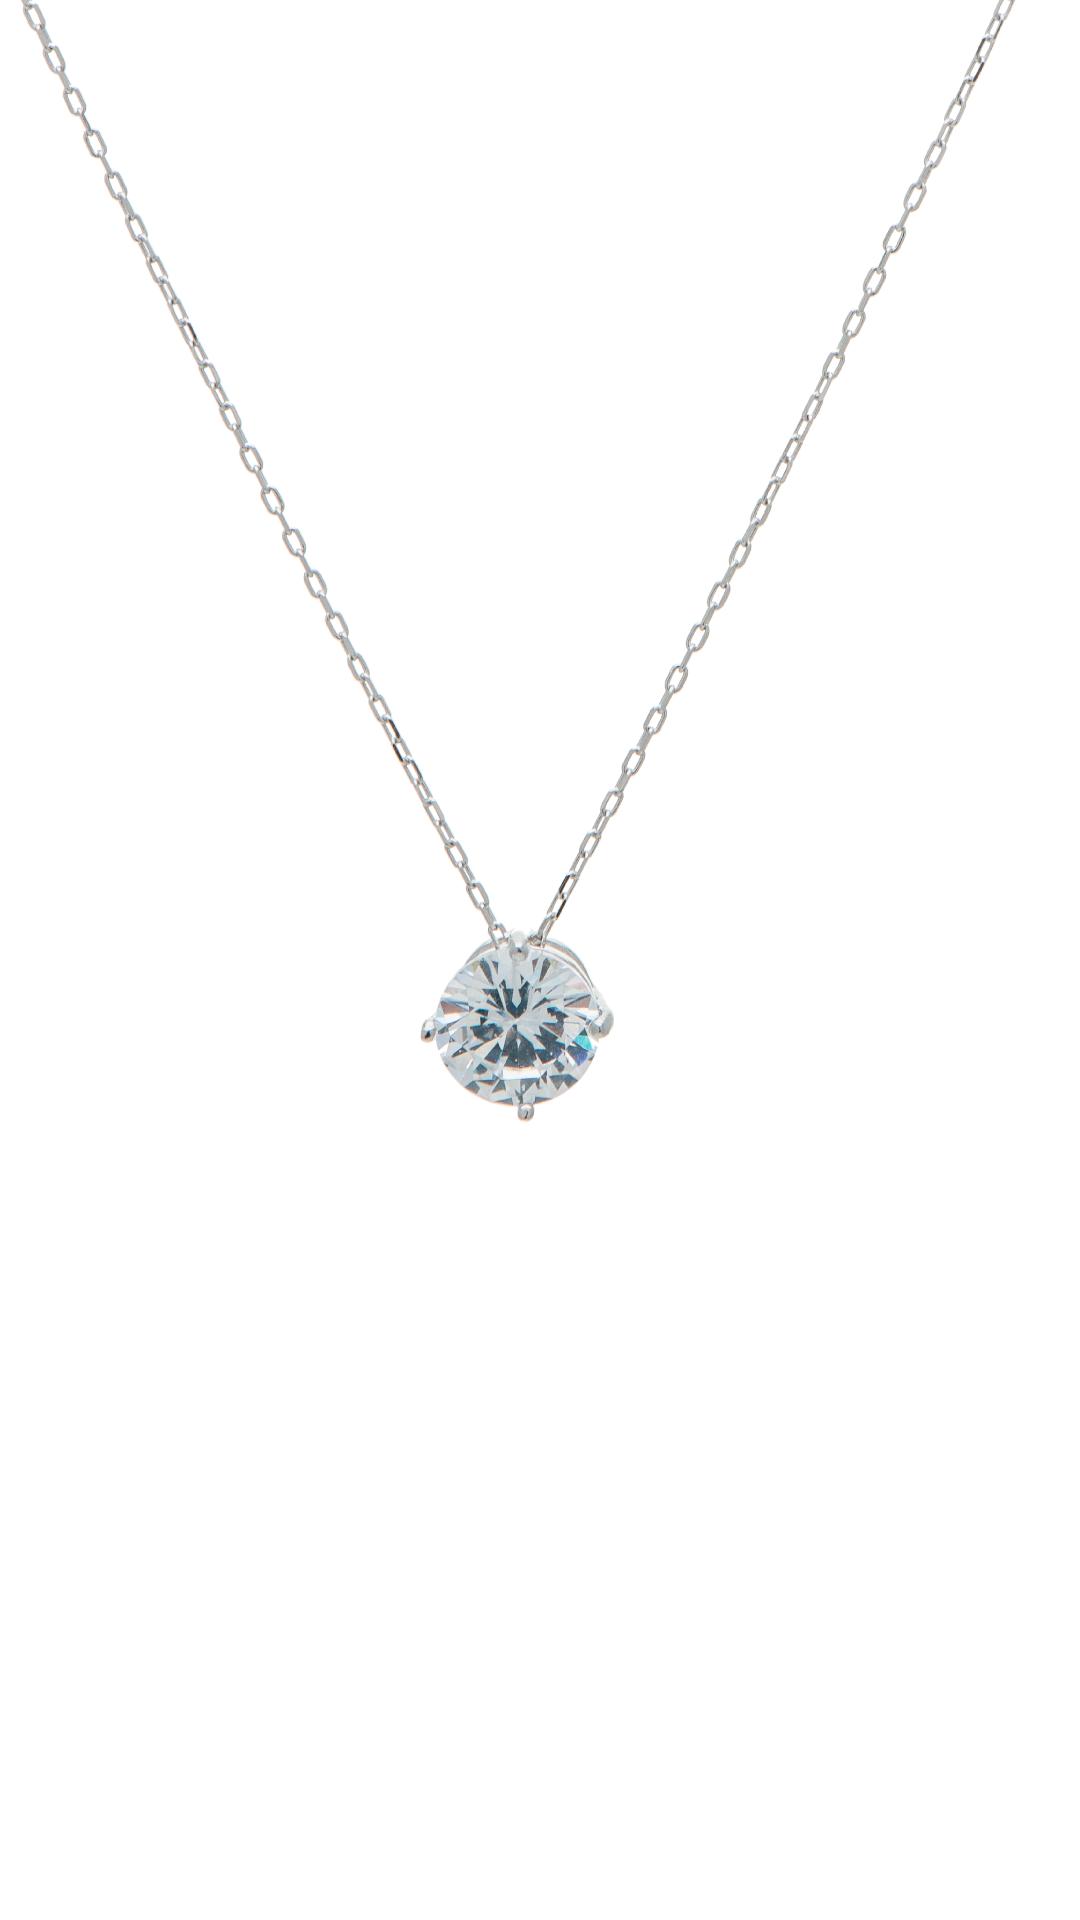
How to fix broken necklace?
How to fix broken necklace? A broken necklace can be a distressing experience, especially if it holds sentimental value or is a cherished piece of jewelry. However, many necklace repairs can be done at home with basic tools and techniques. In this comprehensive guide, we will walk you through the step-by-step process of fixing a broken necklace, from assessing the damage to repairing clasps, replacing broken links, and restringing beads or pearls.
Tools and Materials You’ll Need:
Before you begin fixing a broken pearl necklace, gather the following tools and materials:
- Small pliers (needle-nose or flat-nose)
- Wire cutters
- Jewelry glue (optional, for certain repairs)
- Nylon thread or beading wire (for restringing)
- Crimp beads or tubes (for restringing)
Assess the Damage:
Examine the necklace closely to identify the broken parts, such as clasps, jump rings, links, or beads. Assess the severity of the damage and determine the appropriate repair method.
Repairing Clasps and Jump Rings:
Replace a Broken Clasp: If the clasp has broken, remove the remaining pieces from the necklace using pliers. Replace it with a new clasp of the same style by attaching it to the chain or restringing material.
Reattach a Jump Ring: If a jump ring that connects the clasp or pendant to the necklace has come undone, use pliers to open the ring slightly and slip it back onto the chain or restringing material. Then, close the jump ring securely.
Fixing Broken Links:
Replace a Broken Link: If a link in the necklace chain is broken, remove the damaged section using wire cutters. Attach a new link by opening the end links of the chain and adding a new link with pliers. Close the end links securely.
Repair a Broken Link: For a minor break in a link, overlap the broken ends and use pliers to twist and secure them together. This will create a temporary fix, but it is best to replace the link for a permanent repair.
Restringing Beads or Pearls:
Remove the Beads or Pearls: If the necklace has loose or broken beads or pearls, remove them from the stringing material. Carefully detach any findings or clasps attached to the ends of the string.
Prepare the Restringing Material: Cut a length of nylon thread or beading wire slightly longer than the original strand. Slide a crimp bead or tube onto one end of the material, leaving a small tail. Thread the material through the loop of a clasp or finding, and thread back through the crimp bead or tube.
String the Beads or Pearls: Begin threading the beads or pearls onto the material, making sure to maintain the original design or pattern of the beaded necklace. Add a new bead or pearl if necessary to replace any missing ones.
Secure the Ends: Once all the beads or pearls are in place, slide another crimp bead or tube onto the material. Leave a small tail and pull the material through the loop of the other end finding. Thread the material back through the crimp bead or tube on the opposite end.
Replacing Missing or Broken Beads or Pearls:
Replace a Missing Bead: If a bead or pearl is missing, purchase a similar replacement that matches the size, shape, and color. Carefully thread the new bead onto the original stringing material, following the order and pattern of the surrounding beads.
Replace Broken Beads: Use pliers or wire cutters to carefully remove any broken or damaged beads. Replace them with new beads of similar size and appearance. Thread the new beads onto the stringing material, maintaining the original design.
Note:
In some cases, repairing a necklace may require more advanced techniques or specialized tools. If you are unsure or uncomfortable with a repair, it is recommended to consult a professional jeweler.
Final Examination:
Inspect the repairs closely to ensure all connections are secure and the necklace is structurally sound. Check the strength of clasps, jump rings, and restringing materials.
Preventative Measures:
Regularly inspect and maintain your necklaces to identify potential weak points or damage before a complete break occurs. Store them properly to prevent tangling or stress on delicate parts.
Avoid exposure to harsh chemicals, excessive moisture, or prolonged sunlight, as these can weaken the materials and cause damage.
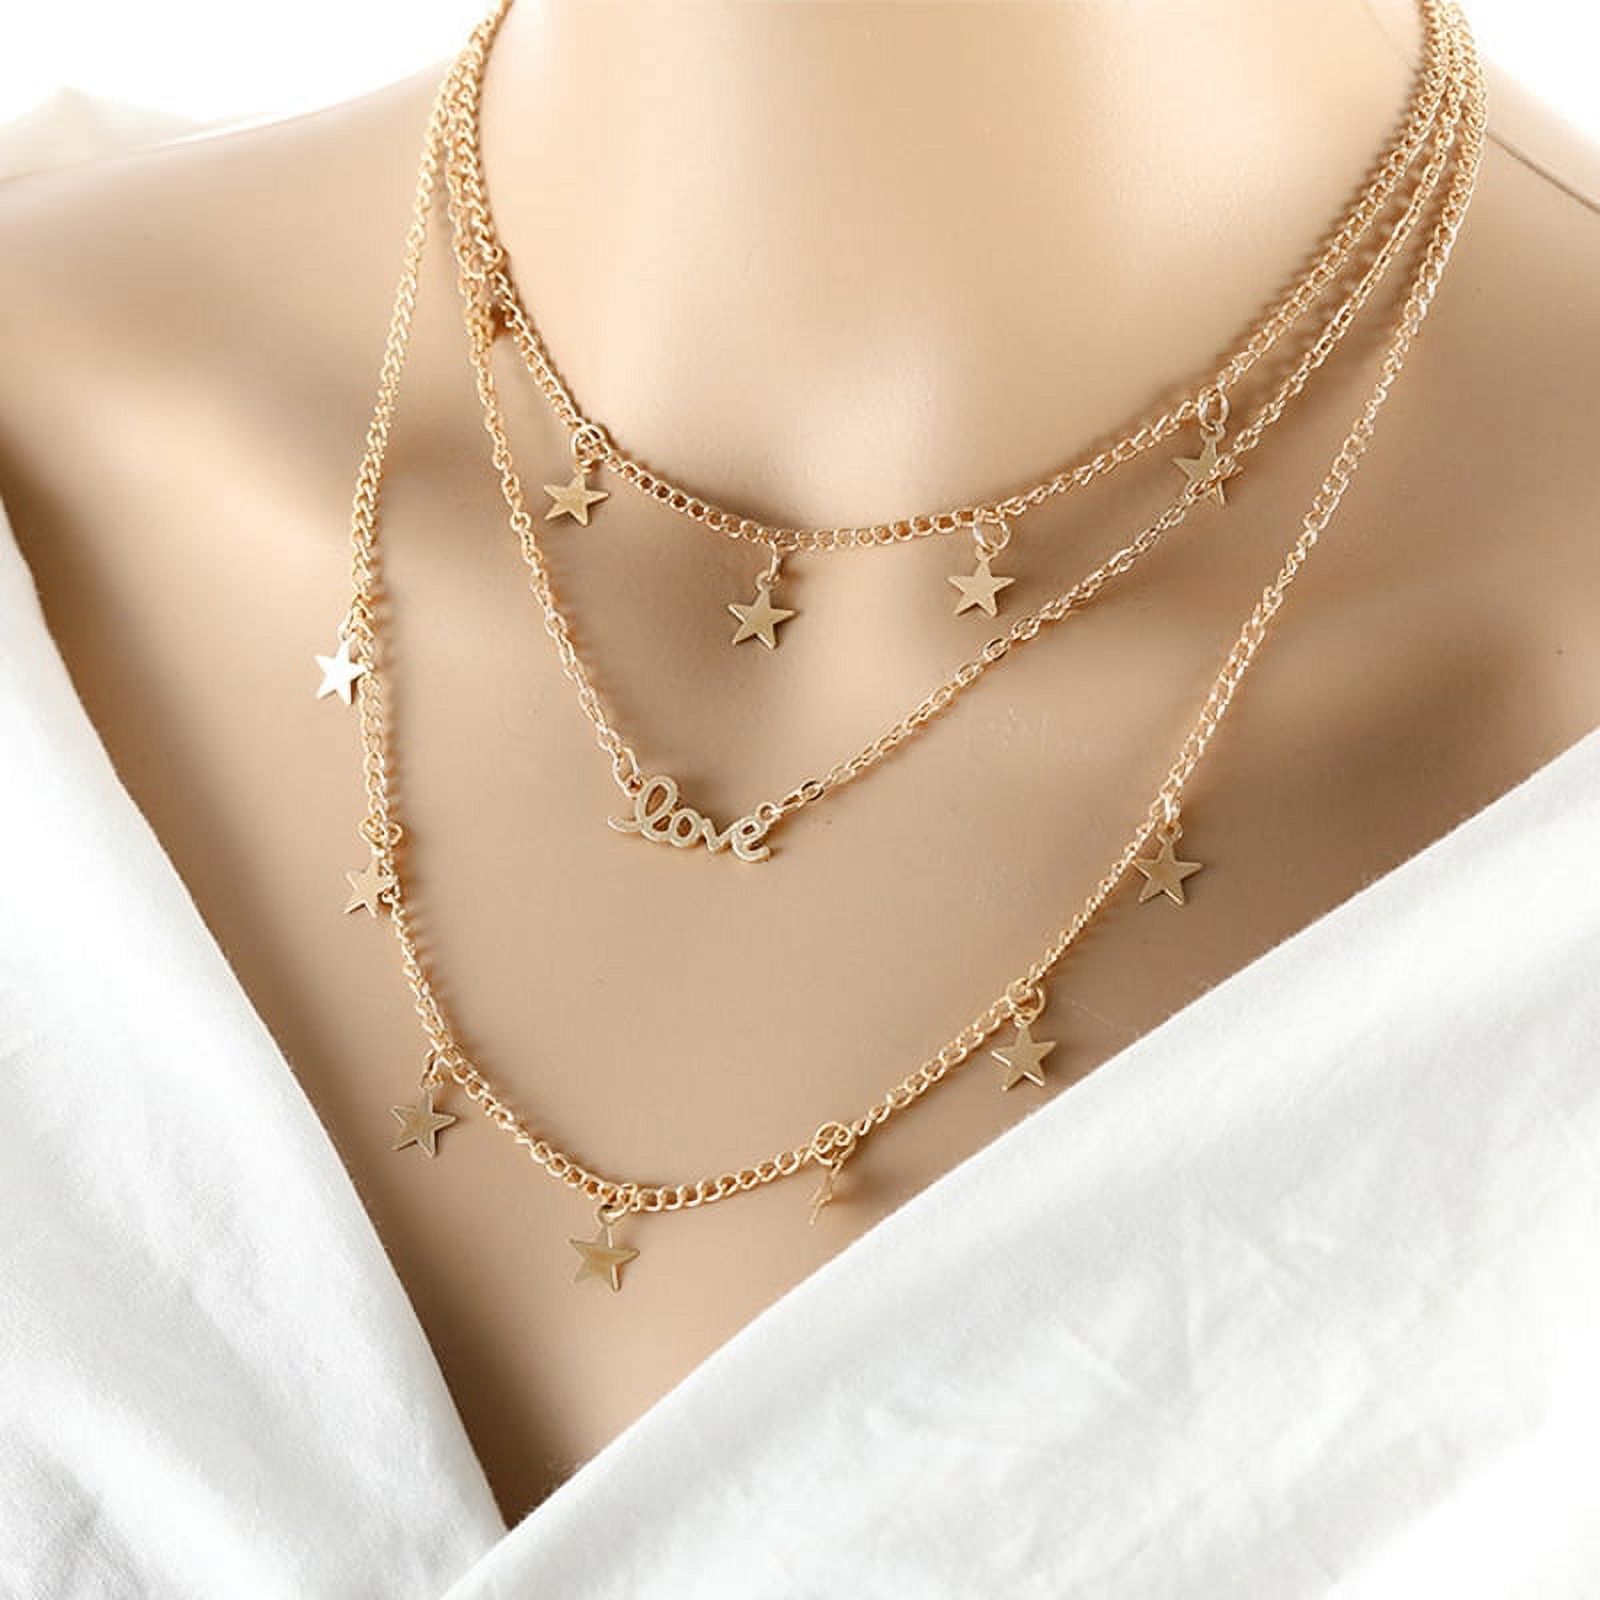
How to match necklaces
Pairing necklaces is a versatile and stylish way to create a unique and personalized look. Whether you’re looking to make a statement with a bold centerpiece or achieve an elegant layered effect, the art of necklace layering can elevate your outfit and reflect your personal style.
Consider Necklace Styles and Complementary Elements:
Combine Different Chain Styles: Mix and match necklace chains of various styles, such as delicate chains, chunky links, or beaded designs. This adds visual interest and texture to your necklace combination.
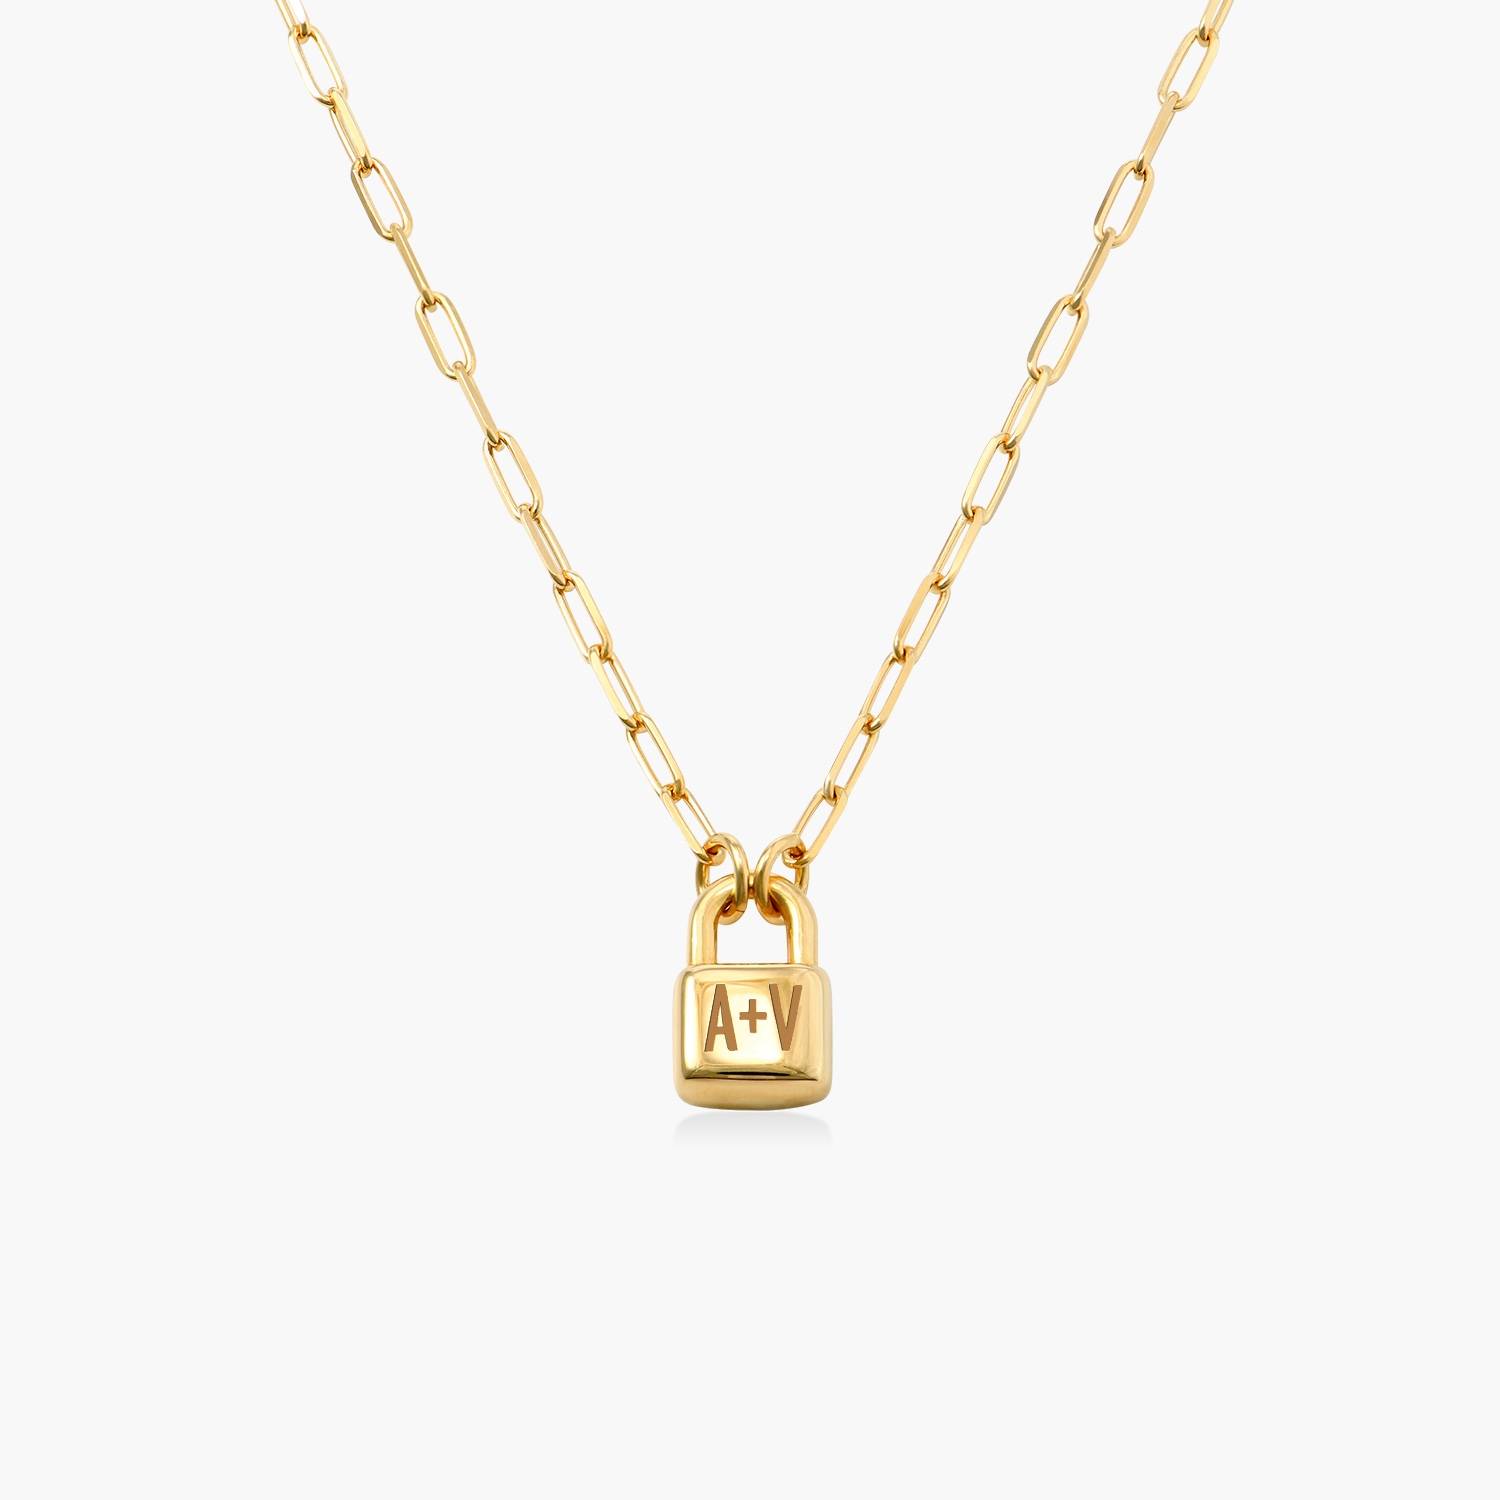
Explore Pendant Necklaces: Include pendant necklaces with your layered look. Pendants can vary in size, shape, and design, and can act as focal points or add a touch of personal meaning to your necklace combination.
Experiment with Different Colors: Pair necklaces with different metal tones (such as gold, silver, or rose gold) to create contrast and dimension. Mixing metals can add visual interest and create a modern and eclectic look.
Create a Varying Length Effect:
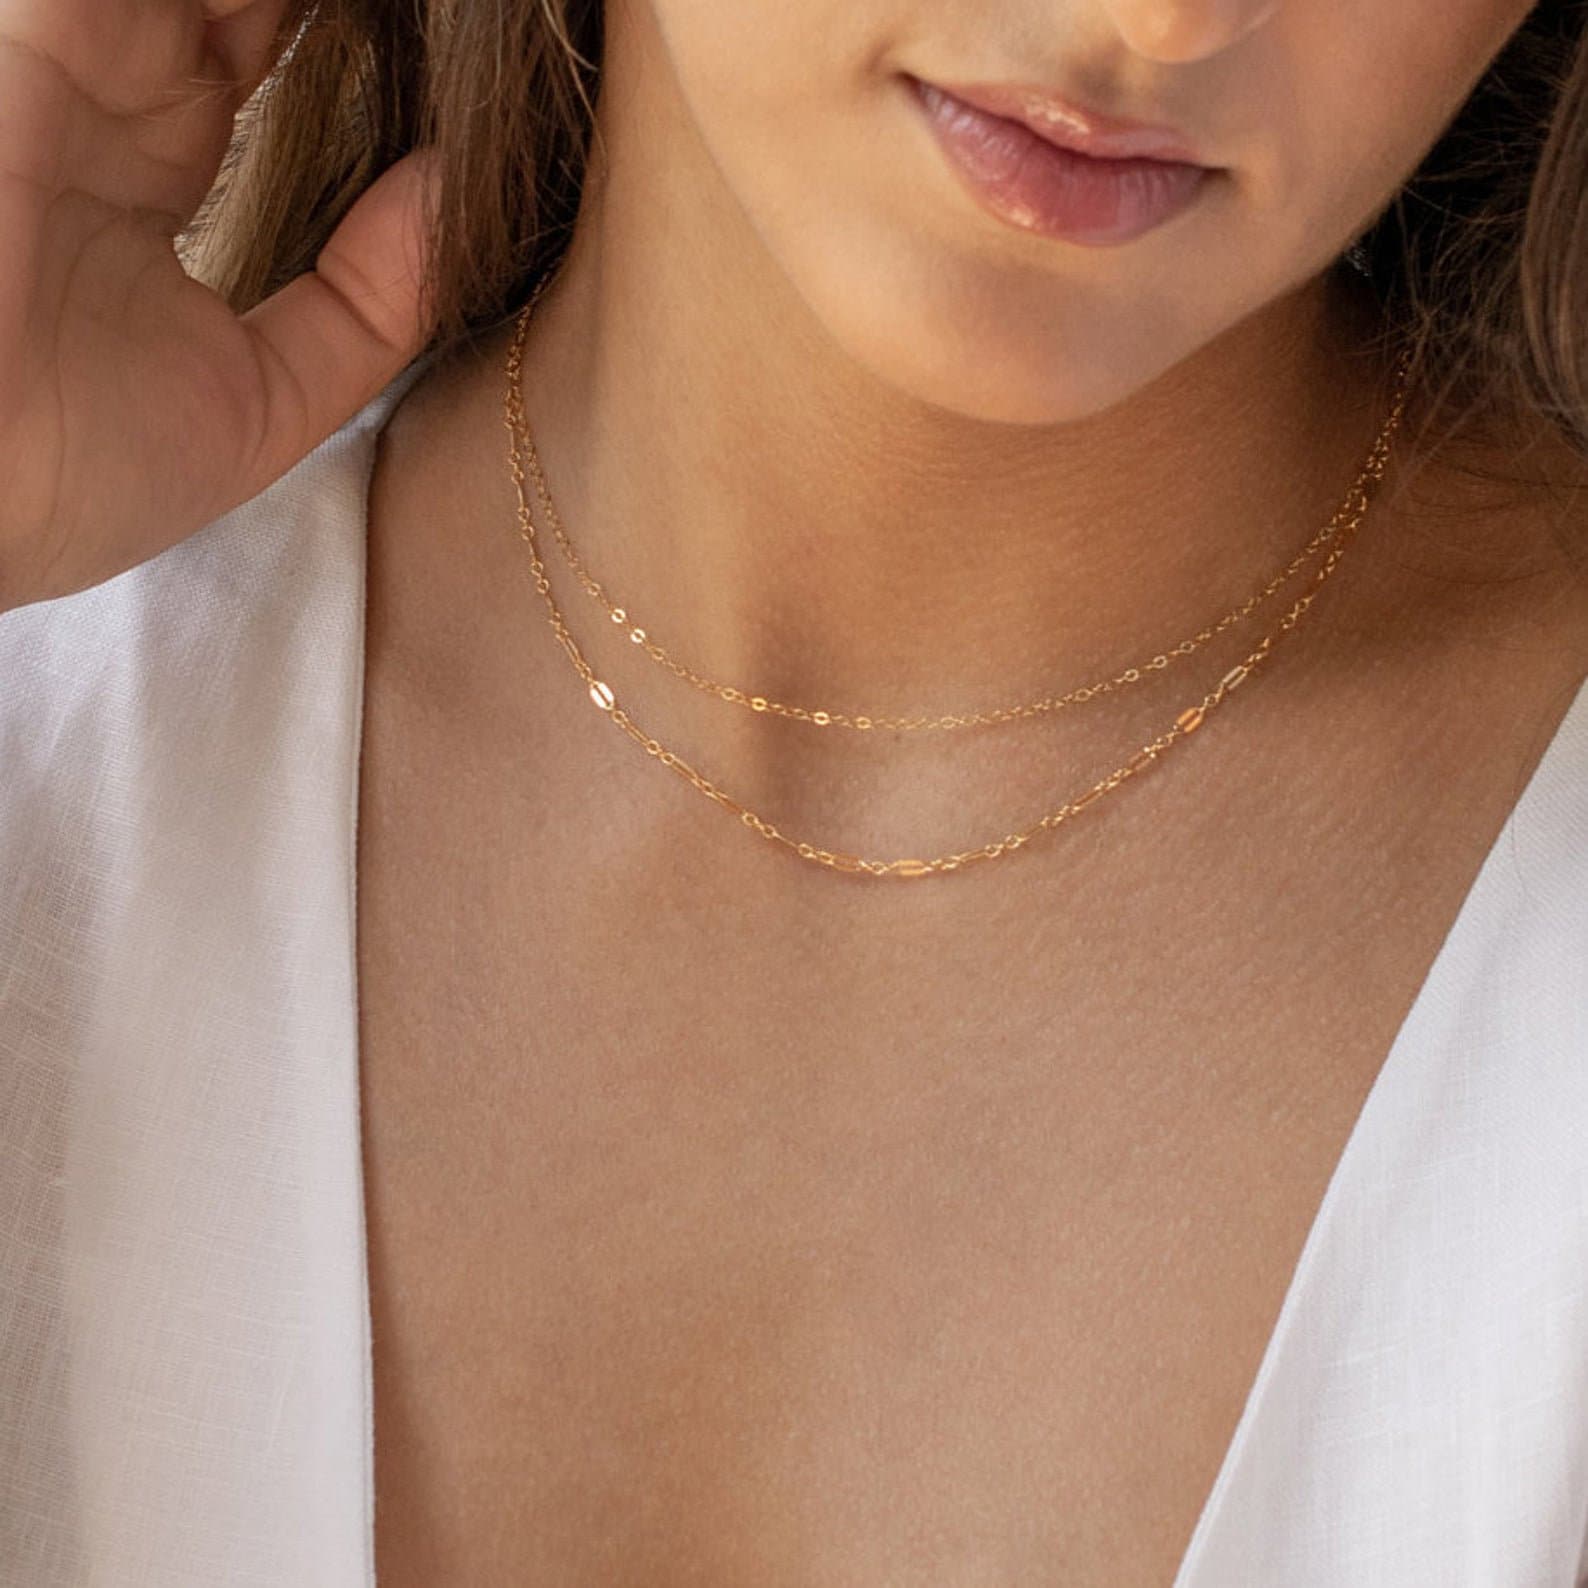
Mix Different Necklace Lengths: Experiment with different necklace lengths, layering them to create a cascading effect. Start with a choker or princess-length necklace at the shortest length and gradually add longer necklaces to achieve a stylish layered look.
Enhance Necklines: Consider the neckline of your outfit when layering necklaces. A choker or princess-length necklace can beautifully complement a scoop or V-neckline, while longer necklaces can accentuate off-the-shoulder or high-necked styles.
Mix Thin and Thick Chains:
Layer Different Chain Thicknesses: Combine necklaces with varying chain thicknesses to create a contrast in texture. Pair a delicate, thin chain necklace with a more substantial, chunky chain necklace for an intriguing layered effect.
Experiment with Different Chain Designs: Play with various chain designs, such as box chains, cable chains, or rope chains, to add depth and dimension to your necklace combination.

Focus on Balance and Proportion:
Create Balance with Pendant Necklaces: Choose pendant necklaces with different lengths and sizes to create a balanced and harmonious layered look. Pair a shorter pendant necklace with longer chains to avoid overwhelming the neckline or appearing cluttered.
Consider the Weight and Visual Flow: When layering necklaces, consider the weight and visual flow of each piece. Balance heavier necklaces with lighter ones to maintain a comfortable and visually appealing combination.
In conclusion
With patience and basic tools, fixing a broken necklace can often be done at home. By following this step-by-step guide, you can assess the damage, repair clasps and jump rings, fix broken links, restring beads or pearls, and replace missing or broken components. Remember to carefully handle delicate materials and ensure all connections are secure before wearing the necklace again. With proper repairs, your favorite necklaces can be restored and enjoyed for years to come.