DIY Seashell Necklace: A Step-By-Step Guide
Introduction to Seashell Necklaces
How to make a seashell necklace? Seashell necklaces offer a unique blend of nature and artistry, making them a timeless accessory. Whether strolling on the beach or wanting to preserve a piece of the ocean’s beauty, seashell necklaces serve as a wonderful reminder of seaside memories. This DIY guide will show you how to make a seashell necklace, from gathering the materials to adding personal touches that make your piece one-of-a-kind.
With clear, simple steps, you’ll learn how to create a pearl necklace that’s not just a piece of jewelry but a wearable piece of art. Before we dive into the crafting process, let’s take a moment to appreciate the versatility and charm of seashell necklaces. They work for everyone, from kids at teen summer camp to adults looking for a chic coastal touch.
Perfect for summer vibes or as a creative gift, these necklaces are more than a fashion statement; they’re a craft that brings joy to the process. So, grab your shells, and let’s get started on this fun and fulfilling DIY project.
Materials Needed for Your Seashell Necklace
To begin your seashell necklace, gather all the essential materials. You’ll need air dry clay, which is great for molding around your chosen shells. Choose water-based paint in your favorite colors for a personal touch. If you like a little sparkle, consider using glass glitter; it gives a high-quality finish and sticks well to the clay.
Grab some chalk pastels for vibrant hues or simply use sidewalk chalk. To make a hole for stringing, a skewer or clay tool will do. Small seashells are the centerpiece, so pick ones that speak to you. For sealing, either Sculpey Glaze or Mod Podge Super Gloss will work, along with a paintbrush for application.
Decide on your stringing material; cotton twine or a thin chain both offer distinct styles. Wood or glass beads add an optional decorative touch. Lastly, don’t forget a protective cover for your work surface to avoid clay and paint stains.
With these materials at hand, you’re ready to craft a seashell necklace that’s as unique as you are. Let’s move on to the crafting steps and bring your vision to life!
Step-by-Step Creation Process
Creating a seashell necklace is exciting and gives you a chance to express your creativity. Let’s break down the process into simple, easy-to-follow steps. Make sure your workspace is ready before you start, and place all materials within reach. Here’s how to create your seashell masterpiece.
- Begin by softening your air dry clay with your fingers until it’s pliable. This makes it easier to form and sculpt.
- Flatten the clay to create a thin disk. Ensure it’s about a quarter-inch thick or slightly thicker to prevent breakage.
- If you’re using water-based paint, make a well in the center of your flattened clay and add a few drops. Mix the paint into the clay for consistent color. Add more paint gradually as needed.
- Press the clay into a shape that complements your chosen seashell. Circle, teardrop, or abstract shapes all work well.
- Add texture to your clay. Press in glass glitter or sprinkle with chalk pastel shavings if you desire. These elements add sparkle and dimension to your necklace chain.
- Carefully press your chosen seashell into the center of the clay. You can shape the clay around it to secure the shell.
- Use a skewer or back of a paintbrush to puncture a hole at the top. This is where you’ll thread your stringing material.
- Allow the clay to dry completely based on the manufacturer’s instructions. This may take up to 24 hours.
After these steps, your necklace will start to come to life. Next, you’ll focus on stringing, sealing, and customizing your seashell necklace. Remember to handle your creation gently to avoid any damage. Soon, you’ll have a beautiful piece of jewelry that captures the essence of the sea.
Adding Texture and Color to Your Seashell Necklace
Bringing life to your seashell necklace involves fun with texture and color. Here are creative ways to make each piece stand out.
Adding Texture to Your Seashell Necklace
Texture makes your necklace captivating. You can add sparkle by pressing in glass glitter. This works well with firm glitter. You can also use a scraping technique with chalk pastels for a rich color effect. If using pastels, sealing is important as the color can run.
Another option is to add tiny beads, referred to as microbeads, which require a good sealer to keep them in place. Experiment with these techniques to find the texture that pleases you most.
Coloring Your Seashell Necklace
For the hue, air dry clay starts white, offering a blank canvas. You may paint it with water-based paint or craft acrylics for a perfect color match. Both types of paint adhere well to the air dry clay surface.
When adding color, mix paint slowly into the clay to avoid clumping. Paint in layers and let it dry between coats for even coverage. Mix colors to customize shades and make your necklace truly unique.
Remember, the color and texture add personality to your seashell necklace. They transform it from a simple craft into a statement piece. Now, let’s move on to stringing, which adds another element of design to your creation.
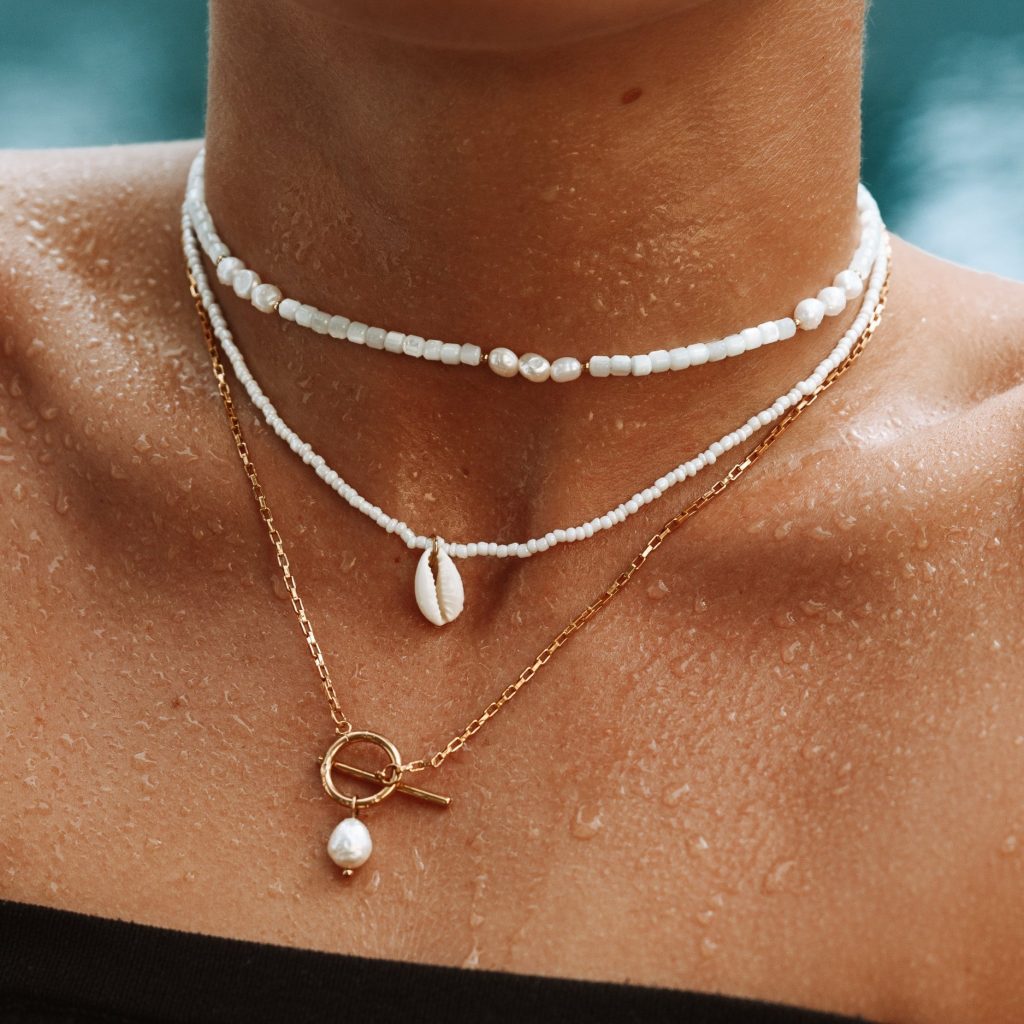
Stringing Your Seashell Necklace
Once your textured and colored seashell centerpiece is dry, it’s time to string your necklace. This step is crucial as it defines how your necklace will hang and who can wear it. You have many options for stringing material, each offers a different look and feel.
Selecting the Stringing Material
Choose your stringing material based on the style you’re aiming for:
- Cotton twine provides a relaxed, bohemian vibe, perfect for casual wear or gifts for friends.
- Thin chain adds elegance, making the chain necklace suitable for more formal occasions or as a chic accessory.
Ensure your chosen material is strong enough to support the shell pendant without breaking.
Threading the Necklace
Here’s how to thread your seashell necklace:
- Cut the string to your desired length. Longer strings are trendy and suit various clothing necklines.
- Thread the string through the hole you made at the top of the clay piece.
- If using beads, add them now. Slide them onto the string in a pattern or randomly, as you like.
Securing the Necklace
To finish, secure the ends of the string. Use knots or clasps based on your chosen material. For example:
- Tie off cotton twine with a sturdy knot, leaving enough room to put on and take off the necklace.
- Attach a clasp to a chain for a secure closure that’s easy to use.
And with that, your seashell necklace is ready to be worn! Next, we’ll protect and seal your necklace to ensure it lasts a long time.

Sealing and Protecting Your Seashell Necklace
Once your seashell necklace is strung, the next step is to seal and protect it. Sealing is crucial. It will shield the paint and texture from wear and tear. It can prevent fading from sunlight and moisture. There are various options for sealants. But the most common are Sculpey Glaze or Mod Podge Super Gloss. These give a clear finish and keep your necklace looking new.
To apply the sealant, use a small paintbrush. Cover the clay and shell with a light coat. Let it dry. Then, apply a second coat for extra protection. Wait for the sealant to dry completely. This can take a few hours. Always follow the directions on the sealant for the best results.
Remember, sealing is not just functional. It also adds a beautiful glossy shine to your necklace with a stone. This can make the colors pop and look even more stunning. Once sealed, your seashell necklace is ready to shine everywhere you go!
Customizing Your Seashell Necklace Design
Creating a seashell necklace is not just about crafting a piece of jewelry. It’s an opportunity to express your unique style and creativity. Here are some customization ideas you can use to make your necklace one-of-a-kind.
- Choose a Theme: Decide on a theme that resonates with you. It could be ocean-inspired colors, a bohemian look, or a minimalist design. Your theme will guide your choices for color and embellishments.
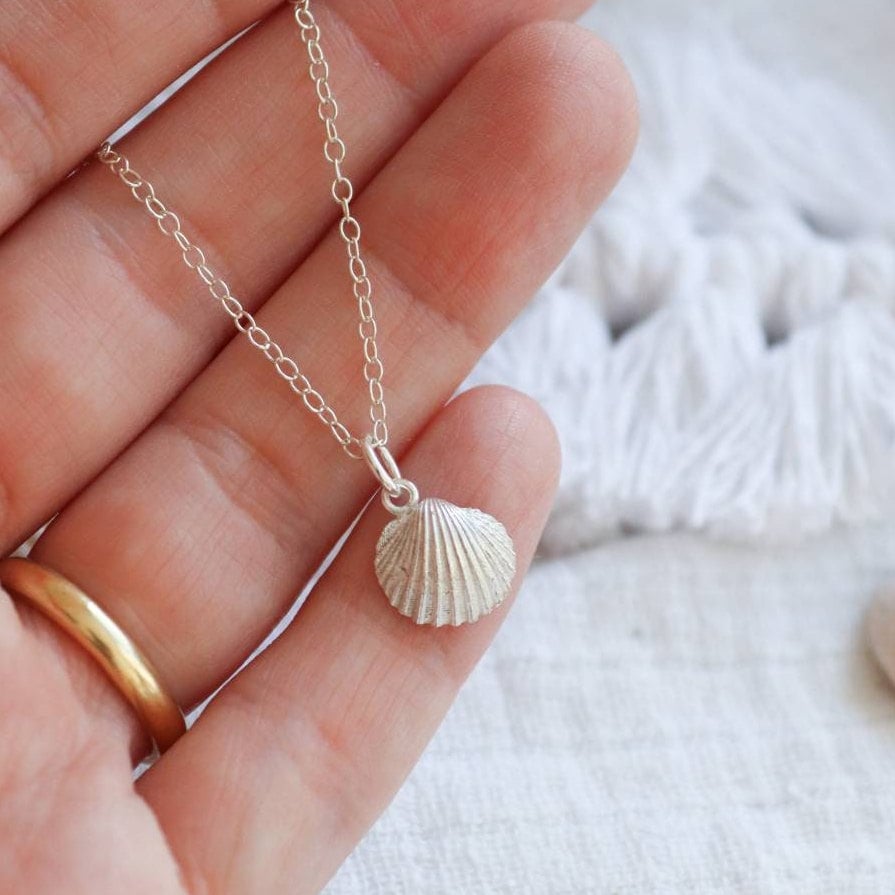
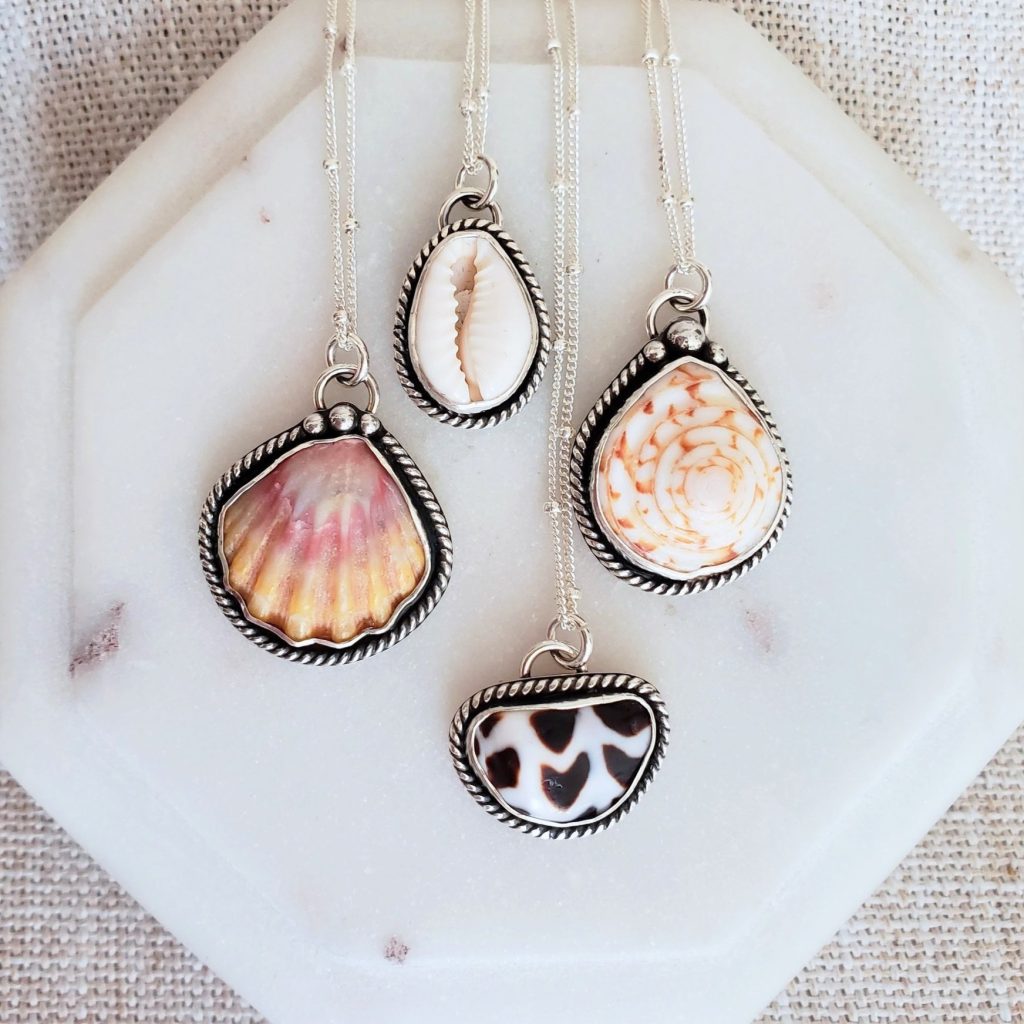
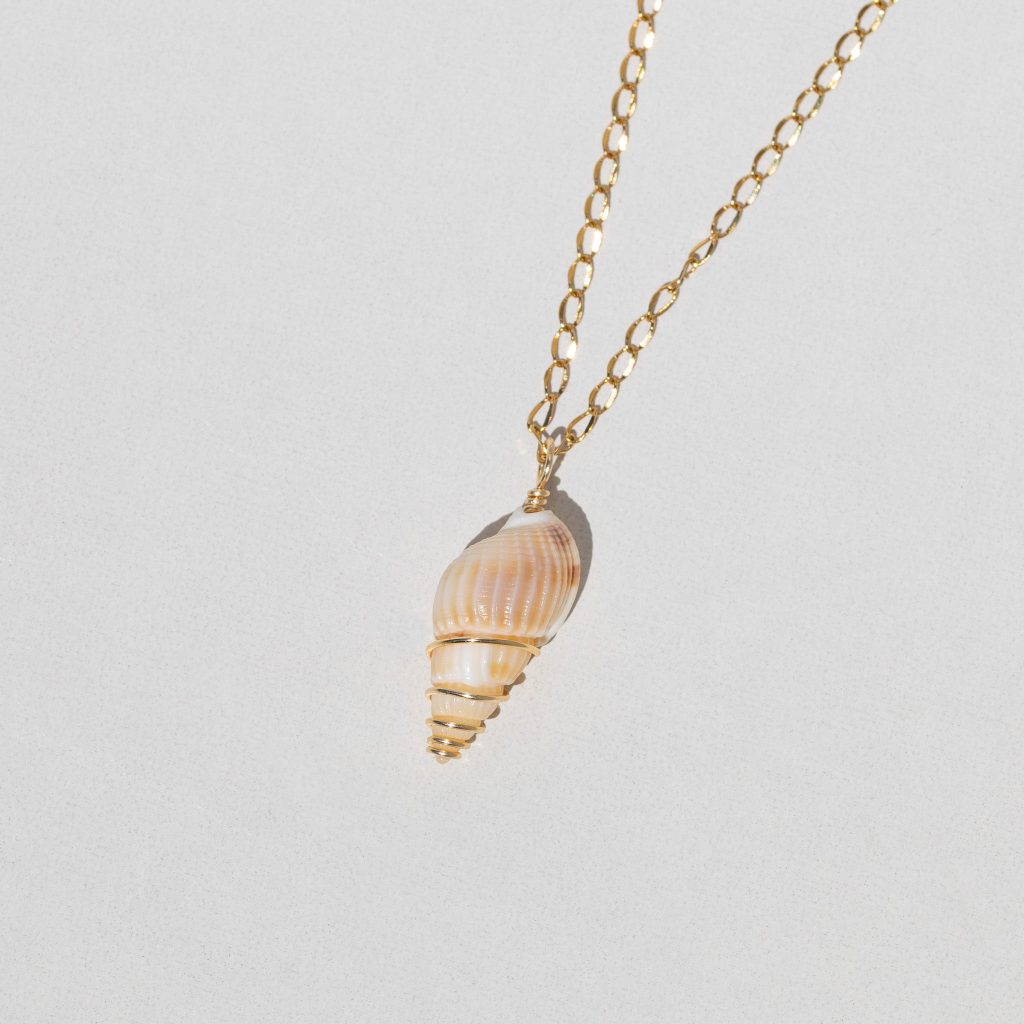
- Mix and Match Shells: Use different types of seashells for varied textures and forms. Pair a smooth shell with a ridged one for contrast, or stick to a similar shape for a cohesive look.
- Incorporate Beads: Beads can add color and flair to your kendra scott necklace. Choose from wood, glass, or metal beads to complement your seashell.
- Play with Paint: Experiment with paint techniques like watercolor effects or ombre for a unique touch. Use paint to add details or to cover the entire seashell.
- Add Charms or Pendants: Attach charms or other pendants to personalize your necklace further. This could include small fish, starfish, or initials.
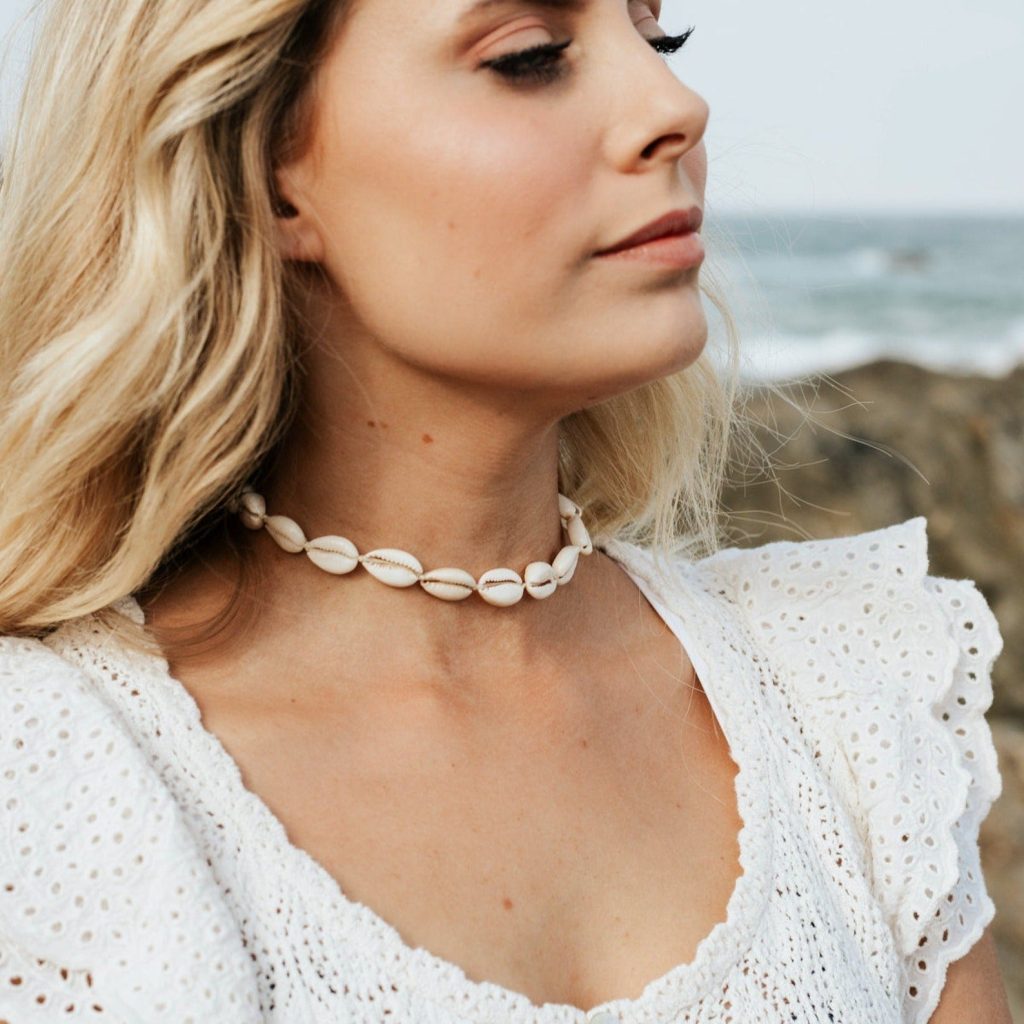
- Adjust the Length: Make a choker, a long pendant, or something in-between. The length can change the look and feel of the necklace significantly.
Remember to let your personality shine through your seashell necklace design. With these customization tips, you’re sure to create a piece that’s not only beautiful but also truly yours. Feel free to share your own variation ideas in the comments!