DIY Shark Tooth Necklace Crafting Guide
Materials Required for DIY Shark Tooth Necklace
How to make shark tooth necklace? Creating a DIY shark tooth necklace is a rewarding craft that lets you wear a piece of history around your neck. To ensure a smooth crafting process, you will need to gather a few essential materials.
Choosing the Right Shark Tooth and Wire
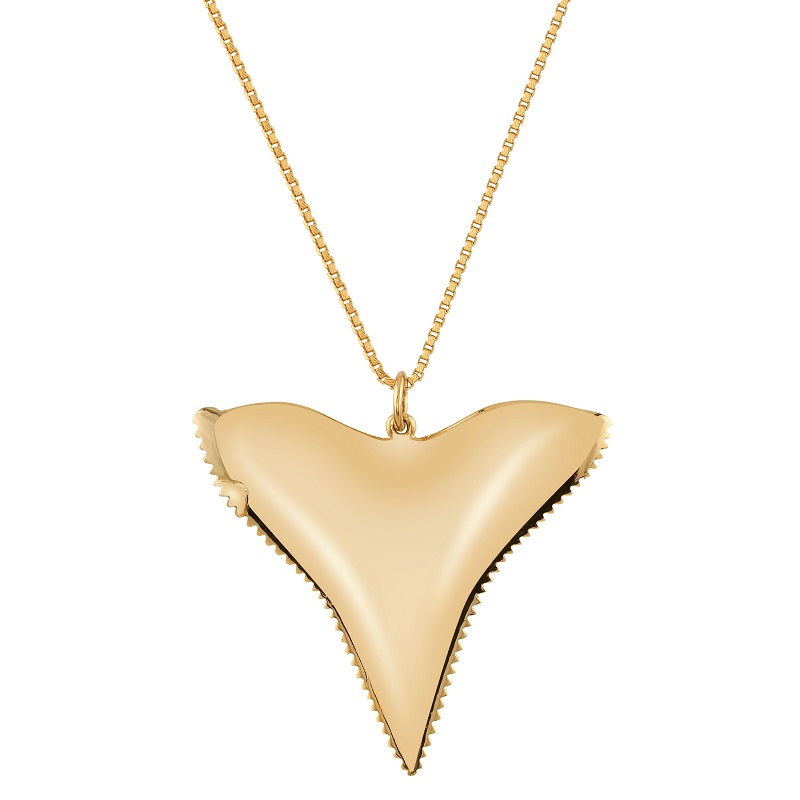
To get started, you’ll require the centerpiece of theseashell necklace – the shark tooth. If you don’t have one from a personal collection or from an adventure, you can find shark teeth at local craft stores, specialty shops, or online. The size and shape of the tooth will influence the overall look of the necklace, so choose one that appeals to you the most.
Once you’ve selected the perfect shark tooth, the next critical component is the wire. Wire comes in various gauges, metals, and colors. A thicker gauge wire, such as 18 or 20-gauge, is recommended for durability and ease of handling. Silver, copper, or colored craft wire can all serve to create a visually pleasing result. The style of wire you choose should complement the color and size of your tooth while also fitting your personal taste.
Additional Tools Needed for Wire Wrapping
Beyond the shark tooth and wire, a small number of tools are necessary to complete your necklace. You’ll need needle-nose pliers and wire cutters; these are indispensable for bending and cutting the wire accurately. Moreover, a pair of round-nose pliers can be useful for forming smooth loops. If you want to create a polished look, consider using sandpaper or a file to smooth out any sharp edges on the wire after cutting.
With these materials and tools at hand, you’re set to create a unique piece of jewelry that showcases your creativity and the raw beauty of nature. In the upcoming sections, we’ll dive into the step-by-step process of assembling your DIY shark tooth necklace.
Step-by-Step Process of Making Shark Tooth Necklace
Preparing the Shark Tooth and Wire
Before you begin the actual process of making your shark tooth necklace, it’s important to ensure that both your chosen shark tooth and wire are ready for use. Start by cleaning the shark tooth thoroughly to remove any dirt or debris. If the tooth has sharp edges, you may want to gently sand these down to prevent the wire from tearing and to ensure it is comfortable to wear against your skin.
Next, select an 18 or 20-gauge wire, which is sturdy yet flexible enough for wire wrapping. If you are working with silver or copper wire, ensure that it is not coated, as some wires have a non-tarnish coat that can make the wrapping process more challenging. Cut a length of wire approximately 20 to 24 inches long—this should provide ample wire for wrapping and creating the loop for your necklace with a stone without too much excess.
Wire Wrapping Technique for the Shark Tooth
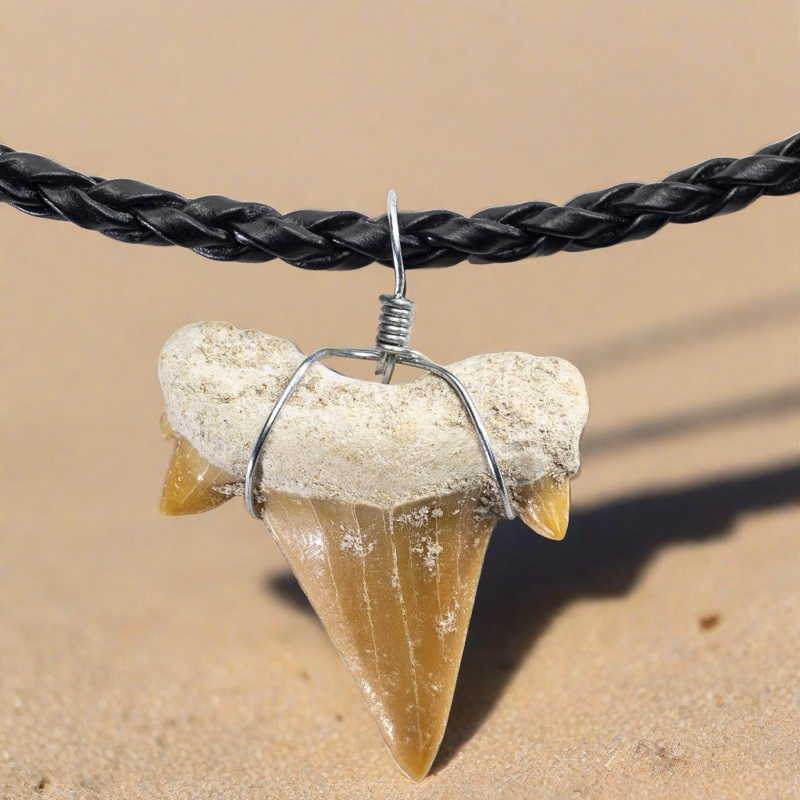
Beginning the wire wrapping process involves a few detailed steps to ensure your shark tooth is securely encased in the wire wrap. Place the wire behind your shark tooth, positioning it so that there is a 4-inch tail on one side. Wrap the longer end of the wire diagonally across the front of the tooth, making sure that it crosses over the top point to secure it.
Next, wrap the wire around the back of the tooth and over the opposite top corner. It’s important to pull the wire tight enough so that it holds the tooth firmly but not so tight that it risks breaking or damaging the tooth. Repeat the process, ensuring that each top corner has at least two wire wraps. Once secured, leave an additional 4 inches of wire and cut it off from the spool.
Now, you will have two ends of the wire protruding from the top of the shark tooth. Twist these ends together once or twice, as close to the top of the tooth as you can, to form the start of the loop that the necklace chain will go through. Make sure the wire is twisted firmly to keep the tooth from wobbling.
Finishing Touches and Securing the Pendant
To finish your shark tooth pendant, you must secure the wrap and form a loop for the necklace to thread through. Using your needle-nose pliers, create a loop with the twisted wire ends, ensuring it’s large enough to thread your chosen necklace chain through. This loop should be perpendicular to the shark tooth, preventing it from twisting when worn.
After forming the loop, wrap the remaining wire ends around the base of the loop to reinforce it. Then trim off any excess wire with your wire cutters. If there are any sharp edges remaining, use the pliers to tuck them in or file them down for a smoother finish.
Your pendant is now ready to be threaded onto a chain or a piece of leather or hemp twine. Creating a natural and personalized piece of jewelry. Wear your new pearl necklace with pride. Knowing it’s a one-of-a-kind creation crafted by your own hands.
Styling and Variations of Shark Tooth Necklaces
After mastering the basic technique of crafting a shark tooth necklace. The realm of personalization and styling awaits. A shark tooth necklace can be a versatile accessory. Complementing a variety of outfits and occasions. Here are some ways you can infuse personality into your handmade creation. And style advice for integrating your shark tooth necklace into your wardrobe.
Creative Ideas for Personalizing Your Necklace
Personalizing your Moissanite necklace can range from selecting unique materials to introducing additional decorative elements. Here are a few creative ideas:
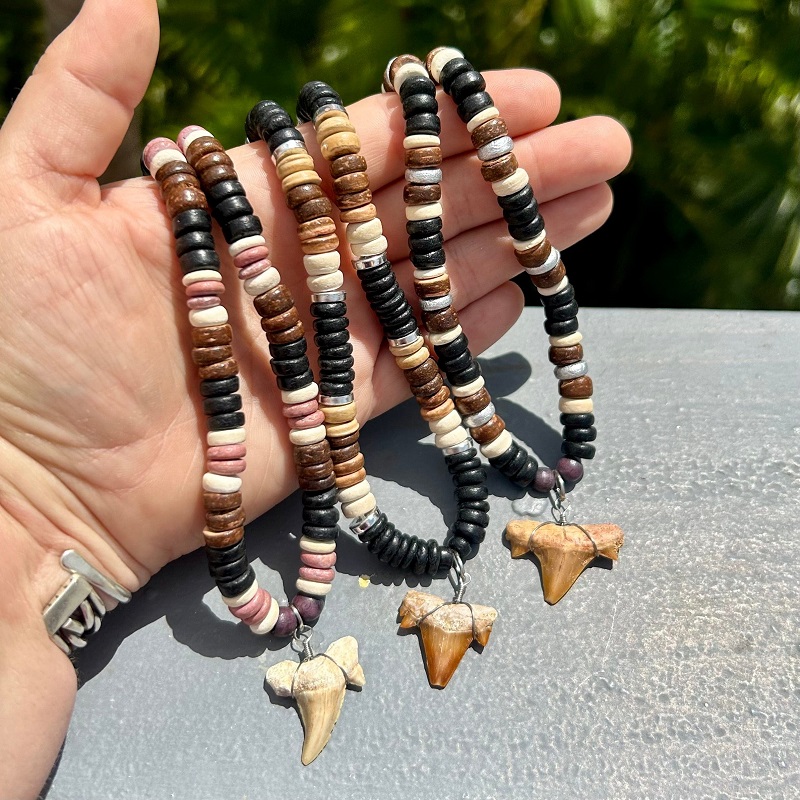
- Beadwork: Incorporate beads into your design for an extra pop of color or texture. You can add beads above or below the shark tooth pendant, or even integrate them into the chain itself.
- Multiple Teeth: For a bolder statement, consider using more than one shark tooth in a single necklace. This can create a striking look and showcase a variety of sizes and shapes.
- Metal Accents: Experiment with different metals for wire wrapping. Besides silver and copper, you could use brass or gold-filled wire to provide a contrasting backdrop to the tooth.
- Engraving: If you have access to engraving tools or services, consider engraving initials, dates, or symbols onto the shark tooth for a more personalized touch.
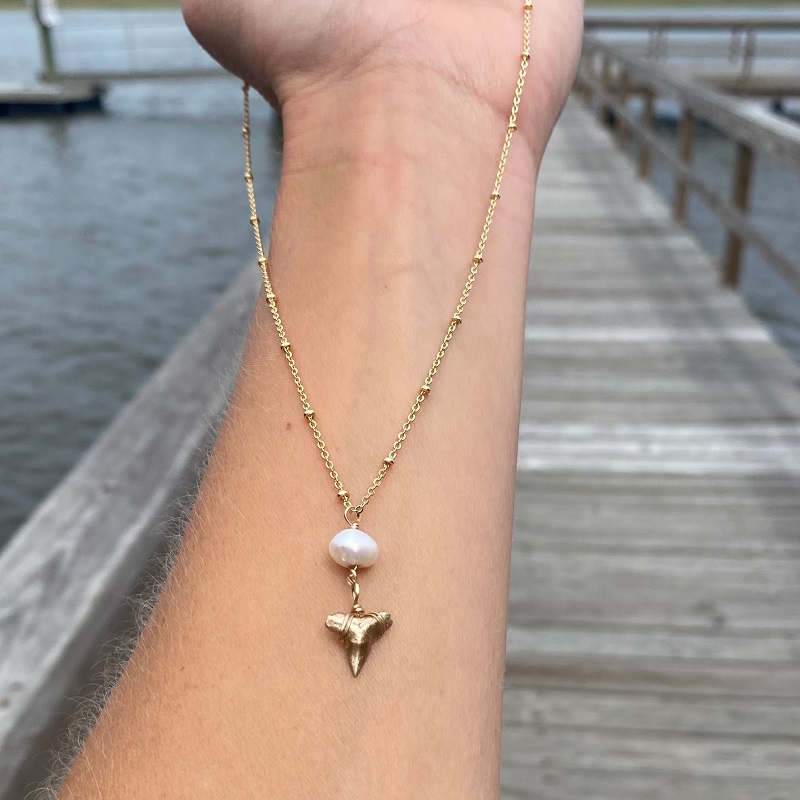
- Charm Additions: Attach small charms or pendants alongside the shark tooth to tell a story or represent personal interests, travel memories or natural elements like shells or stones.
Combining these personalization techniques allows you to create a totally unique piece. That reflects your individual taste and style.
Tips on Wearing and Pairing with Outfits
When it comes to wearing your shark tooth necklace, versatility is key. Here are a few tips to ensure your necklace stands out:
- Layering: Shark tooth necklaces work well layered with other necklaces of varying lengths. Pair a choker length with your shark tooth pendant hanging longer, or vice versa.
- Outfit Type: These bead necklace naturally pair well with casual or beachy attire, but don’t be afraid to wear them with a dressier outfit for an unexpected, edgy twist.
- Color Coordination: If you’ve added colored wire or beads, consider pairing your necklace with clothing in complementary or matching colors.
- Homogenized Metals: If your shark tooth is wrapped in silver wire, consider pairing it with silver earrings or bracelets to create a cohesive look.
How to match shark tooth necklace
The shark tooth necklace, with its rugged and primal allure, presents a distinctive accessory that adds an element of edgy sophistication to a variety of outfits. Whether worn as a standalone statement piece or paired with complementary accessories, the versatility and raw aesthetic of the shark tooth necklace make it a captivating addition to any ensemble.
Casual and Bohemian Styling
- Natural Elements: Embrace a bohemian aesthetic by pairing the shark tooth necklace with earthy and natural elements, such as wooden beads, leather cords, or gemstones, creating a cohesive look that resonates with nature-inspired motifs.
- Layering with Textiles: Layer the shark tooth necklace with woven or textile necklaces, such as macramé or fabric cords, to infuse a relaxed and free-spirited quality to the ensemble, capturing the effortless charm of bohemian style.
- Beachy Vibes: Seamlessly integrate the adjustable necklace with beach-inspired apparel. Such as flowy maxi dresses, crochet tops, or relaxed linen outfits. capturing the laid-back and carefree ambiance of coastal and resort wear.
Edgy and Urban Chic
- Monochrome Ensembles: Pair the shark tooth necklace with monochromatic outfits in neutral or muted tones, such as black, grey, or olive. To create a striking and contemporary look with a subtle pop of contrast and texture
- Leather Accents: Complement the shark tooth necklace with leather accessories. Such as cuff bracelets or studded belts, to infuse an edgy and urban-inspired edge into the ensemble. Creating a cohesive and bold statement with a rugged appeal.
- Denim and Distressed Elements: Pair the shark tooth necklace with denim jackets, distressed jeans. Or urban streetwear attire to achieve a cohesive aesthetic that reflects an edgy. And youthful urban sensibility with a touch of raw authenticity.
By following these styling tips, you can effortlessly incorporate your DIY shark tooth necklace into both day-to-day and special occasion ensembles. Not only does it serve as a conversation piece. But it also showcases your creativity and connection to the natural world. Wear it proudly and enjoy the blend of ancient charm and personal flair it brings to your jewelry collection.