How to make necklace?
How to make necklace? Creating your own necklace is a fulfilling and creative endeavor that allows you to express your personal style and showcase your craftsmanship. Whether you’re a beginner or experienced in jewelry making, crafting a necklace can be a rewarding process. In this comprehensive guide, we will provide step-by-step instructions for making your own necklace. From selecting the materials and designing the layout to assembling and adding finishing touches, we will cover everything you need to know. Let’s dive into the world of necklace making and discover how to bring your unique vision to life.
Gather the Necessary Materials and Tools:
Before starting the necklace-making process, gather the following materials and tools:
Materials:
- Beads or gemstones of your choice
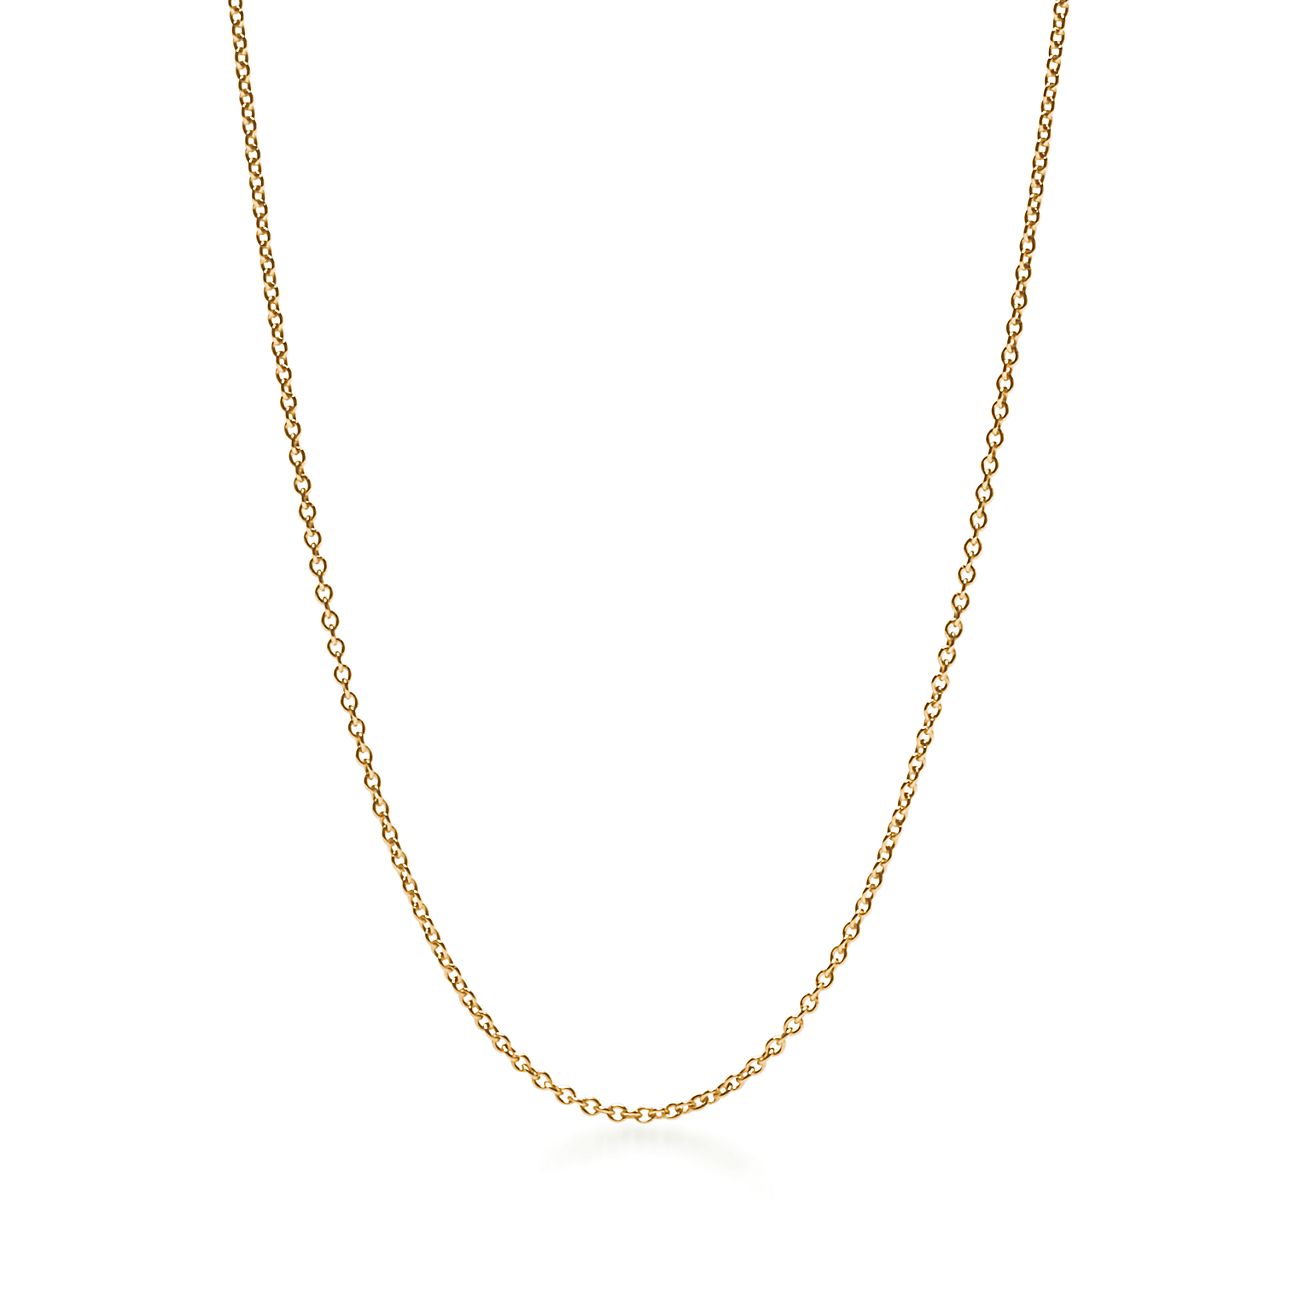
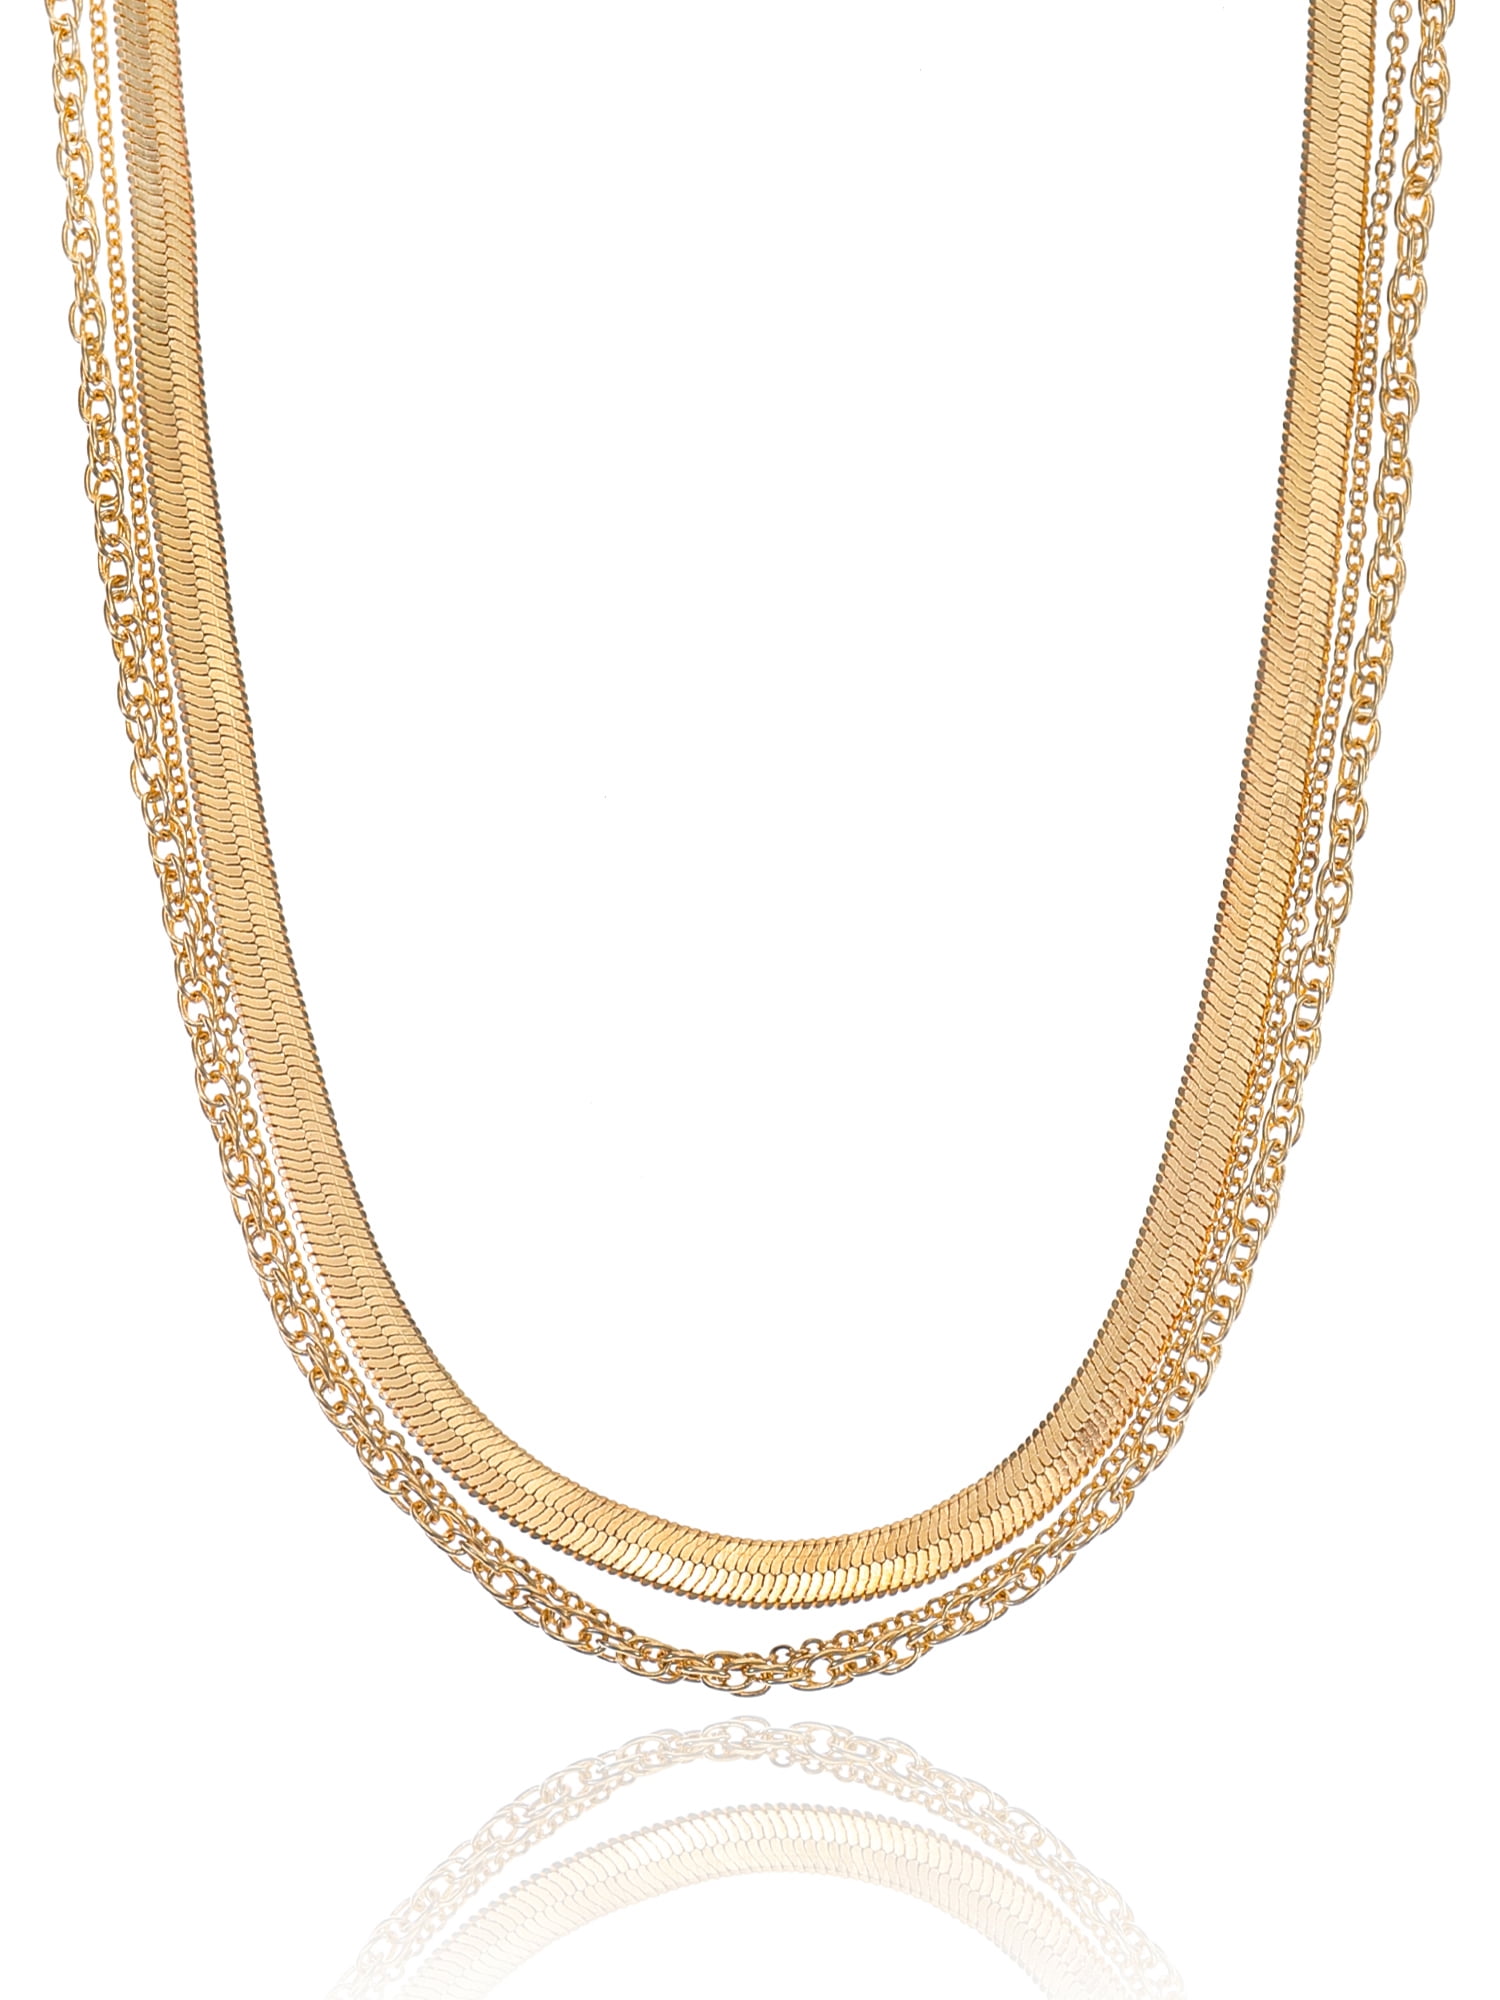
- Necklace chain or cord
- Jewelry wire or thread
- Clasp or closure
- Jump rings
- Crimp beads (if using jewelry wire)
- Spacer beads (optional)
- Pendant or focal charm (optional)
Tools:
- Wire cutters
- Round nose pliers
- Flat nose pliers
- Crimping tool (if using crimp beads)
- Beading mat or work surface
- Scissors
Ensure you have all the necessary materials and tools before proceeding with the necklace-making process.
Designing the Layout and Choosing the Beads:
Consider the following steps when designing the layout and selecting beads for your necklace:
- Determine the necklace’s style: Decide on the style and theme of your moissanite necklace. Consider whether you want a minimalist, bohemian, or statement piece. This will guide your selection of beads and other elements.
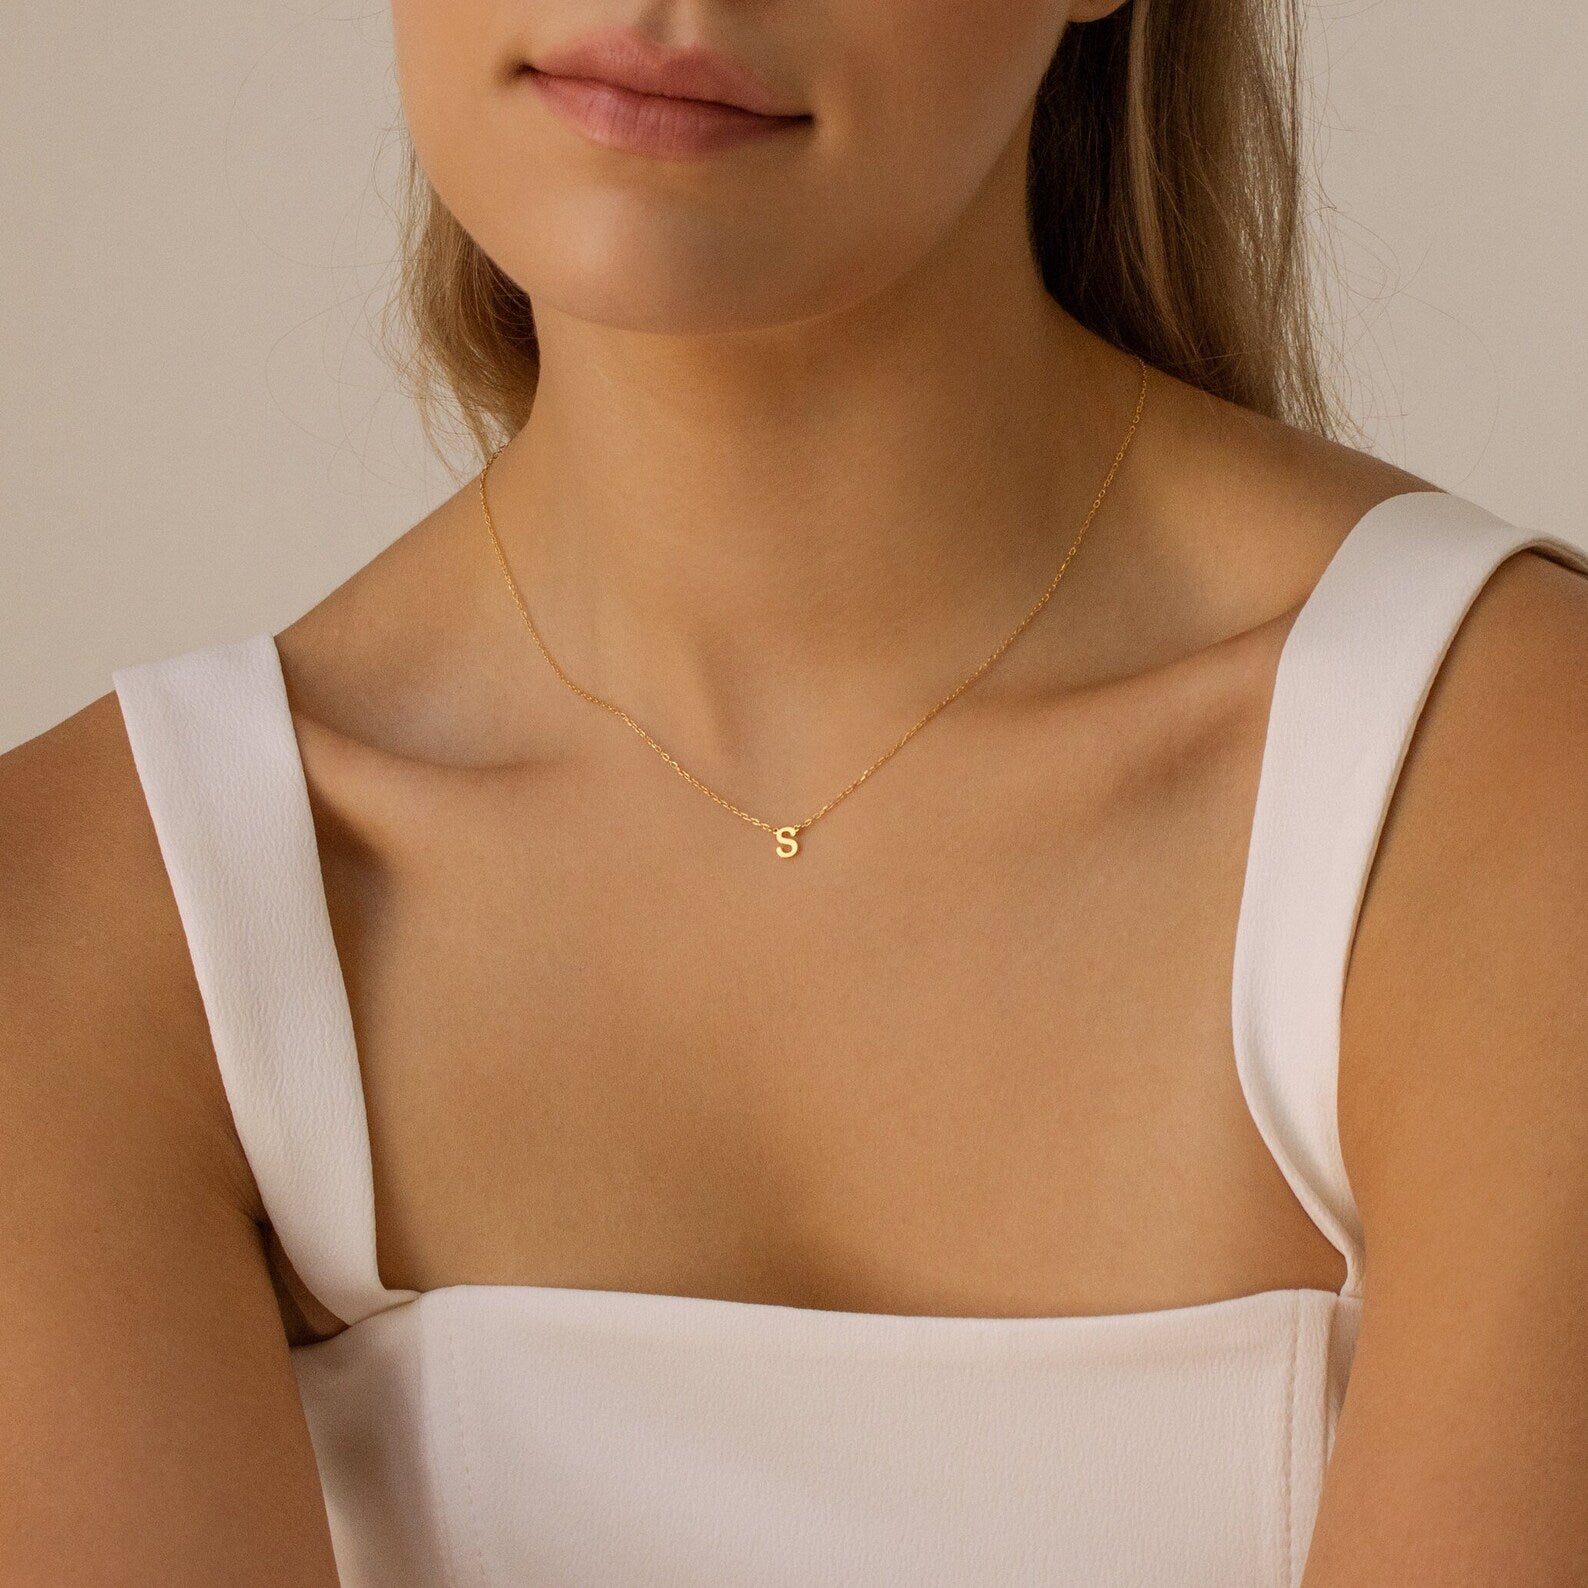
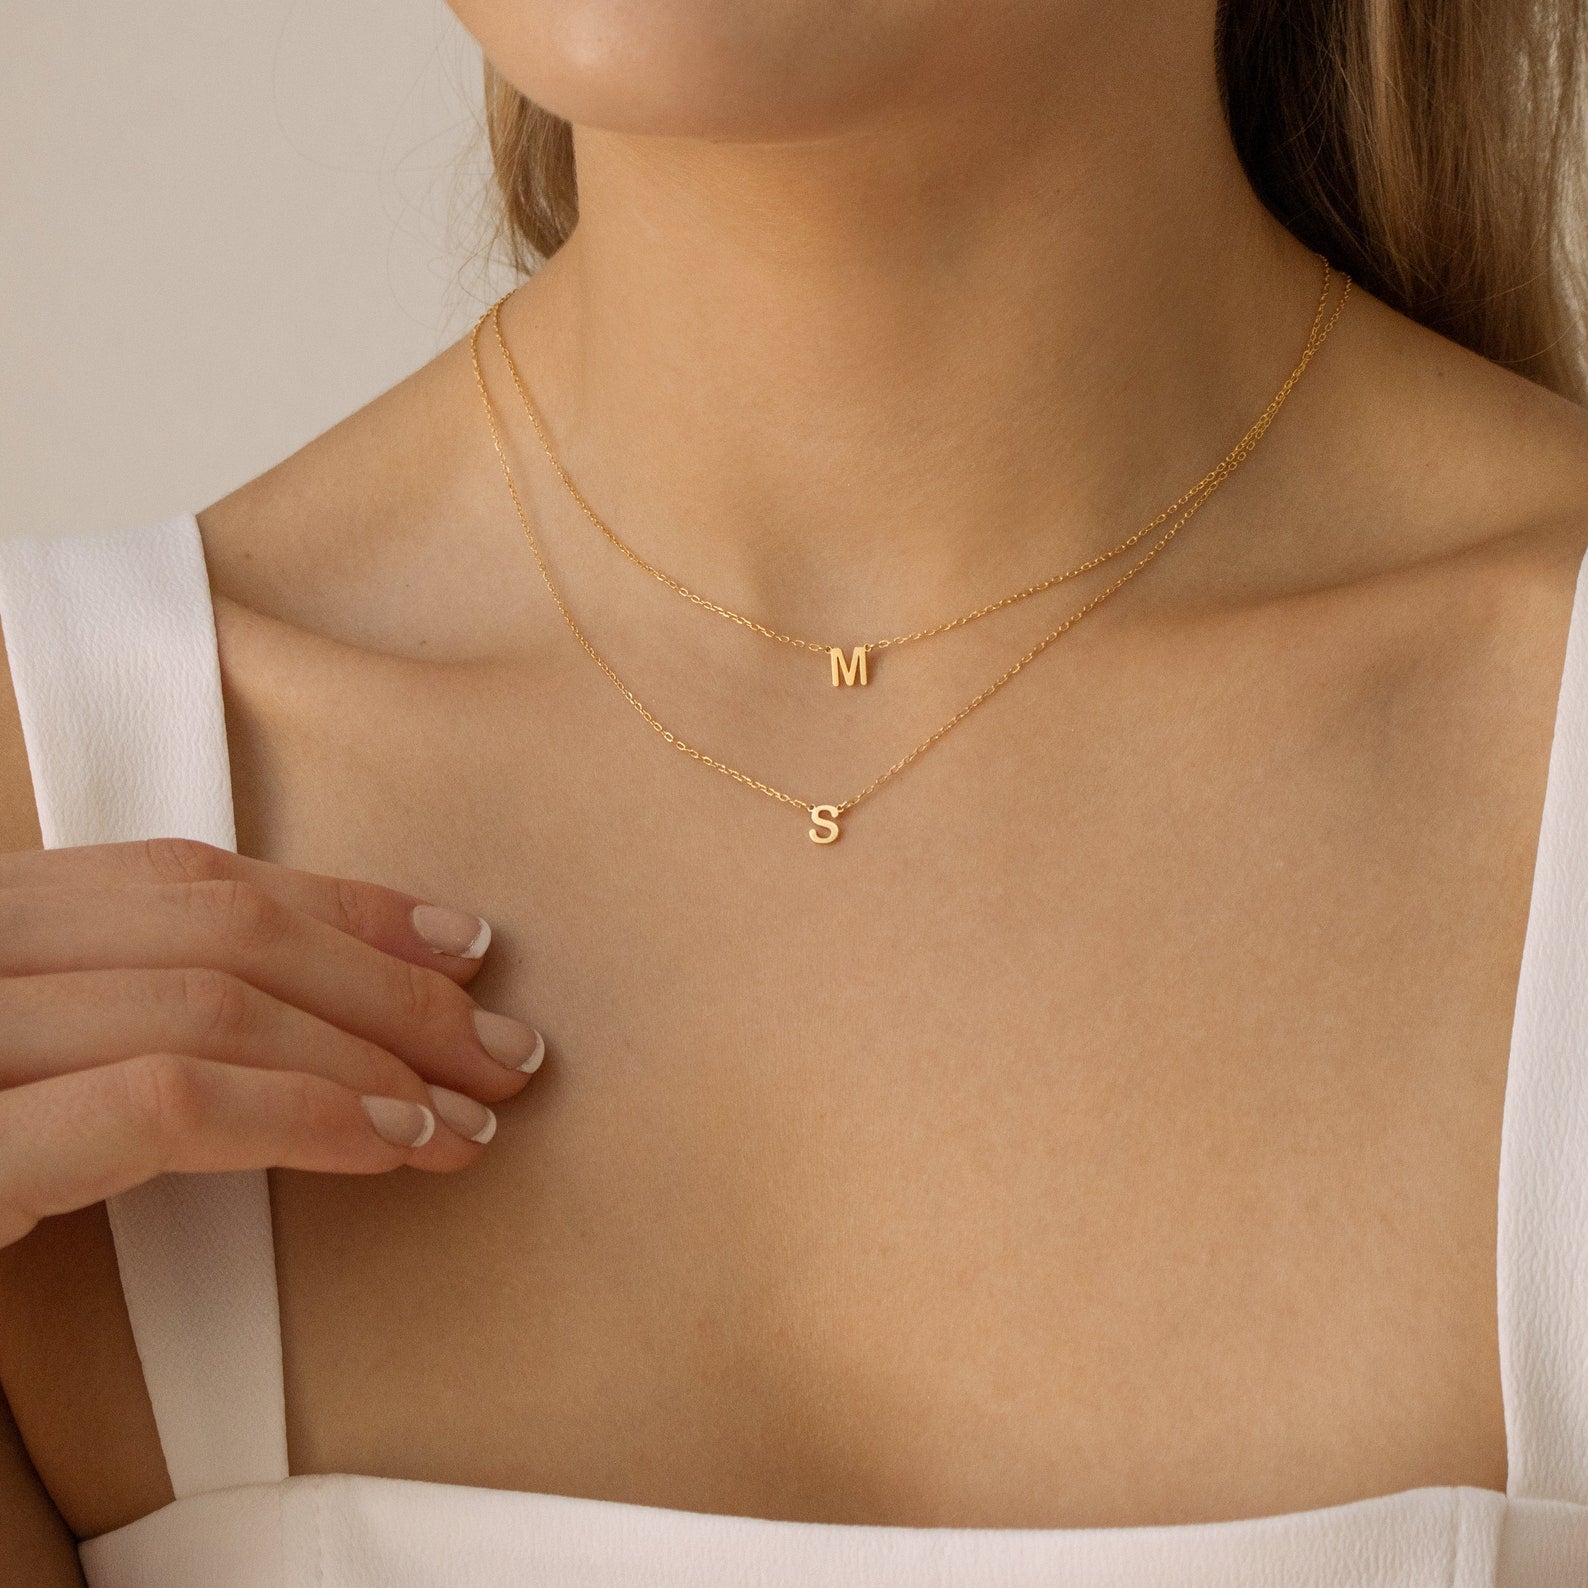
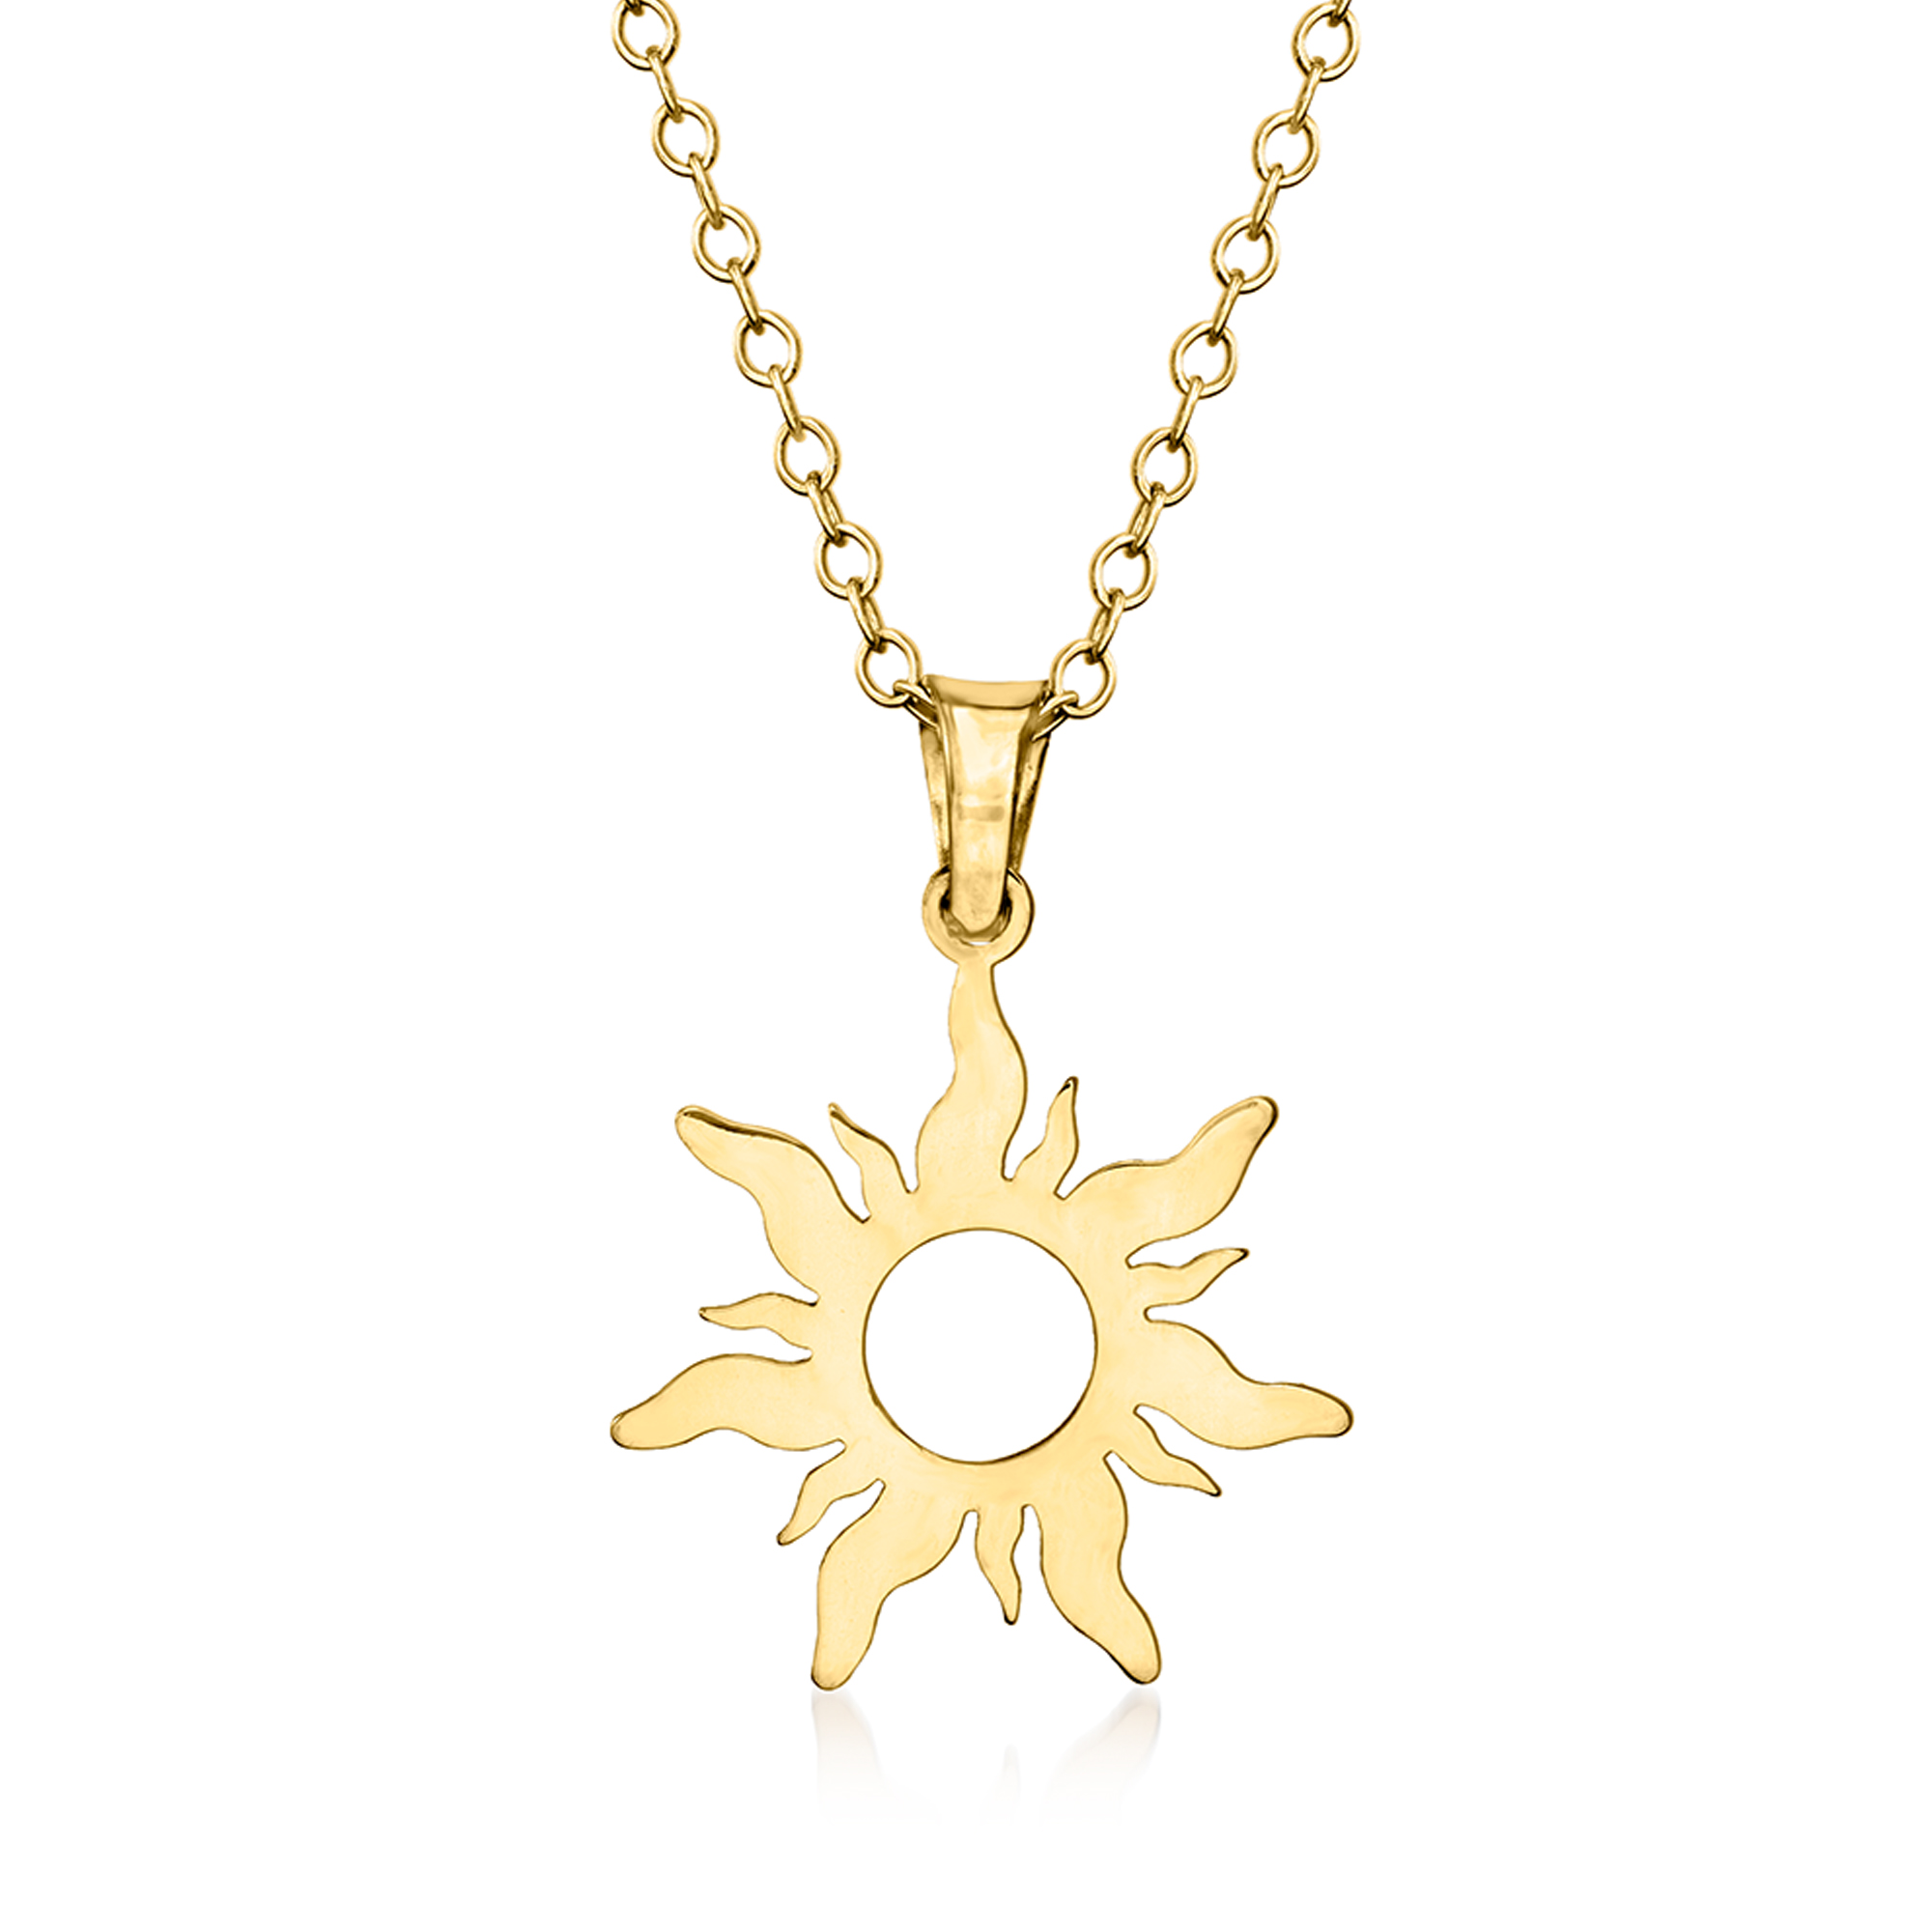
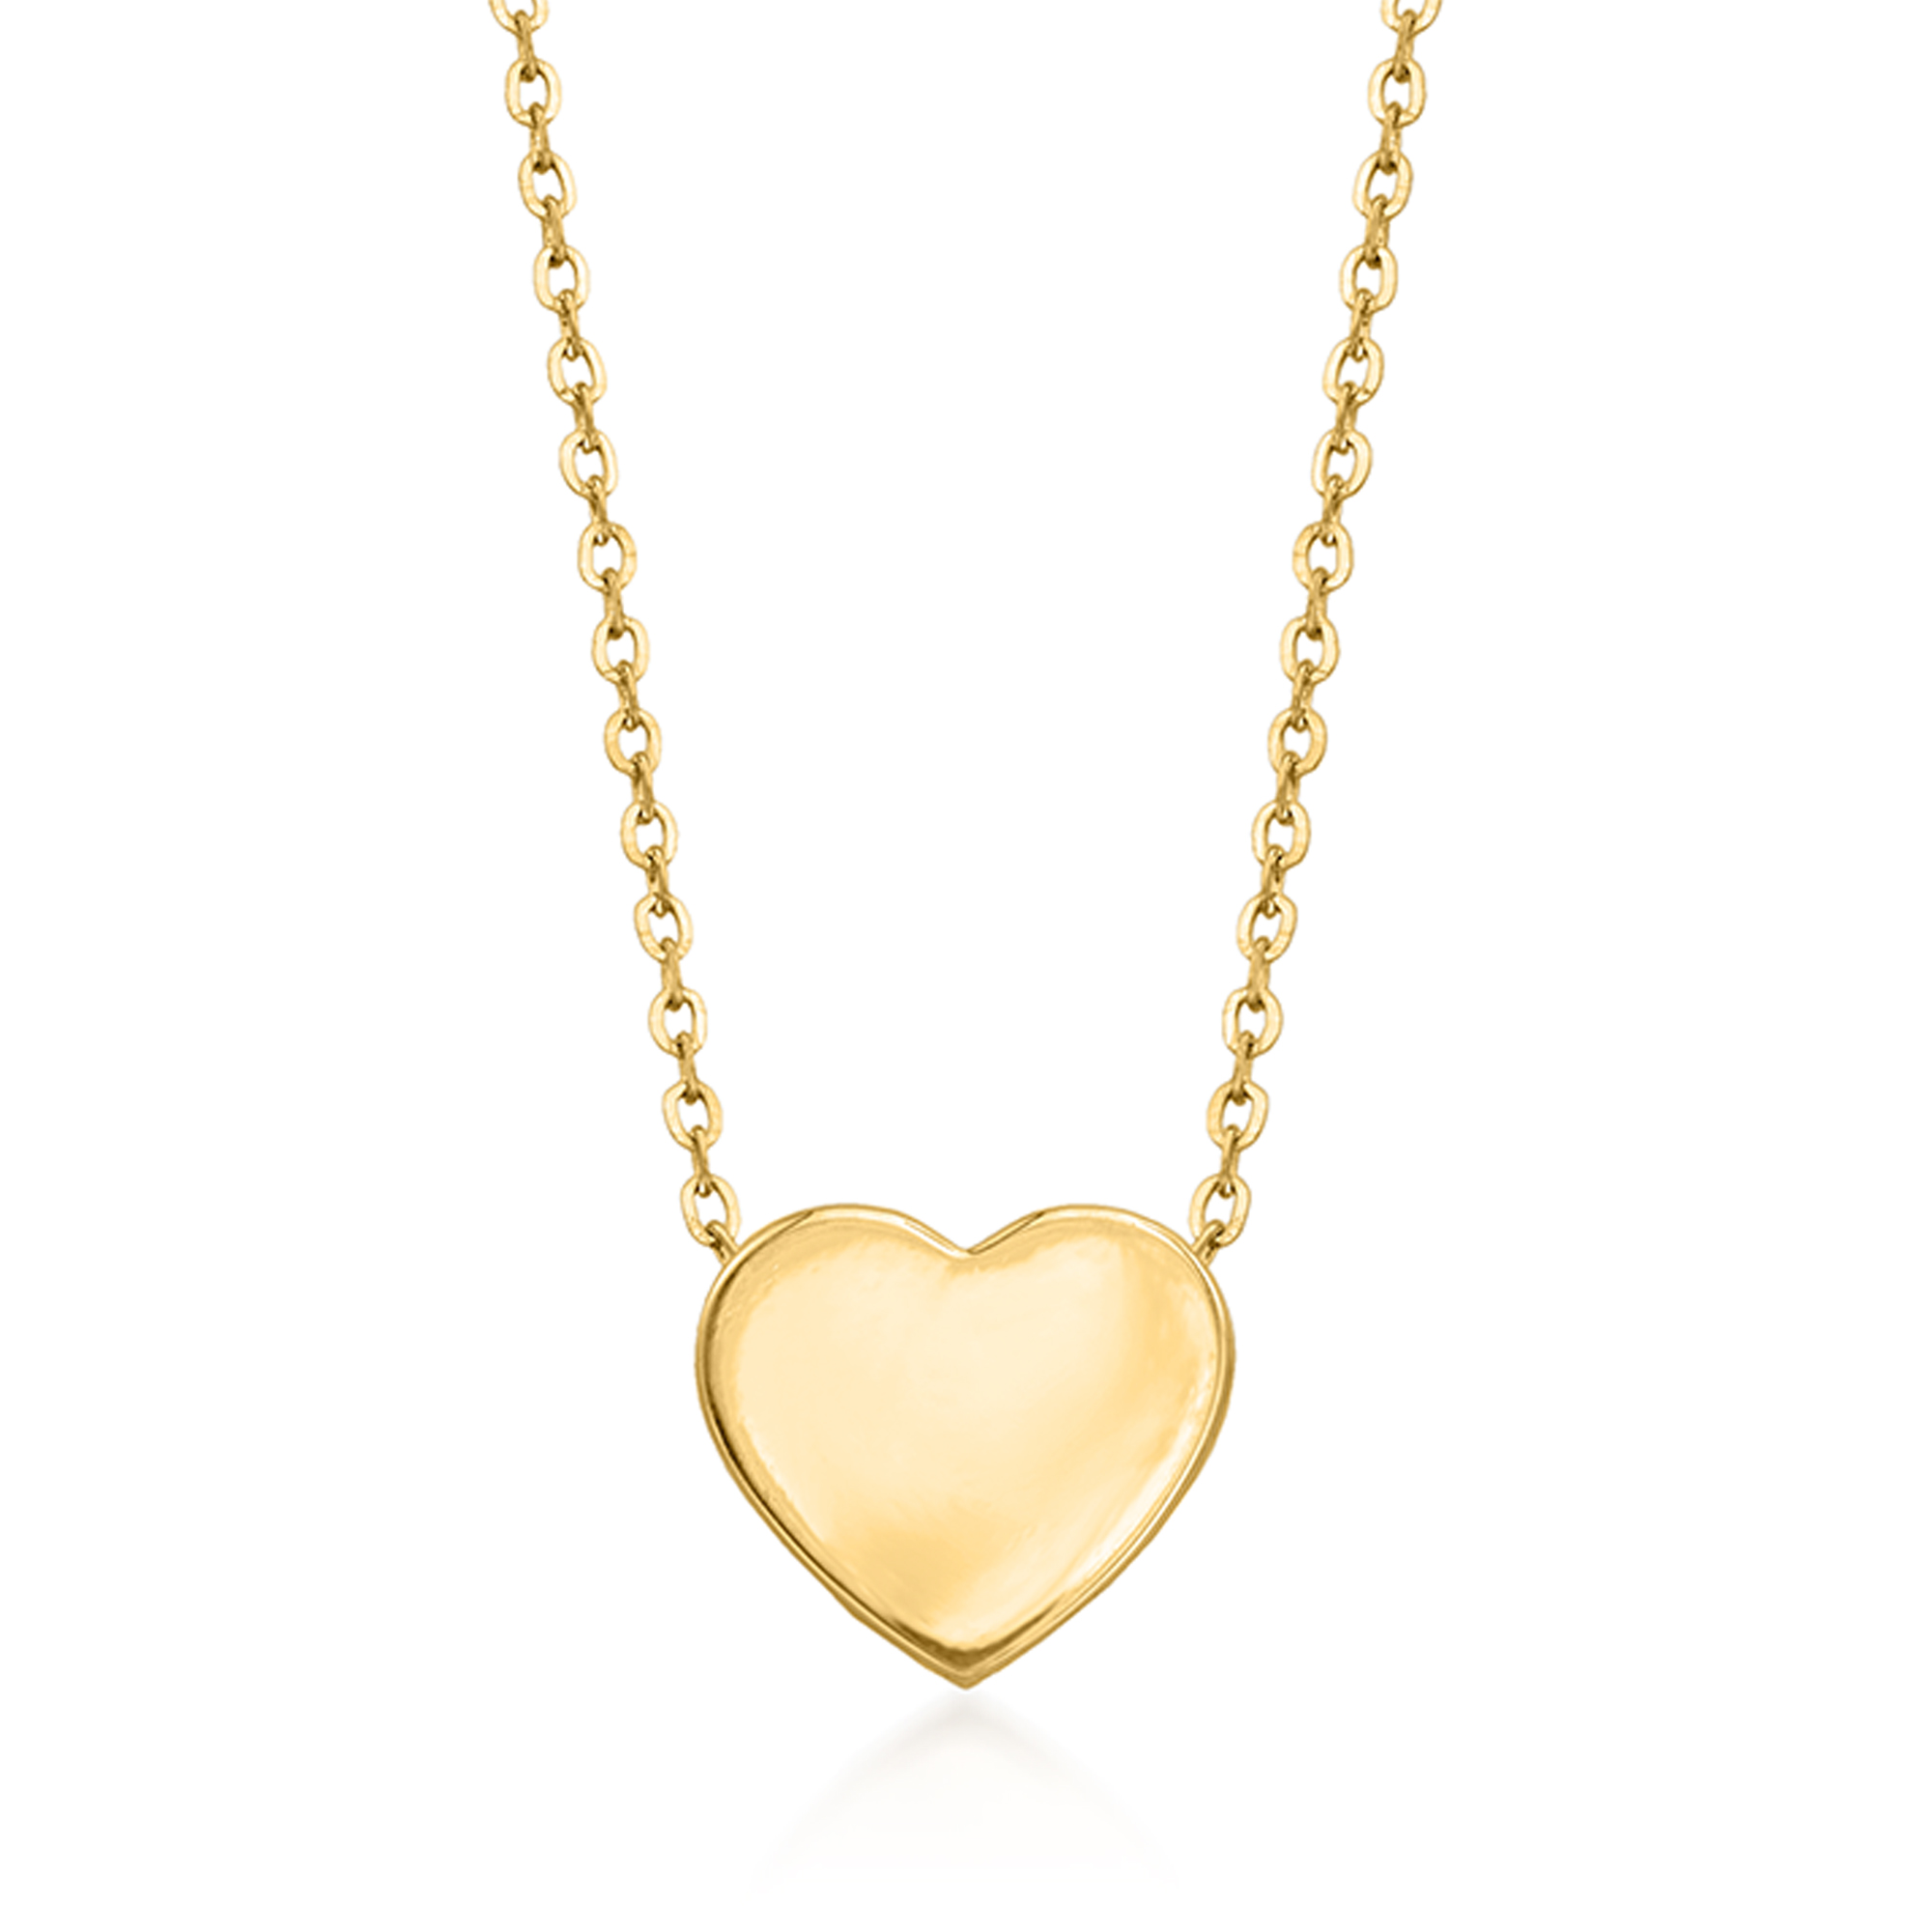
- Choose the focal beads: Select the beads or gemstones that will serve as the focal point of your necklace. These should be eye-catching and stand out from the rest of the design. You can choose a pendant, a large bead, or a unique charm.
- Select complementary beads: Choose beads that complement the focal beads in terms of color, shape, or texture. Consider using spacer beads to create visual interest and maintain balance in the overall design.
Assembly: Follow these steps for assembling your necklace:
- Measure and cut the chain or cord: Determine the desired length of your necklace and cut the chain or cord accordingly. Add a few extra inches for adjustability and attaching the closure.
- Create beading patterns: Lay out your beads on the beading mat or work surface to create a pattern or layout for your chain necklace. Experiment with different arrangements until you are satisfied with the design.
- Start threading the beads: Begin threading the beads onto the jewelry wire or thread, following your desired pattern. If using beading wire, add a crimp bead and a jump ring to one end of the wire before threading the beads. This will serve as a loop for attaching the clasp.
- Secure the beads: After threading all the beads, add another crimp bead and the closure to the other end of the wire or thread. Use flat nose pliers and a crimping tool (if necessary) to secure the crimp bead and create a neat and secure finish. Trim any excess wire or thread.
- Attach the focal charm (optional): If you have selected a pendant or focal charm, use jump rings to attach it to the necklace. Open the jump ring using the round nose pliers, slide on the charm, and close the jump ring securely.
Finishing Touches:
Consider the following steps to add finishing touches to your necklace:
- Check for symmetry and balance: Ensure that the beads are evenly spaced and the necklace is symmetrical. Make any necessary adjustments to achieve a balanced and visually pleasing design.
- Test the length and adjust if needed: Try on the necklace to verify the length and adjust it if necessary. Make sure it sits comfortably and falls at the desired position on your neckline.
- Add a crimp cover (optional): If using crimp beads, you can add a crimp cover to create a more professional and polished look. Simply slide the crimp cover over the flattened crimp bead and gently close it with flat nose pliers.
- Apply any desired finishings: Apply a jewelry coating or sealant to metal findings or components to prevent tarnish or protect the color and finish of the necklace over time.
How to store necklace
Proper storage is essential for maintaining the condition and longevity of your necklaces. By organizing and storing your necklaces correctly, you can prevent tangling, minimize damage, and ensure that they remain easily accessible whenever you want to wear them.
Choosing the Right Storage Container:
Selecting an appropriate storage container is the first step towards effective necklace storage. Consider the following options:
- Jewelry box: A jewelry box is a classic choice for storing beaded necklace. Look for one with compartments or dividers specifically designed for necklaces to prevent tangling. Choose a box with a soft lining, such as velvet or felt, to protect your necklaces from scratches.
- Jewelry organizers: Use hanging organizers or tree-shaped stands with hooks to store and display your necklaces. These organizers allow you to see your collection at a glance and make it easy to select the necklace you want to wear without tangling others.
- Drawer inserts or trays: Place drawer inserts or trays with compartments in your dresser or vanity drawers. These provide separate spaces for each necklace, keeping them organized and preventing tangling.
Preventing Tangling:
Tangling is a common issue when it comes to necklace storage. Use the following tips to prevent tangling and keep your necklaces in their best condition:
- Clasp all necklaces before storing: Always make sure to clasp your necklaces before storing them. This prevents them from becoming tangled or knotted during storage and makes it easier to retrieve them when you want to wear them.
- Use anti-tarnish strips or pouches: Insert anti-tarnish strips or place anti-tarnish pouches in your necklace storage container. These help reduce tarnishing and corrosion, minimizing the chances of your necklaces tangling due to metal surfaces becoming sticky.
- Utilize individual compartments: If using a jewelry box or organizer with compartments, assign a separate compartment to each necklace. This prevents them from getting entangled with each other and keeps them neatly organized.
Additional Storage Tips:
Consider the following additional tips to ensure effective storage and organization of your necklaces:
- Avoid overcrowding: Avoid overcrowding your necklace storage container to prevent tangling and damage. Each necklace should have enough space to hang or lie flat without overlapping with others.
- Clean necklaces before storing: Clean your necklaces before storing them to remove any dirt, oils, or residue. This helps maintain their appearance and prevents tarnishing or damage during storage.
Conclusion:
Creating your own necklace allows you to explore your creativity, showcase your personal style, and produce a unique piece of jewelry. By following the step-by-step guide outlined in this comprehensive guide, you can successfully make your own necklace. Remember to gather the necessary materials and tools, design the layout and choose beads, assemble the necklace with attention to detail, and add finishing touches for a polished look. Enjoy the rewarding process of necklace making and wear your custom-designed piece with pride.